
Malibu V6-3.1L VIN J (2002)
the bottom of the outlet rearward to release the top.
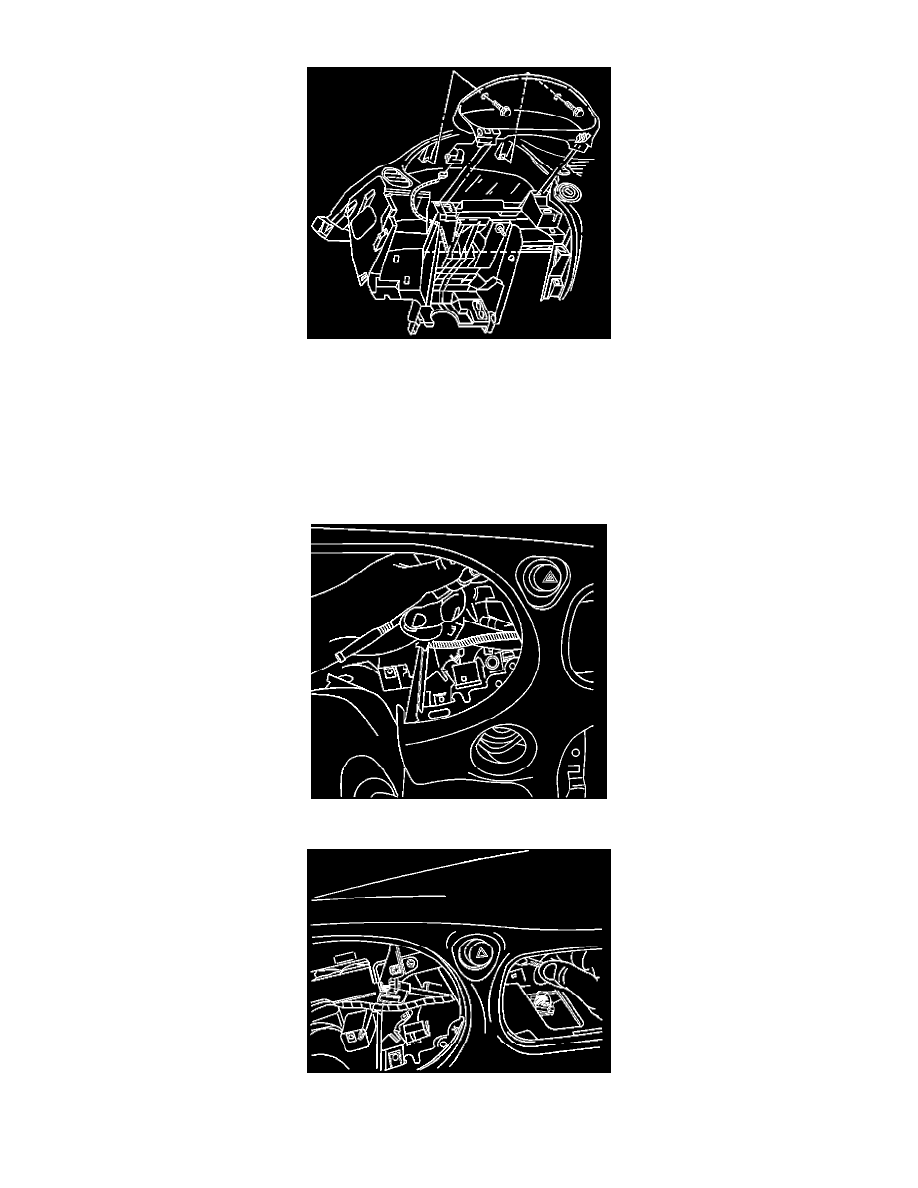
3.
Remove the two 7 mm hex head screws attaching the IP cluster trim panel to the IP.
4.
Remove the trim plate from the IP by pulling up and out to release the lower retainers.
5.
Disconnect the trip reset switch electrical connector.
6.
Remove the four 7 mm hex head screws attaching the instrument cluster to the IP.
7.
Remove the instrument cluster from the opening and reposition as necessary. It is not necessary to disconnect the electrical connector.
8.
Through the instrument cluster opening in the IP, remove one of the three 7 mm hex head screws that attach the hazard warning switch to the IP.
9.
Through the center air outlet opening in the IP, remove the remaining two 7 mm hex head screws that attach the hazard warning switch to the IP.
10.
Remove the hazard warning switch through the center air outlet opening.