
Malibu V6-3.1L VIN J (2002)
6. Slide the PCM from the PCM bracket.
INSTALLATION PROCEDURE
Remove the new PCM from the packaging and inspect the service number to verify the number is the same number, or an updated number, as the
faulty PCM.
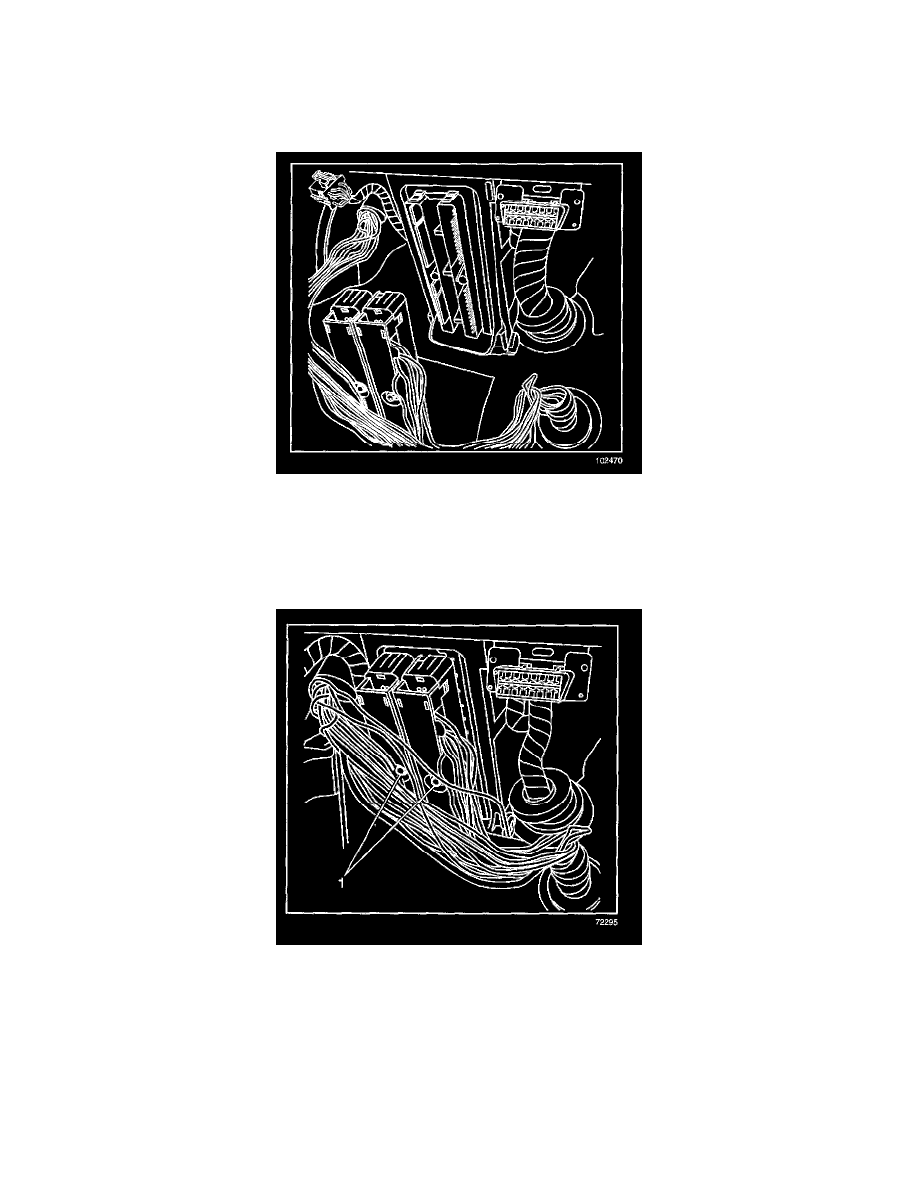
1. Slide the PCM into the PCM bracket.
NOTE: Do not touch the PCM connector pins or soldered components on the circuit board in order to prevent possible electrostatic discharge (ESD)
damage. Do not remove the integrated circuit boards from the carrier.
2. Install the PCM electrical connectors.
3. Tighten the PCM connector screws (1).
4. Install the left hush panel.
5. Connect the negative battery cable.
IMPORTANT: The replacement PCM must be reprogrammed and the crankshaft position (CKP) system variation learn procedure must be
performed.
6. Program the PCM. See: Testing and Inspection/Programming and Relearning
7. The replacement PCM will NOT allow secondary air injection (AIR) pump operation until a total of 16 km (10 mi) have accumulated.