Malibu V6-3.1L VIN J (2002)

end could collapse the steering shaft or loosen the plastic injections, which maintain column rigidity. Leaning on the column assembly could cause the
jacket to bend or deform. Any of the above damage could impair the columns collapsible design. Do NOT hammer on the end of the shaft, because
hammering could loosen the plastic injections, which maintain column rigidity. If you need to remove the steering wheel, refer to the Steering Wheel
Replacement.
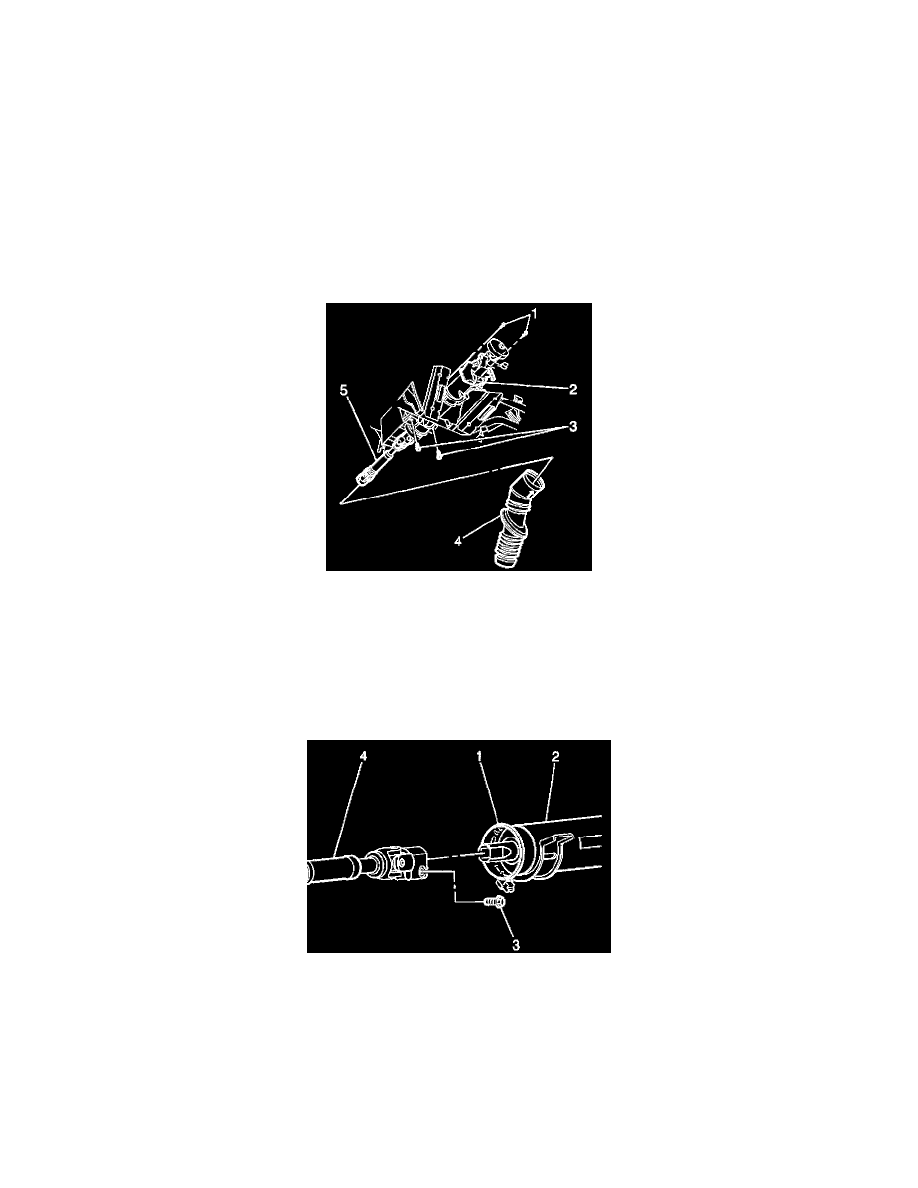
11. Remove the steering column (2) from the vehicle.
Installation Procedure
Caution: In order too ensure the intended function of the steering column in a vehicle during a crash and in order to avoid personal injury
to the driver, perform the following:
^
Tighten the steering column lower fasteners before you tighten the steering column upper fasteners. Failure to do this can damage the
steering column.
^
Tighten the steering column fasteners to the specified torque. Overtightening the upper steering column fasteners could affect the steering
column collapse.
1. Install the steering column (2) in the vehicle.
Notice: Refer to Fastener Notice in Service Precautions.
2. Install the steering column lower mounting nuts (3).
^
Tighten the bolts to 26 Nm (19 ft. lbs.).
3. Install the steering column upper mounting bolts (1).
^
Tighten the bolts to 26 Nm (19 ft. lbs.).
4. Install the upper pinch bolt (3) to the intermediate shaft (4).
^
Tighten the bolt to 22 Nm (16 ft. lbs.).
5. Install the SIR coil.
