Malibu V6-3.5L VIN 8 (2004)

Oil Pan: Service and Repair
Oil Pan Replacement
^
Tools Required
-
J28467-B Universal Engine Support Fixture
Removal Procedure
1. Disconnect the negative battery cable.
2. Raise and support the vehicle. Refer to Vehicle Lifting.
3. Drain the crankcase.
4. Remove the right front tire and wheel.
5. Remove the right front splash shield.
6. Remove the wheel speed sensor harness from the right suspension support.
7. Remove the right front ball joint, bolt, and nut. Separate the ball joint from the steering knuckle.
8. Remove lower closeout panel.
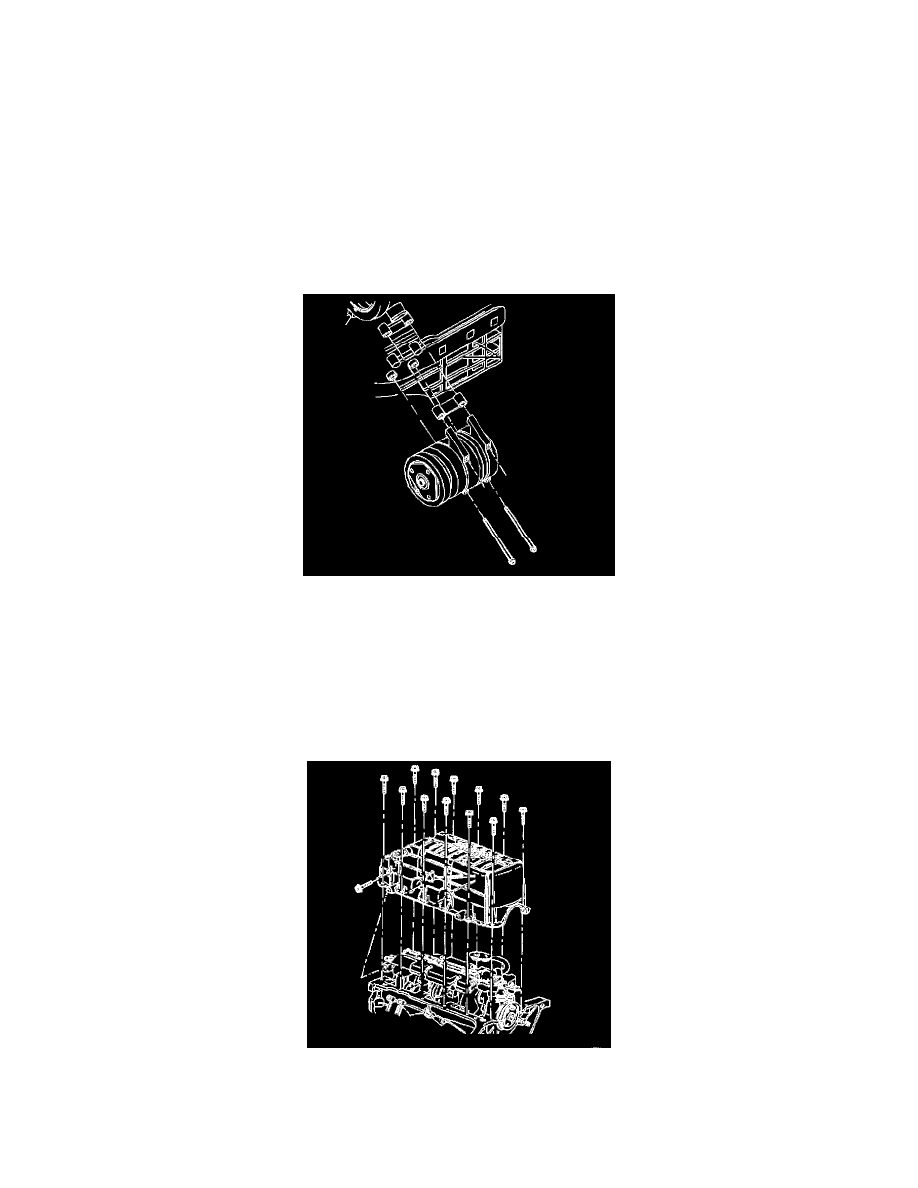
9. Remove the air conditioning (A/C) compressor bolts and position the compressor aside
10. Remove the braces that support the engine to the transmission.
11. Disconnect the oil level sensor.
12. Remove the retainers that secure the brake line to the frame.
13. Support the engine using the J 28467-B or a tall jackstand and a block of wood.
14. Remove the right side engine mount nuts and bolts.
15. Loosen the left side cradle bolts.
16. Remove the cradle bolts from the right front and the right rear.
17. Remove the starter.
18. Remove the oil pan side bolts.
19. Remove the oil pan bolts.
20. Remove the oil pan.
21. Remove the oil pan gasket.
22. Clean the following items:
