
Malibu V6-3.5L VIN 8 (2004)
Canister Vent Valve: Service and Repair
EVAP Canister Vent Solenoid Valve Replacement (Malibu MAXX)
EVAPORATIVE EMISSION (EVAP) CANISTER VENT SOLENOID VALVE REPLACEMENT (MALIBU MAXX)
REMOVAL PROCEDURE
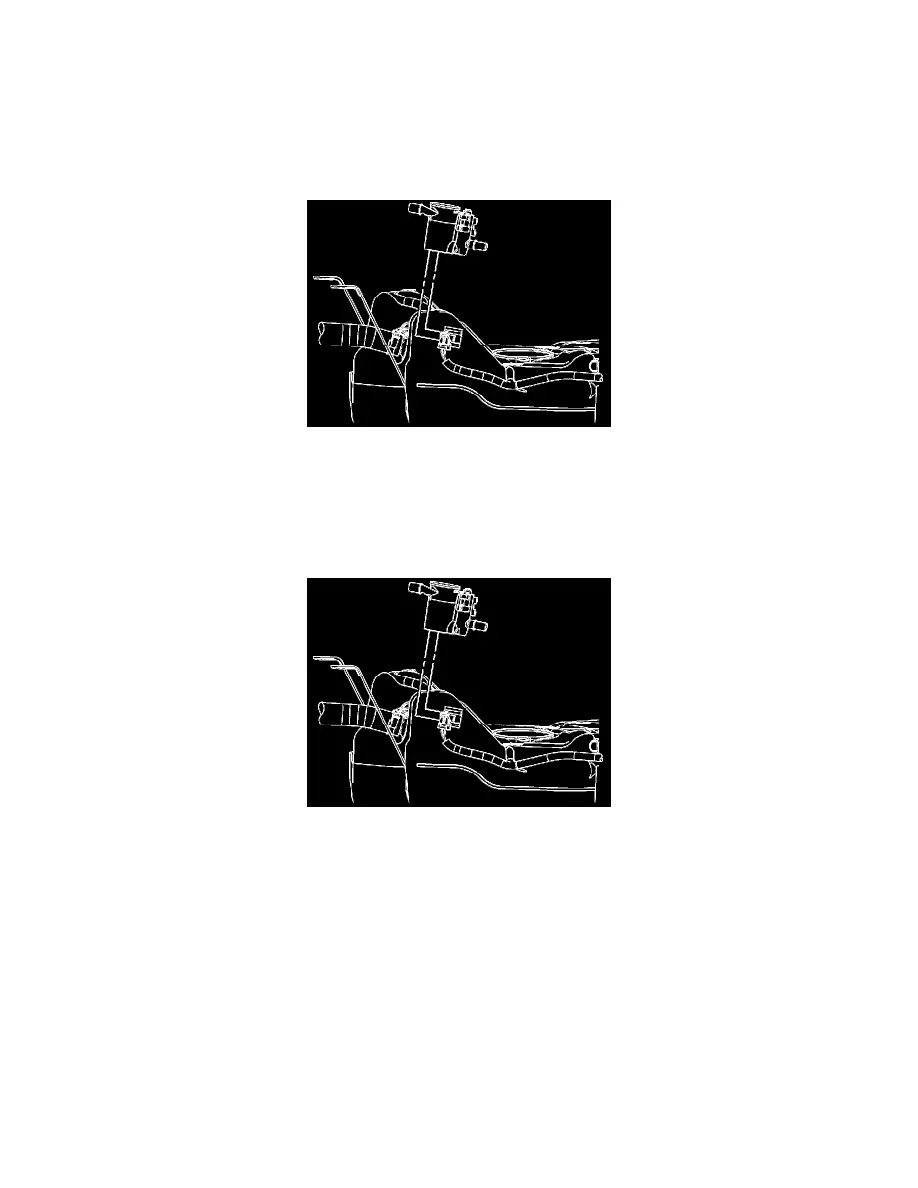
1. Raise and suitably support the vehicle. Refer to Vehicle Lifting.
2. Lower the fuel tank enough on the RH side to access the purge valve. Refer to Fuel Tank Replacement (Malibu Sedan) Fuel Tank Replacement
(Malibu MAXX). It is not necessary to fully remove the fuel tank from the vehicle.
3. Disconnect the evaporative emission (EVAP) vent valve electrical connector.
4. Remove the vent hose.
5. Depress the locking tab on the EVAP vent valve mount and slide the valve rearward off of the fuel tank.
INSTALLATION PROCEDURE
NOTE: Refer to Fastener Notice in Service Precautions.
1. Install the EVAP canister vent valve on the mount on the fuel tank, push the valve forward until the locking tab engages.
Tighten
Tighten the bolt to 10 N.m (89 lb in).
2. Connect the vent hose.
3. Connect the electrical connector.
4. Install the fuel tank.
5. Lower the vehicle.