
Malibu V6-3.5L VIN 8 (2004)
1. Connect the horn ground lead onto the steering wheel.
2. Connect the inflator module electrical connector and the CPA.
IMPORTANT: This vehicle is equipped with dual stage frontal air bags. Match the right color connector to the right color opening in the module.
Route the driver inflator wires, the redundant control wires, and the horn wires correctly.
3. Align the driver inflator module fasteners to the steering column fastener holes.
4. Push the driver inflator module firmly into the steering column in order to engage the fasteners.
5. Enable the SIR system. Refer to SIR Disabling and Enabling Zone 3.
6. Install the steering column trim covers.
Inflatable Restraint Instrument Panel Module Replacement
INFLATABLE RESTRAINT INSTRUMENT PANEL MODULE REPLACEMENT
REMOVAL PROCEDURE
CAUTION:
-
Refer to SIR Inflator Module Handling and Storage Caution in Service Precautions.
-
Refer to SIR Caution in Service Precautions.
-
A deployed dual stage inflator module will look the same whether one or both stages were used. Always assume a deployed dual stage
inflator module has an active stage 2. Improper handling or servicing can activate the inflator module and cause personal injury.
1. Disable the SIR system. Refer to SIR Disabling and Enabling Zone 5 in Restraint Systems.
2. Remove the I/P trim pad.
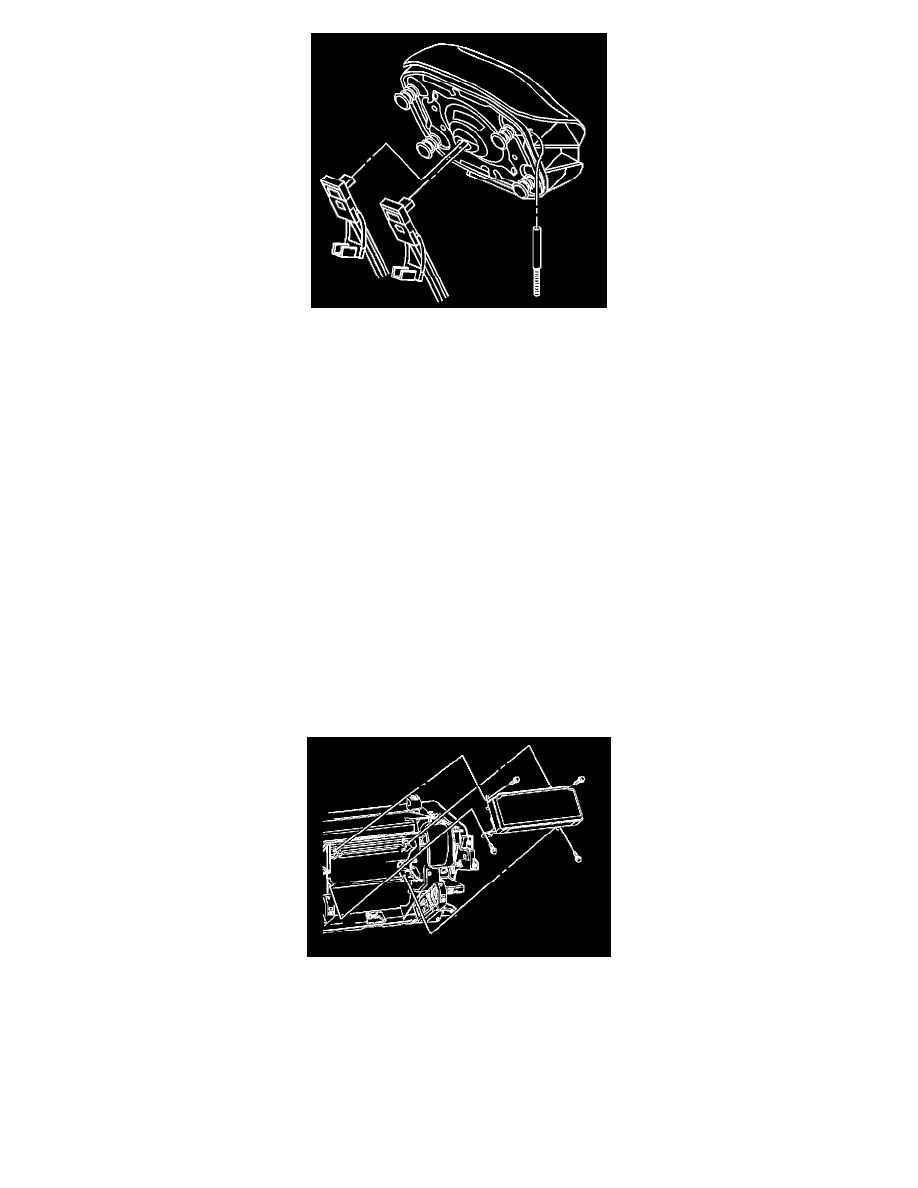
3. Remove the wire harness connector from the inflatable restraint I/P module.
4. Remove the bolts from the inflatable restraint I/P module and discard the bolts.
5. Remove the inflatable restraint I/P module.
INSTALLATION PROCEDURE