
Malibu V6-3.5L VIN 8 (2004)
Caution: Before installing the wheels, remove any buildup of corrosion on the wheel mounting surface and brake drum or disc mounting
surface by scraping and wire brushing. Installing wheels with poor metal-to-metal contact at the mounting surfaces can cause wheel nuts to
loosen. This can cause a wheel to come off when the vehicle is moving, causing loss of control and possibly personal injury.
Important: Wheel nuts, studs, and mounting surfaces must be clean and dry.
1. Remove any corrosion or foreign material from the wheel and the hub mounting surfaces.
2. Clean the threads on the wheel studs and wheel nuts.
3. Install the tire and wheel assembly. Align the locating mark of the wheel to the hub.
4. Install the wheel nuts.
Notice: A torque wrench or J 39544 must be used to ensure that wheel nuts are tightened to specification. Never use lubricants or penetrating
fluids on wheel stud, nuts, or mounting surfaces, as this can raise the actual torque on the nut without a corresponding torque reading on the torque
wrench. Wheel nuts, studs, and mounting surfaces must be clean and dry. Failure to follow these instructions could result in wheel, nut, and/or stud
damage.
Notice: Refer to Fastener Notice in Service Precautions.
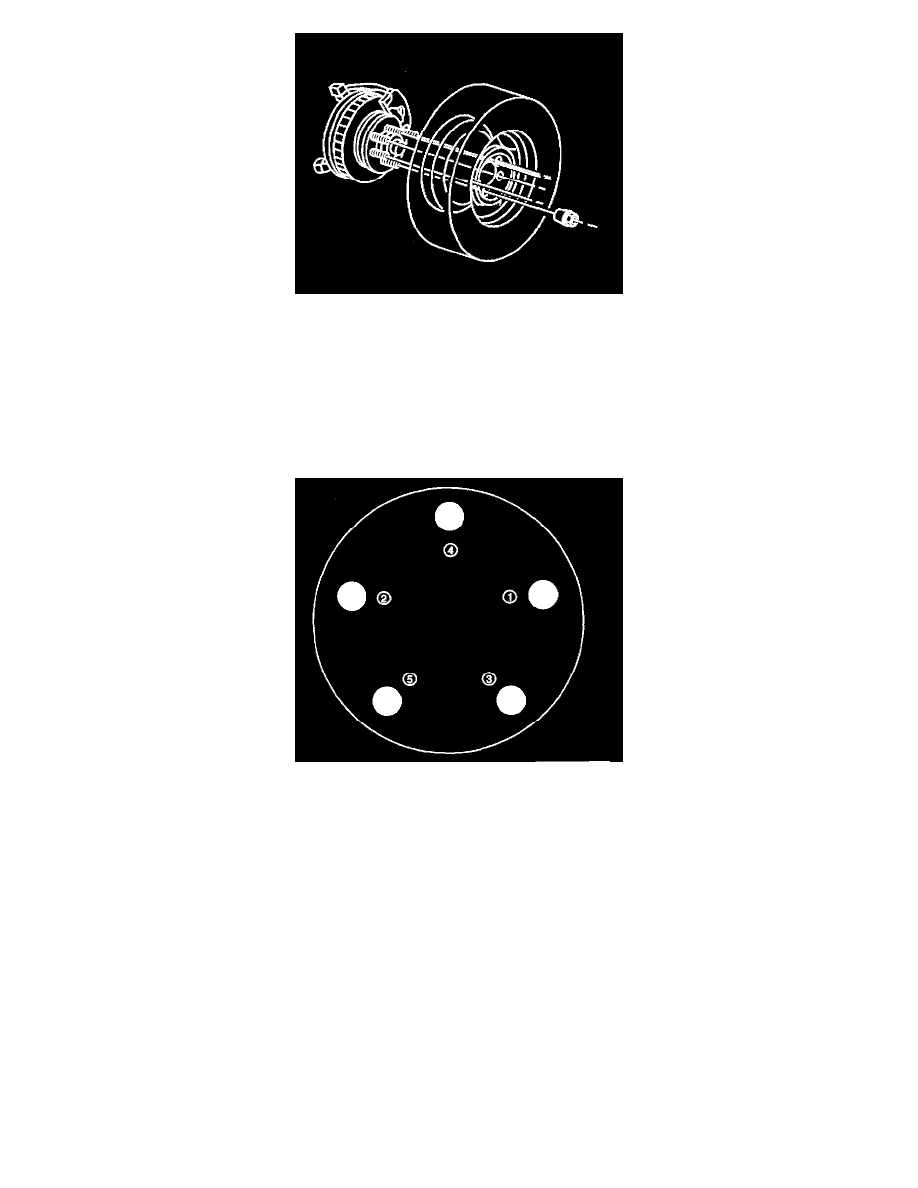
Important: Tighten the nuts evenly and alternately in the sequence shown, in order to avoid excessive runout.
5. Using the J 39544-KIT, tighten the wheel nuts in the sequence shown.
^
Tighten the nuts in sequence to 140 Nm (100 ft. lbs.).
6. Install the wheel nut caps, if equipped.
7. Install the wheel center cap, if equipped.
8. Lower the vehicle.