
Malibu V6-3.5L VIN 8 (2004)
1. Install a new filter neck seal. A large socket can be used as an installation tool as shown. Two mallets can be used as well.
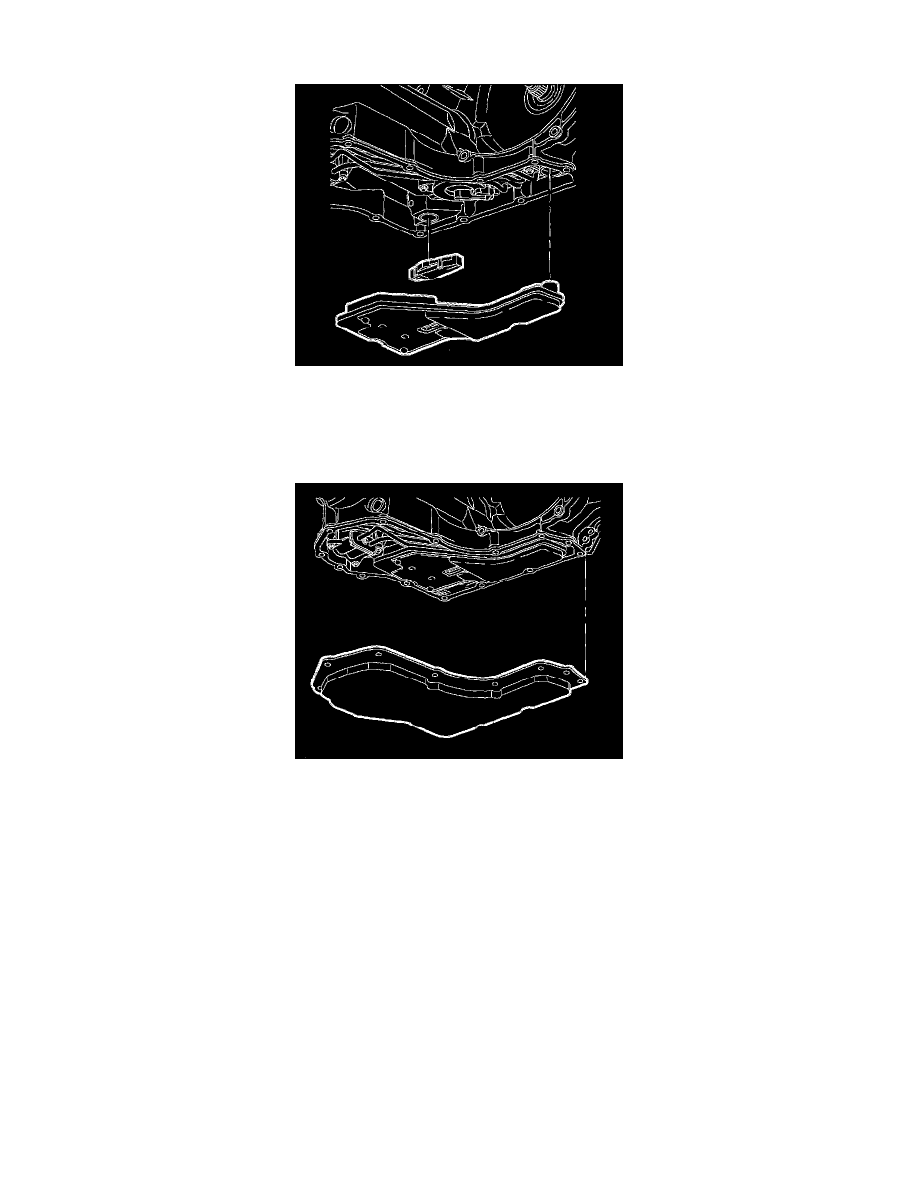
2. Coat the new filter O-ring seal with a small amount of petroleum jelly, and install the filter into the case.
Notice: Push straight down on the center of the oil level control valve in order to prevent damage to the case bore.
3. Install the oil level control valve.
Notice: Refer to Fastener Notice in Service Precautions.
4. Install the oil pan gasket, the oil pan, and hand start the oil pan bolts.
Tighten the oil pan bolts to 12 Nm (9 ft. lbs.).
5. Lower the vehicle.
6. Refill transaxle using DEXRON-III P/N 21019223 or equivalent oil to the specified refill capacity.
^
The bottom pan removal capacity is approximately 6.5 Liters (6.9 quarts).
^
The complete overhaul capacity is approximately 9 Liters (9.5 quarts).
^
The dry capacity is approximately 12.2 Liters (12.9 quarts).
7. Start the engine. Warm up the transaxle and check for leaks.
8. Check for proper fluid level.
Oil Cooler Pipe Seals Replacement
Oil Cooler Pipe Seals Replacement
Tools Required
^
J 45201 Cooler Line Seal Remover
^
J 41239 Cooler Line Seal Remover/Installer
Removal Procedure