
Malibu V6-3.5L VIN 8 (2004)
12. Remove all traces of old grease and any contaminates. Dry all parts.
13. Inspect the following parts for damage or wear:
^
The tripot joint spider assembly
^
The housing
^
The needle rollers
Installation Procedure
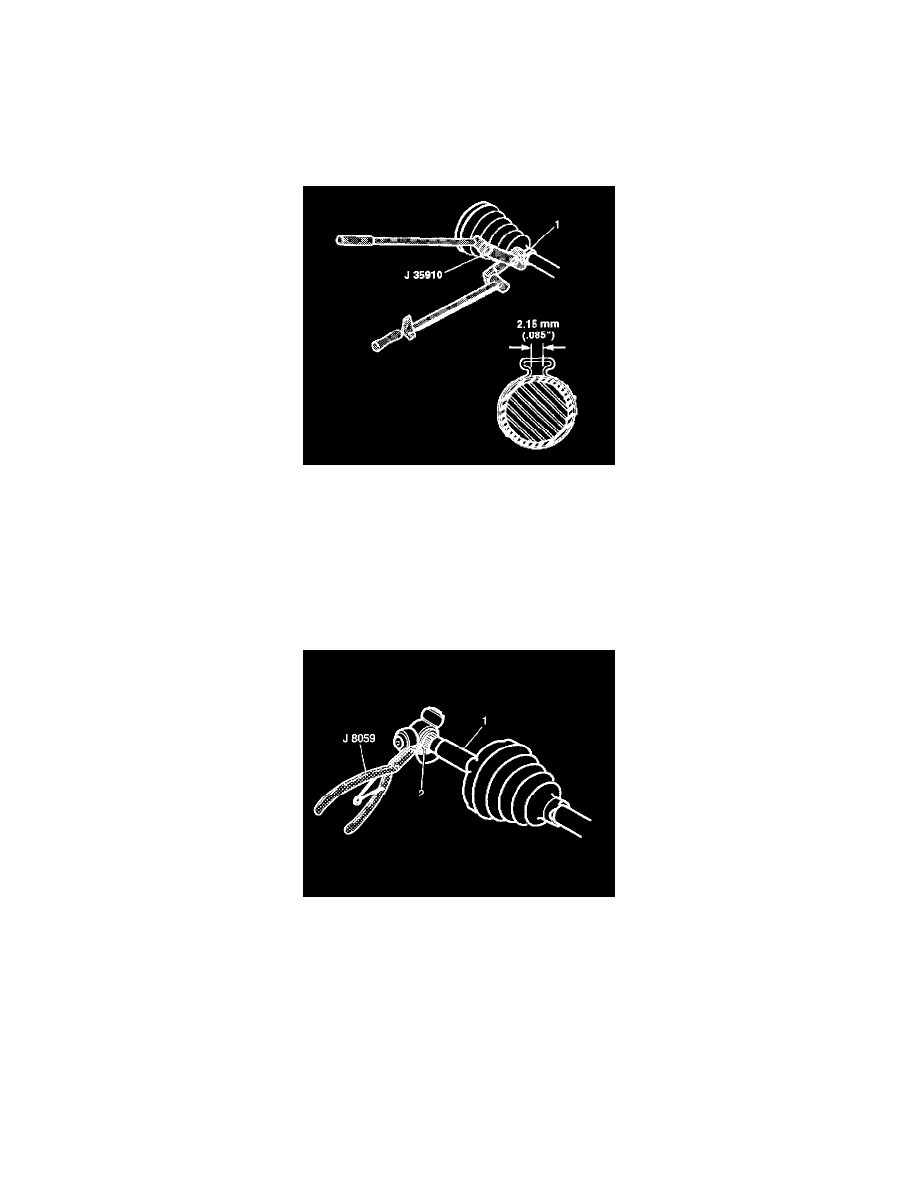
1. Install the small seal retaining clamp (1) on the neck of the inboard seal. Do not crimp.
2. Slide the seal onto the driveshaft bar.
3. Position the neck of the seal in the seal groove on the bar.
Notice: Refer to Fastener Notice in Service Precautions.
4. Crimp the seal retaining clamp (1) using J 35910.
Tighten Crimp to 136 Nm (100 ft. lbs.).
5. Check gap dimension, continue tightening until gap dimension is reached.
6. Install the spacer ring (2) on the driveshaft bar (1).
7. Slide the spider assembly toward the spacer ring as far as it will go on the bar.
8. Install the second retaining ring in the groove at the end of the bar (1) using J 8059.