
Malibu V6-3.6L (2010)
Utility Storage Compartment: Service and Repair
Load Floor Rear Compartment Cover Replacement
Removal Procedure
Warning
To help avoid personal injury, always ensure the ignition switch is in the OFF position and the ignition key has been removed prior to working on any
36V components. After the key has been removed, disconnect the negative 12V battery cable and then open the battery energy control module cover.
After waiting for at least 5 minutes, measure the voltage potential using a DMM between the following:
1. 36V positive and negative battery cables
2. 36V positive battery cable and vehicle ground
3. 36V negative battery cable and vehicle ground
All measured voltage levels must be below 3 volts.
1. Remove the ignition key from the ignition switch. Secure the ignition key in order to ensure that the key CANNOT be re-installed without your
knowledge.
2. Disconnect the 12 volt negative battery cable. Refer to Battery Negative Cable Disconnection and Connection (See: Starting and
Charging/Battery/Battery Cable/Negative/Service and Repair/Battery Negative Cable Disconnection and Connection).
3. Fold down both rear seat backs.
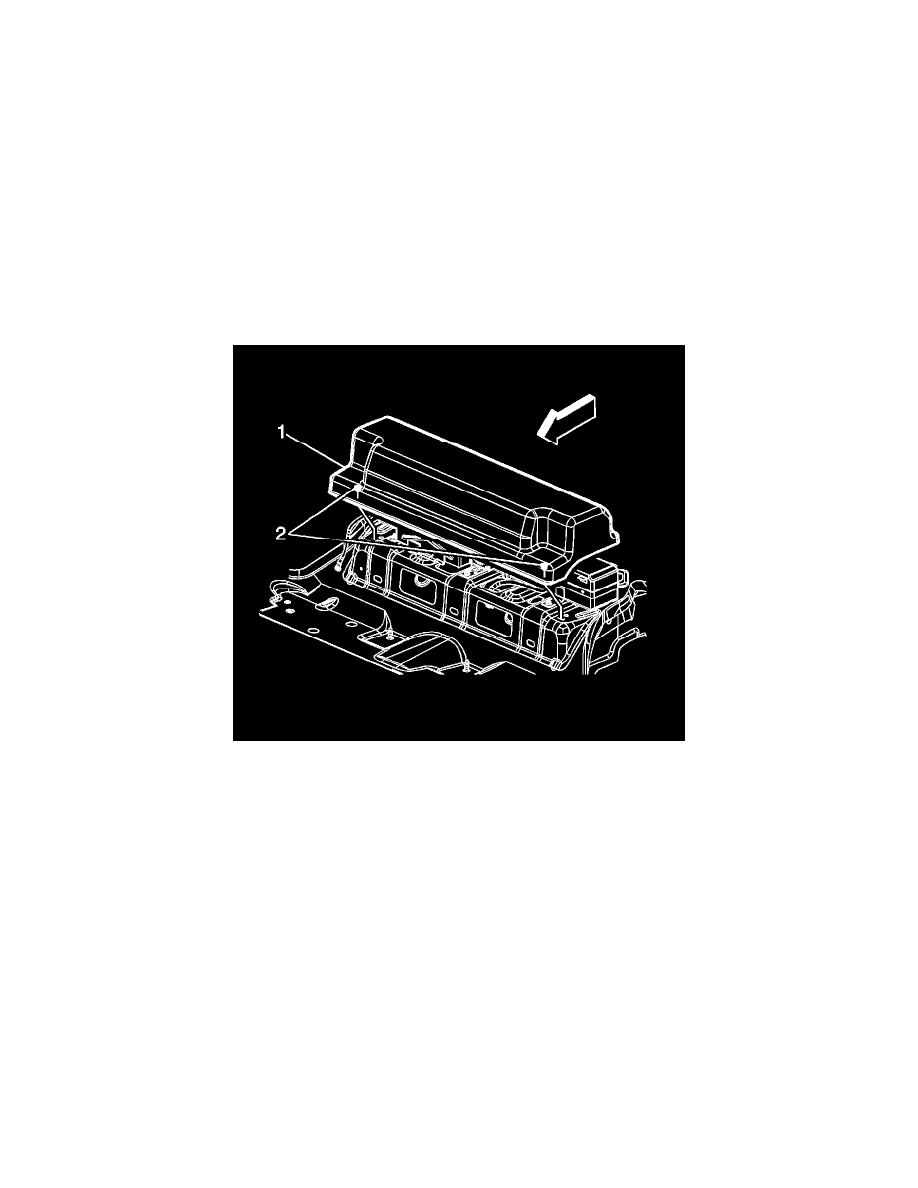
4. Carefully lift up on the load floor rear compartment cover (1) at the retaining clip (2) locations.