
Malibu V6-3.6L (2010)
2. Coat the new filter O-ring seal with a small amount of petroleum jelly, and install the filter into the case.
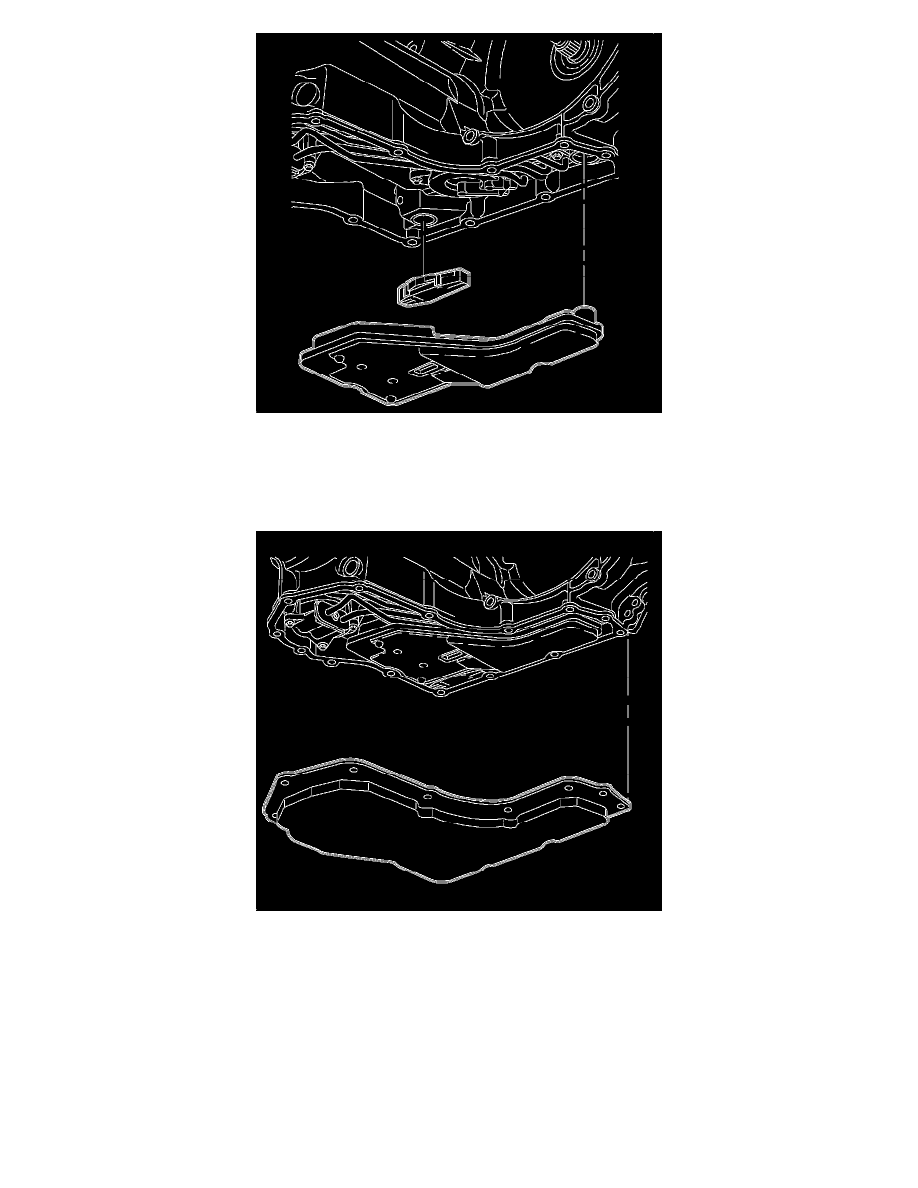
Caution: Push straight down on the center of the oil level control valve in order to prevent damage to the case bore.
3. Install the oil level control valve.
Caution: Refer to Fastener Caution (See: Service Precautions/Vehicle Damage Warnings/Fastener Caution).
4. Install the oil pan gasket, the oil pan, and hand start the oil pan bolts.
Tighten the oil pan bolts to 12 Nm (9 lb ft).
5. Lower the vehicle.
6. Refill transaxle using DEXRON(R) VI to the specified refill capacity.
*
The bottom pan removal capacity is approximately 6.5 L (6.9 qt).
*
The complete overhaul capacity is approximately 9 L (9.5 qt).
*
The dry capacity is approximately 12.2 L (12.9 qt).
7. Start the engine. Warm up the transaxle and check for leaks.
8. Check for proper fluid level. Refer to Transmission Fluid Level and Condition Check (See: Transmission and Drivetrain/Automatic