
Malibu V6-3.6L (2010)
Valve Body: Service and Repair
6T70/6T75 - Automatic Transmission
Control Valve Body Cover Replacement
Control Valve Body Cover Replacement
Removal Procedure
1. Disconnect the negative battery cable. Refer to Battery Negative Cable Disconnection and Connection (See: Starting and
Charging/Battery/Battery Cable/Negative/Service and Repair/Battery Negative Cable Disconnection and Connection).
2. Raise and support the vehicle. Refer to Lifting and Jacking the Vehicle (See: Maintenance/Vehicle Lifting/Service and Repair).
3. Remove the left engine splash shield. Refer to Engine Splash Shield Replacement - Left Side (See: Body and Frame/Splash Guard/Service and
Repair/Engine Splash Shield Replacement - Left Side).
4. Remove the front air dam. Refer to Front Air Deflector Replacement (See: Body and Frame/Spoilers, Flaps, and Air Dams/Air Dam/Service and
Repair/Front Air Deflector Replacement).
5. Remove the front transmission mount. Refer to Transmission Front Mount Replacement (See: Transmission Mount/Service and
Repair/6T70/6T75 - Automatic Transmission/Transmission Front Mount Replacement).
6. Drain the transmission. Refer to Transmission Fluid Replacement (See: Service and Repair/Removal and Replacement/6T70/6T75 - Automatic
Transmission/Transmission Fluid Replacement).
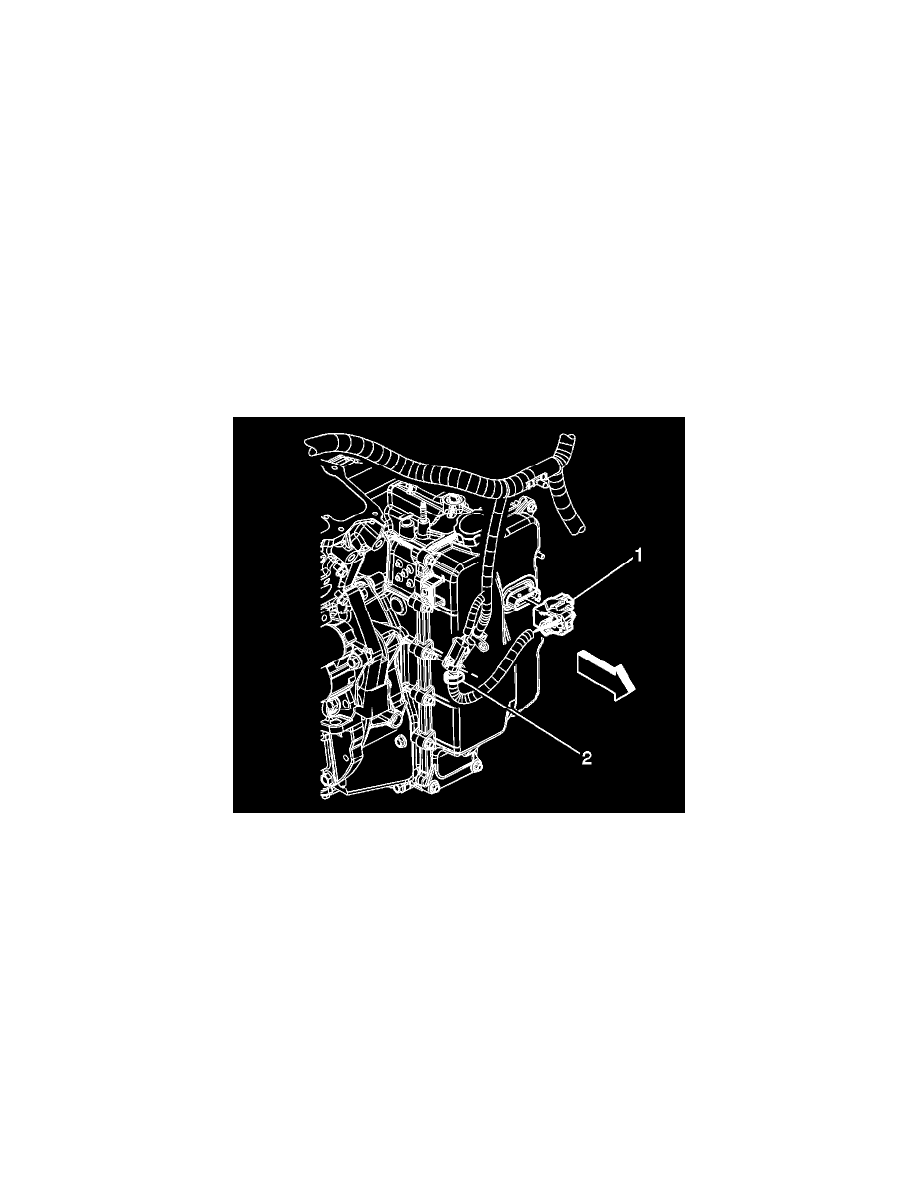
7. Remove the wire harness retainer (2) from the control valve body cover stud.
8. Disconnect the control valve body transmission control module (TCM) electrical connector (1).