
Malibu V6-3.9L (2007)
Trunk / Liftgate Striker: Service and Repair
Rear Compartment Lid Latch Striker Replacement
Rear Compartment Lid Latch Striker Replacement
Removal Procedure
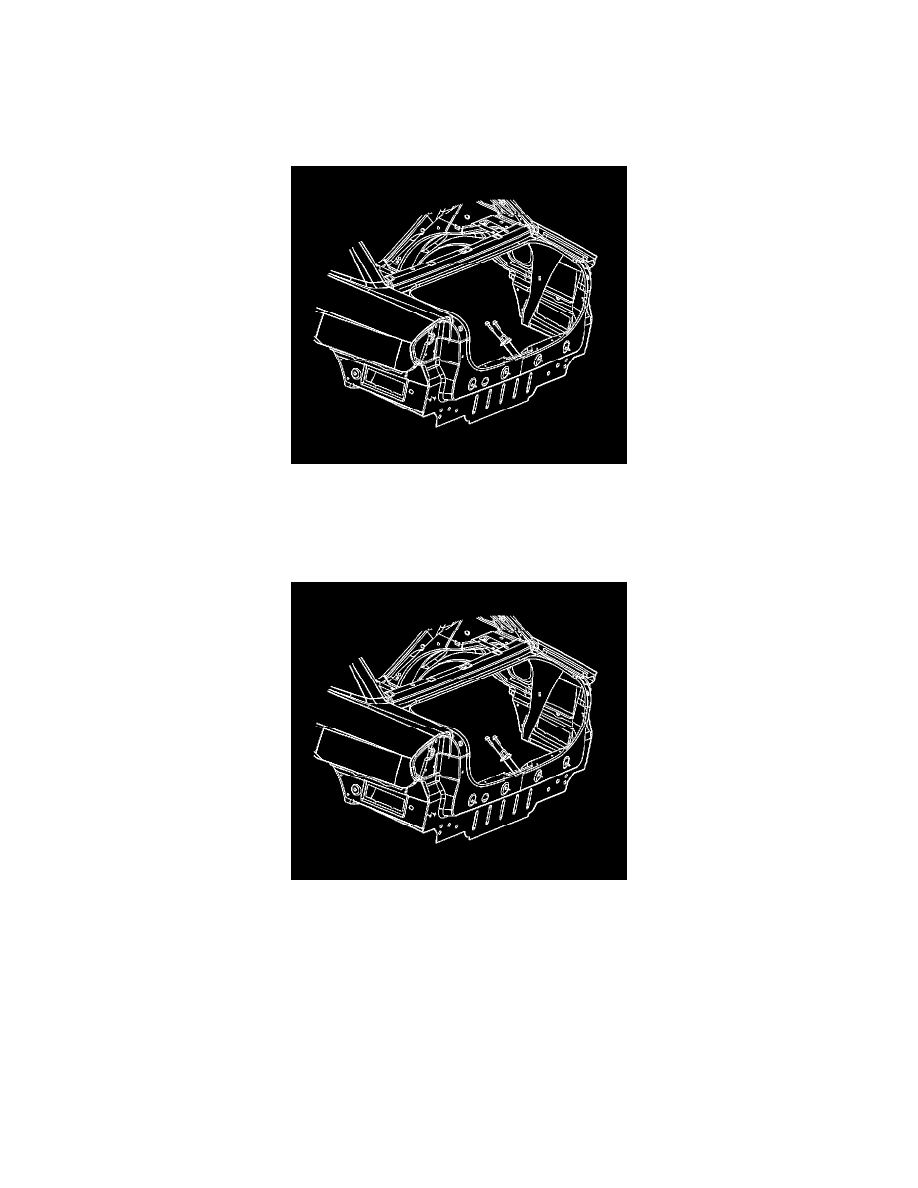
1. Mark around the striker with a grease pen to retain the position of the lock striker.
2. Remove the lock striker bolts.
3. Remove the lock striker from the rear compartment.
Installation Procedure
1. Position the lock striker to the alignment marks.
2. Install and hand tighten the striker and bolts.
3. Slowly close the compartment lid. Inspect the striker alignment.
Notice: Refer to Fastener Notice.
4. Tighten the lock striker bolts.
Tighten the rear compartment lid lock striker bolts to 10 N.m (89 lb in).