
Malibu V6-3.9L (2007)
5. Remove the PNP switch.
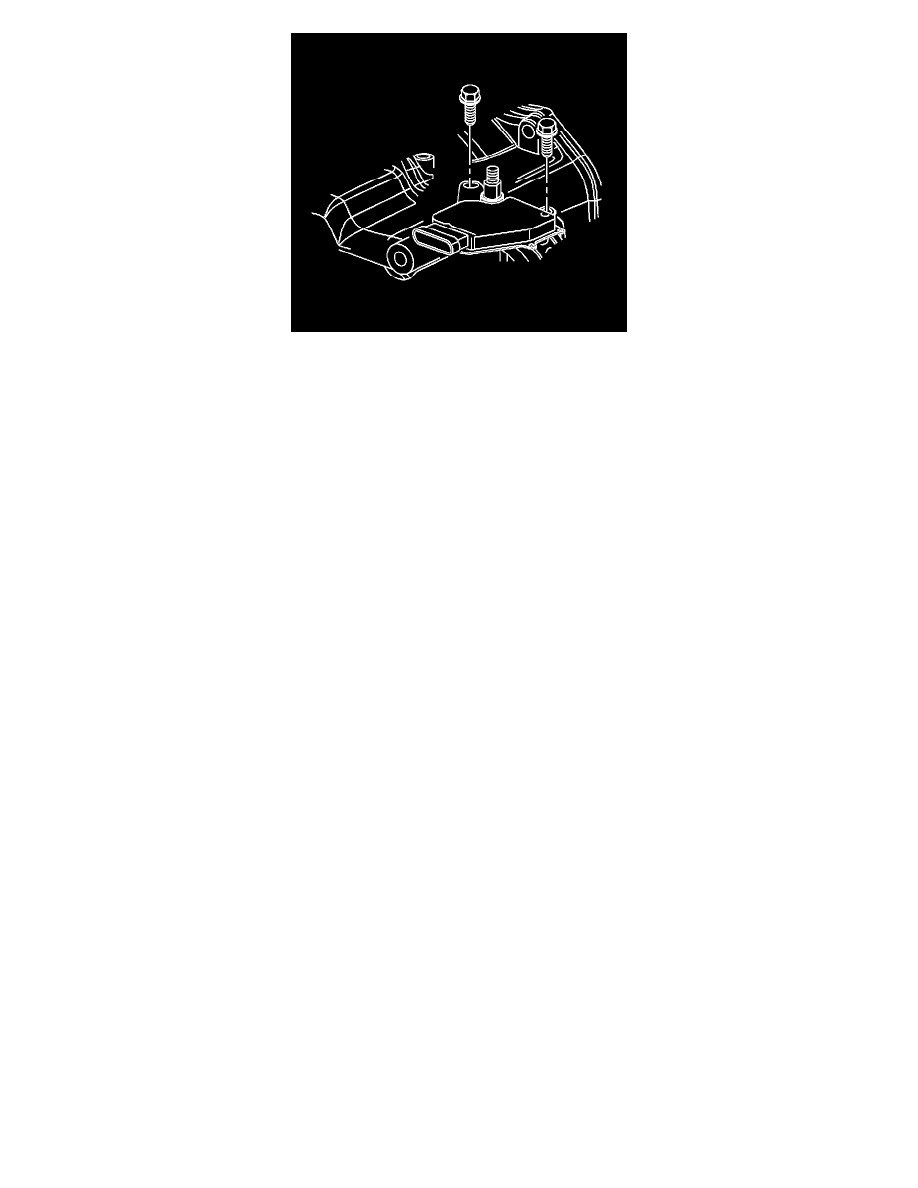
6. Remove the transmission upper side cover bolts.
7. Install the engine support fixture.
8. Raise the vehicle. Refer to Lifting and Jacking the Vehicle.
9. Remove the left front tire and wheel.
10. Remove the left lower control arm.
11. Remove the wheel drive shaft from the transmission.
12. Disconnect the steering rack intermediate shaft.
13. Remove the frame.
14. On vehicles equipped with the L61 engine, remove the transmission mount. Refer to Transmission Mount Replacement - Left Side (W/L61)
Transmission Mount Replacement - Left Side (W/ LZ4) .
15. Lower the vehicle.
16. Lower the LH side of the engine with the engine support fixture to allow the transmission side cover enough room to get past the left rail.
17. Raise the vehicle.
18. Remove the transmission side cover lower bolts.
19. Remove the transmission side cover.
Installation Procedure
1. Install the transmission side cover.
Notice: Refer to Fastener Notice.
2. Hand start the transmission side cover lower bolts.
Tighten the side cover bolts and stud to 20 N.m (15 lb ft).
3. Lower the vehicle.
4. Raise the engine with the engine support fixture.
5. Raise the vehicle. Refer to Lifting and Jacking the Vehicle.
6. On vehicles equipped with the L61 engine, install the transmission mount. Refer to Transmission Mount Replacement - Left Side (W/L61)
Transmission Mount Replacement - Left Side (W/ LZ4) .
7. Install the frame.
8. Install the power steering intermediate shaft and tie-rod ends.
9. Install the wheel drive shaft to the transmission.
10. Install the left lower control arm to the subframe and steering knuckle.
11. Install the left front tire and wheel.
12. Lower the vehicle.
13. Remove the engine support fixture.