
Malibu V6-3.9L (2007)
Important: Place a towel in the vise before inserting the halfshaft.
1. Mount the halfshaft into a vise.
2. Install the new small eared clamp (2) on the neck of the outboard seal (1). Do not crimp.
3. Slide the outboard seal (1) onto the halfshaft bar and position the neck of the outboard seal (1) in the seal groove on the halfshaft bar. The largest
groove below the sight groove on the halfshaft bar is the seal groove (3).
Notice: Refer to Fastener Notice.
4. Crimp the eared clamp (1) using the J 35910 , a breaker bar, and a torque wrench.
Tighten the eared clamp to 136 N.m (100 lb ft).
5. Check the gap dimension, continue tightening until the gap dimension is reached.
6. Put a light coat of grease from the service kit on the ball grooves of the inner race and the outer race.
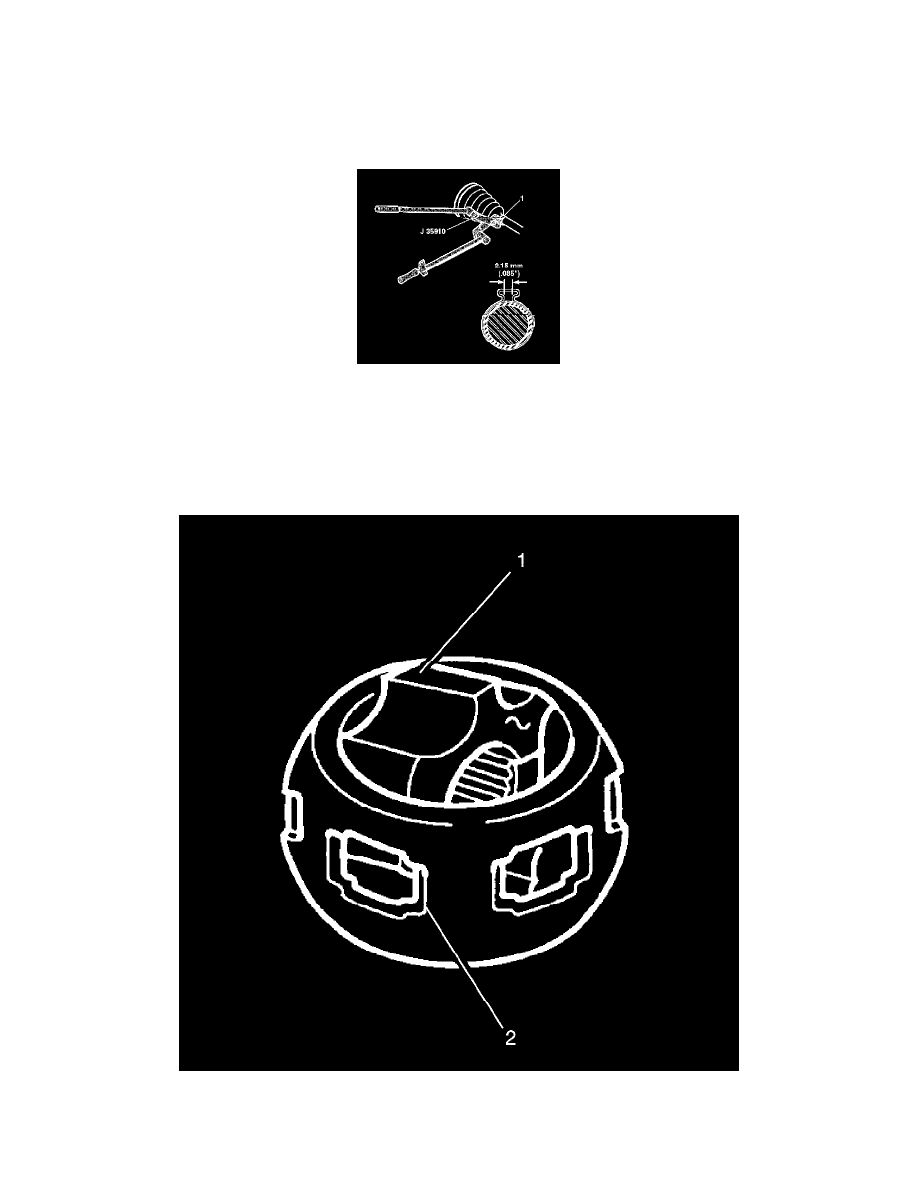
7. Hold the inner race 90 degrees to centerline of cage with the lands of the inner race (1) aligned with the windows of the cage (2) and insert the
inner race into the cage.