
Metro L3-061 1.0L VIN 6 TBI (1998)
Connecting Rod Bearing: Service and Repair
REMOVAL PROCEDURE
1. Relieve the fuel pressure.
2. Disconnect the negative battery cable.
3. Raise and support the vehicle.
4. Drain the engine coolant.
5. Place a drain pan beneath the engine oil pan to catch the escaping oil.
6. Remove the engine oil drain plug and gasket in order to catch the escaping oil.
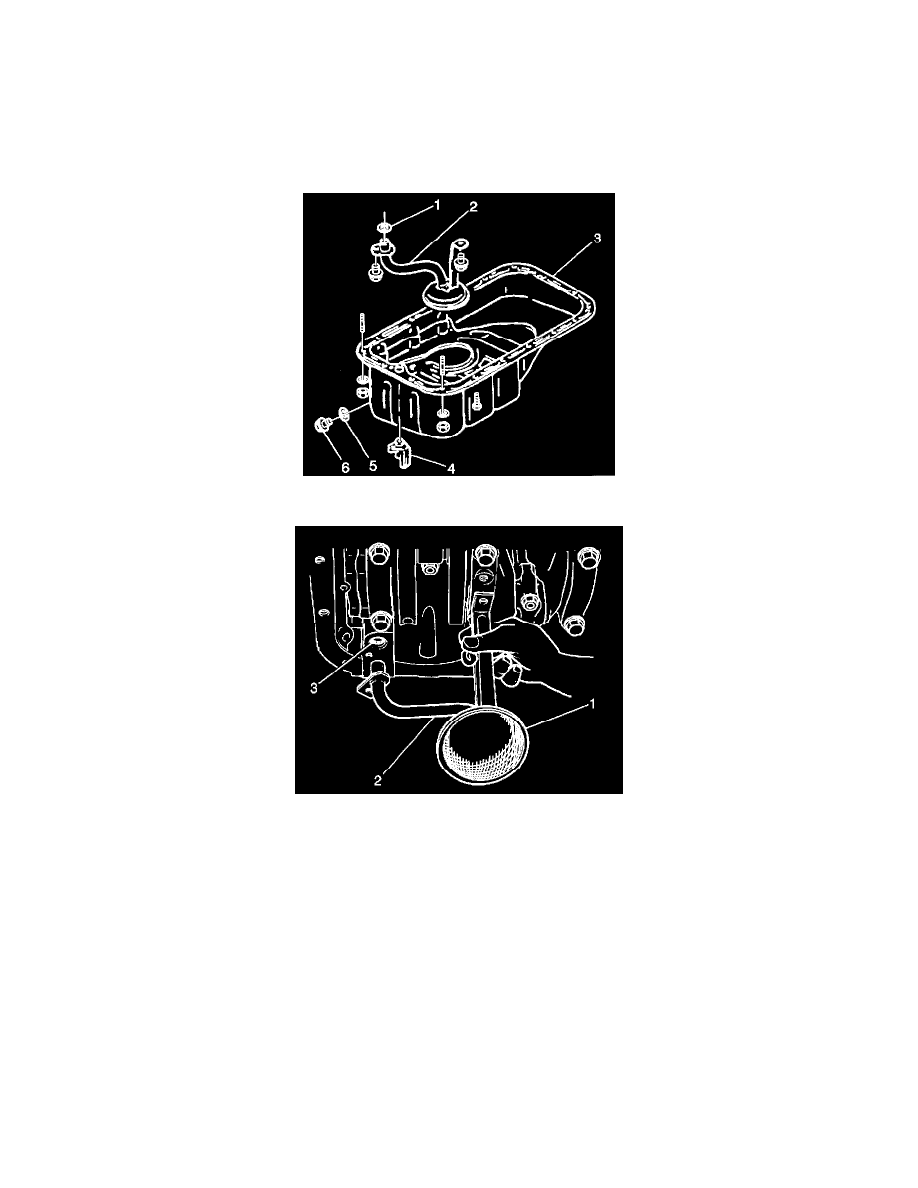
7. Remove the fourteen bolts and two nuts and the engine oil pan from the vehicle.
8. Remove the oil pump strainer bracket bolt, the oil pump strainer bolt and the oil pump strainer (2) from the cylinder block.
9. Remove the oil pump strainer seal (3).
10. Lower the vehicle. Remove the timing belt and the belt tensioner
12. Remove the intake manifold and the Throttle Body Fuel Injection (TBI) Unit.
13. Remove the exhaust manifold from the cylinder head.
14. Remove the distributor from the cylinder head.
15. Remove the following components from the cylinder head:
^
The four nuts
^
The seal washers
^
The cylinder head cover
IMPORTANT:
^
Mark the cylinder number on all of the pistons, connecting rods and connecting rod bearing caps.
^
When disassembling, keep all of the parts in order by the cylinder and return them to the correct cylinder.