
Metro L3-061 1.0L VIN 6 TBI (1998)
Water Pump: Service and Repair
REMOVAL PROCEDURE
1. Remove the negative battery cable.
2. Drain the engine cooling system.
3. Remove the air cleaner assembly.
4. Remove the A/C compressor suction pipe bracket (if equipped).
5. Loosen four water pump pulley bolts. Do not remove the bolts.
6. Raise the vehicle. Support the vehicle. Remove the right lower splash shield.
7. Remove the right lower splash shield.
8. Remove the A/C compressor drive belt (if so equipped) by releasing the tensioner pulley and removing the belt from the crankshaft and
compressor pulleys.
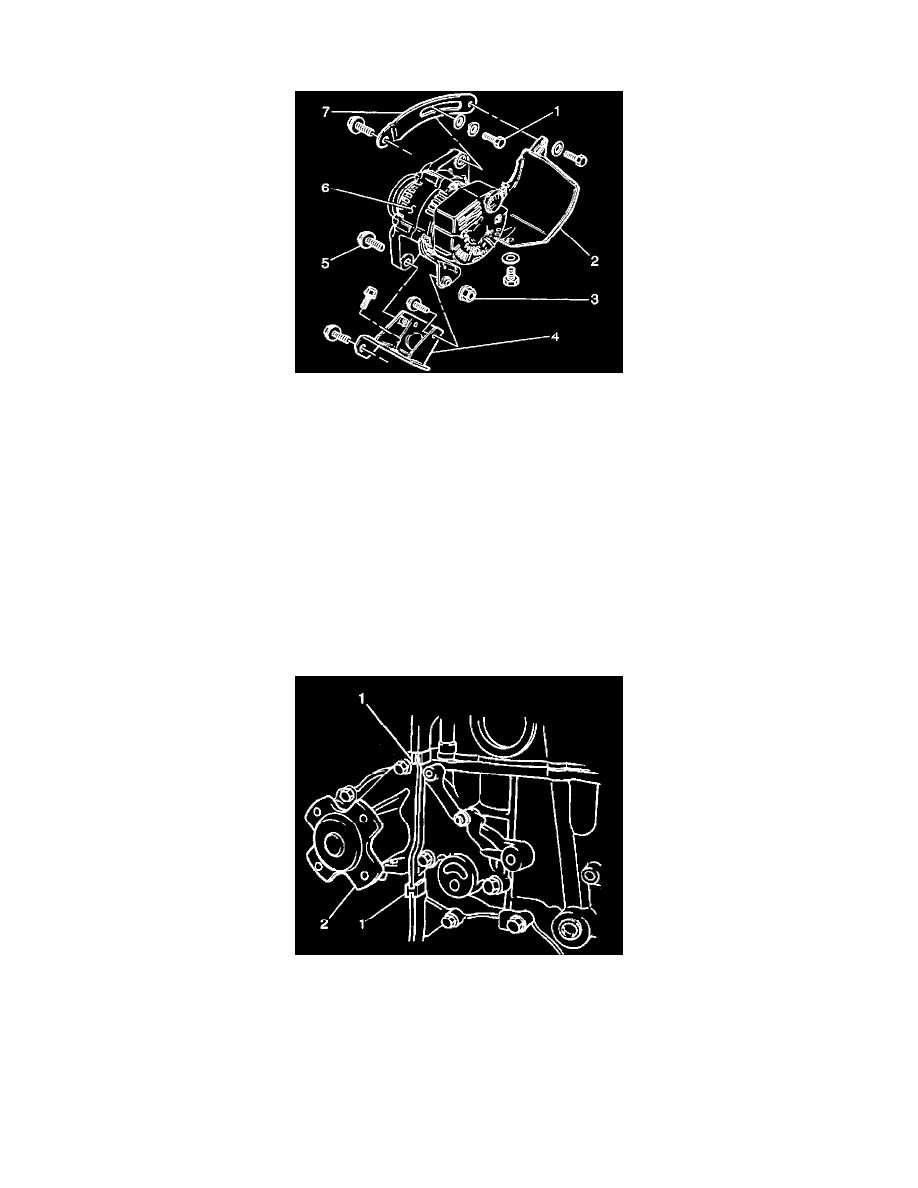
9. Loosen the generator adjusting bolt (1), pivot the generator and remove the water pump/generator drive belt.
10. Remove the crankshaft pulley.
11. Remove the water pump pulley (four bolts).
12. Remove the timing belt.
13. Remove the oil level indicator (dipstick) guide tube.
14. Remove the upper generator adjusting bracket from the water pump (one bolt).
15. Remove the rubber seals from the water pump.
16. Remove the water pump mounting bolts and nuts.
17. Remove the water pump and gasket from the vehicle.
18. Clean the water pump and the gasket mating surfaces.