Metro L3-061 1.0L VIN 6 TBI (1998)

Center Mounted Brake Lamp: Service and Repair
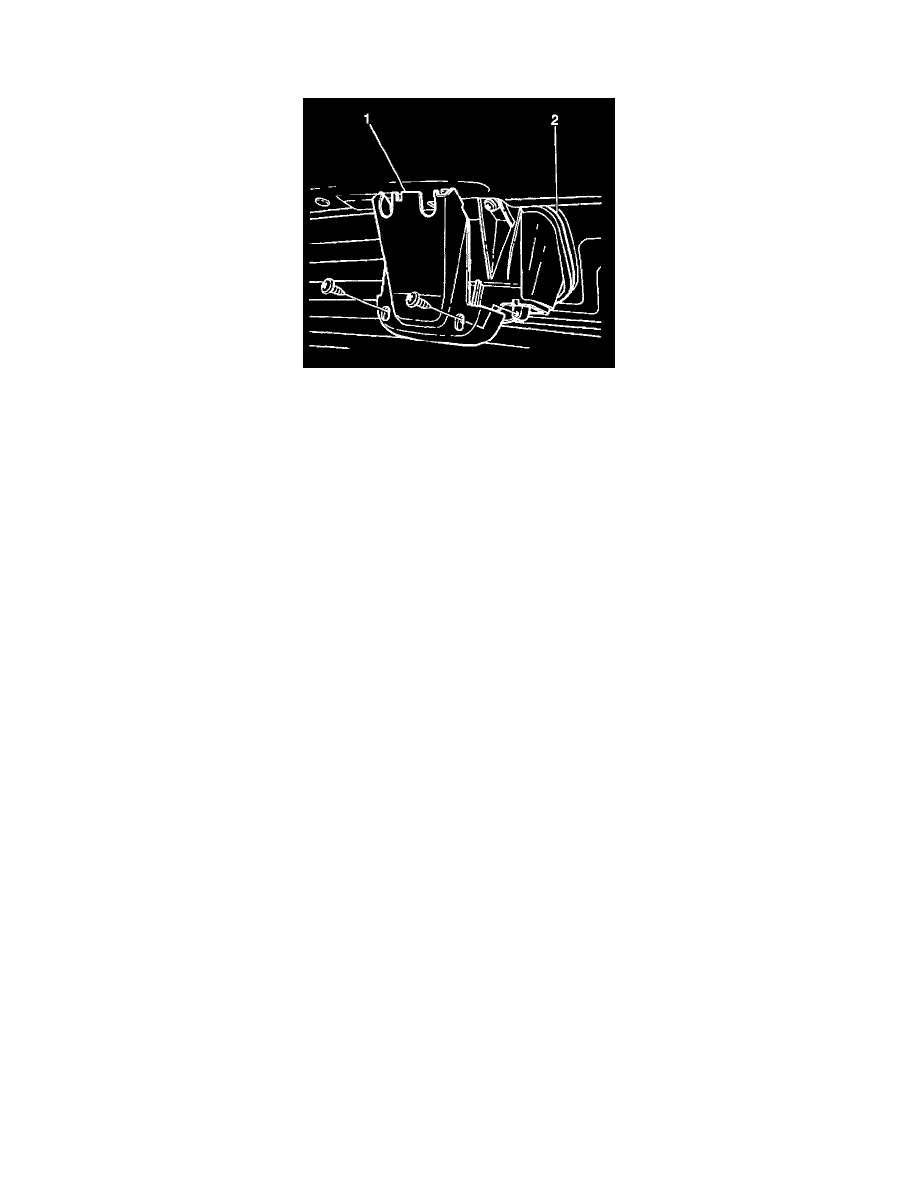
High Mounted Stop Lamp Replacement (2-Door)
REMOVAL PROCEDURE
CAUTION: Refer to Battery Disconnect Caution in Cautions and Notices
1. Disconnect the negative battery cable.
2. Remove the following components From the hatchback door:
^
The 2 mounting screws
^
The high-mounted stoplamp assembly (2)
3. Remove the high mounted stop lamp bulb From the socket if needed.
4. Disconnect the stoplamp assembly electrical connector.
5. Remove the following components From the stoplamp assembly (2):
^
The 2 retaining screws
^
The stoplamp housing (1)
INSTALLATION PROCEDURE
1. Install the stoplamp bulb to the socket, if removed.
2. Install the stoplamp housing (1) to the stoplamp assembly (2). Secure the housing with the 2 retaining screws.
3. Connect the stoplamp assembly electrical connector.
4. Install the stoplamp assembly (2) to the hatchback door. Secure the stoplamp assembly (2) with the 2 mounting screws.
5. Connect the negative battery cable.
