
Metro L3-061 1.0L VIN 6 TBI (1998)
Fluid Filter - A/T: Service and Repair
1. Raise and suitably support the vehicle.
2. Place a drain pan or suitable container under the transaxle fluid pan.
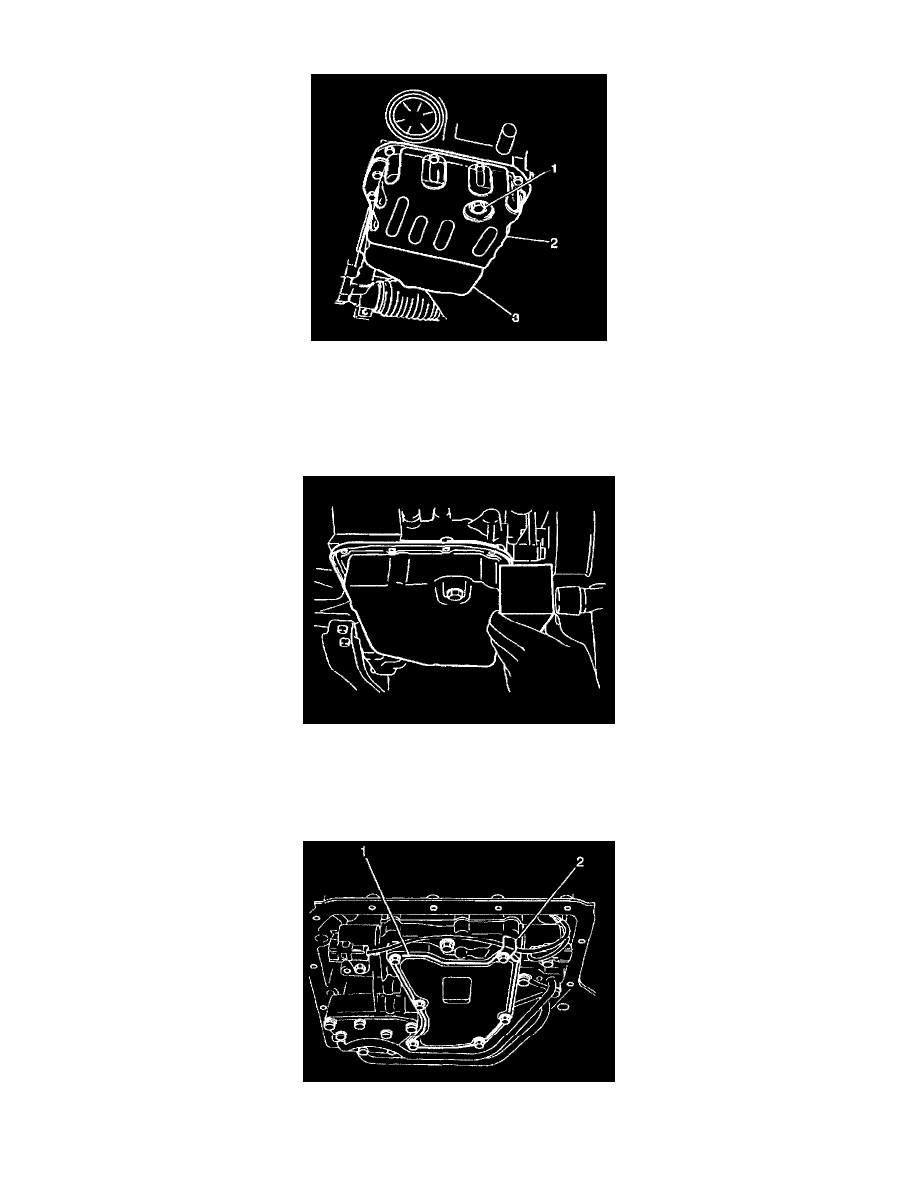
3. Remove the transaxle drain plug (1) from the transaxle fluid pan (3) and drain the transaxle fluid.
4. Remove 15 bolts, the transaxle fluid pan guard (2), and the fluid pan from the transaxle.
IMPORTANT: Note the position of the two bolts with cross-recessed heads for proper installation.
5. Remove the fluid pan gasket from the transaxle.
NOTICE: When removing the transaxle fluid pan, use caution in order not to damage the transaxle case-to-fluid pan mating surfaces. If the fluid
pan is frozen to the transaxle case, use a rubber mallet and a wood block to lightly tap the fluid pan free. Do not attempt to pry the fluid pan away
from the case with metal tools; damage to the case or fluid pan flange could result.
6. Remove 6 bolts and the fluid filter screen (1) from the valve body. Note the position of the solenoid wire clamp (2) for proper installation.
7. Inspect the bottom of the fluid pan for any large pieces of metal or other foreign matter.