Metro L3-061 1.0L VIN 6 TBI (1998)

Blower Motor Switch: Service and Repair
Removal Procedure
1. Remove the center console trim bezel.
2. Remove the radio.
3. Grasp firmly on the heater control unit lever knobs in order to pull the knobs out.
4. Remove the 1 screw retaining the right-side IP cluster lower cover.
5. Remove the right-side instrument panel (IP) cluster lower cover.
6. Gently pry out the heater face plate.
7. Remove the face plate illumination lamp socket.
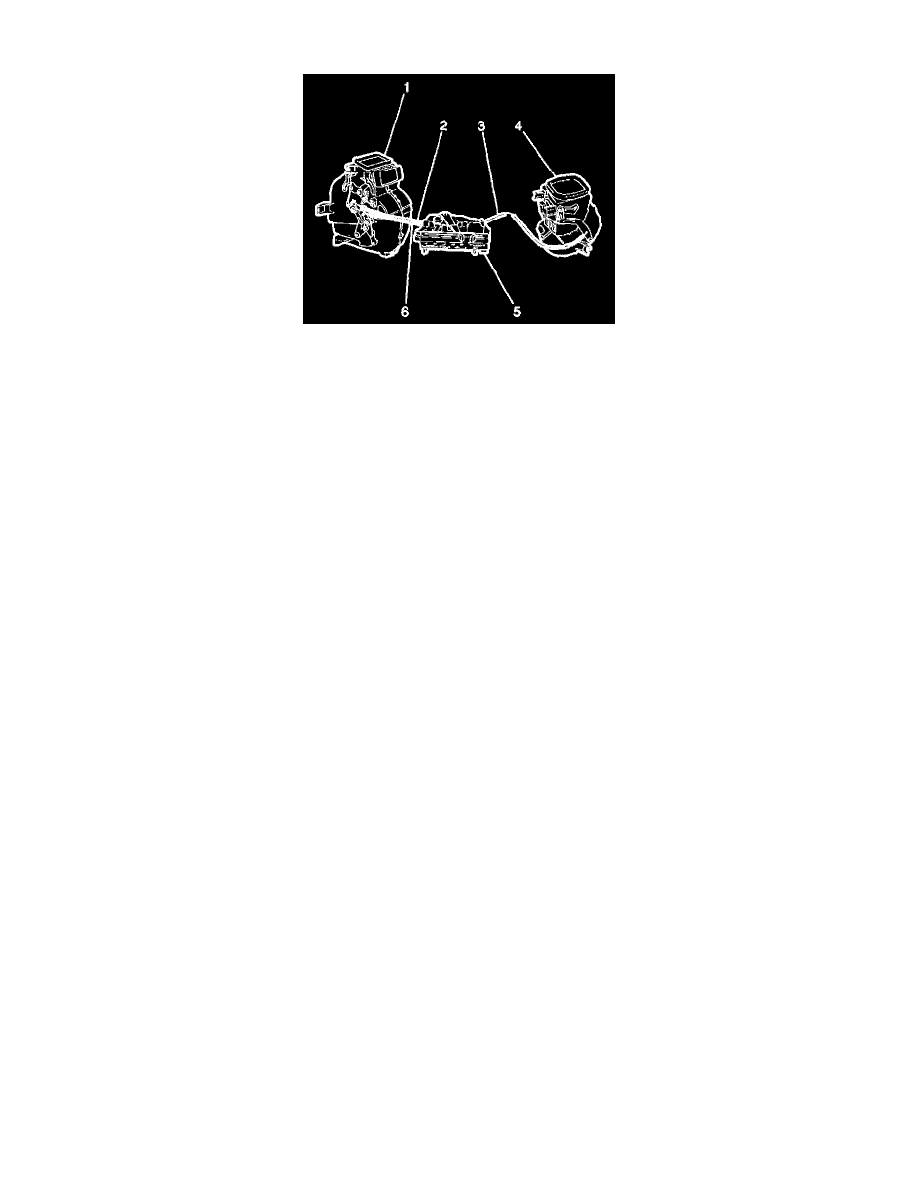
8. Disconnect the following cables at the heater case and the blower case:
^
The temperature control cable (6).
^
The mode control cable (2).
^
The refresh/recirc control cable (3).
9. Remove the 2 screws from the heater control unit.
10. Disconnect the blower switch electrical connector.
11. Remove the heater control unit from the IP through the radio opening.
12. Remove the blower switch from the heater control unit (5).
Installation Procedure
1. Install the blower switch to the heater control unit (5).
2. Install the heater control unit to the IP.
3. Connect the blower motor electrical connector.
4. Install the heater control unit. Secure the unit with the 2 screws.
5. Connect the following cables:
^
The temperature control cable (6).
^
The mode control cable (2).
^
The refresh/recirc control cable (3).
6. Install the illumination lamp socket to the heater face plate.
7. Install the P cluster lower cover. Secure the cover with the 1 screw.
8. Install the heater control unit lever knobs.
9. Install the radio.
10. Install the center console trim bezel.
11. Adjust the temperature, the mode, and the fresh/recirc control cables.
