
Metro L3-061 1.0L VIN 6 TBI (1998)
Door Switch: Service and Repair
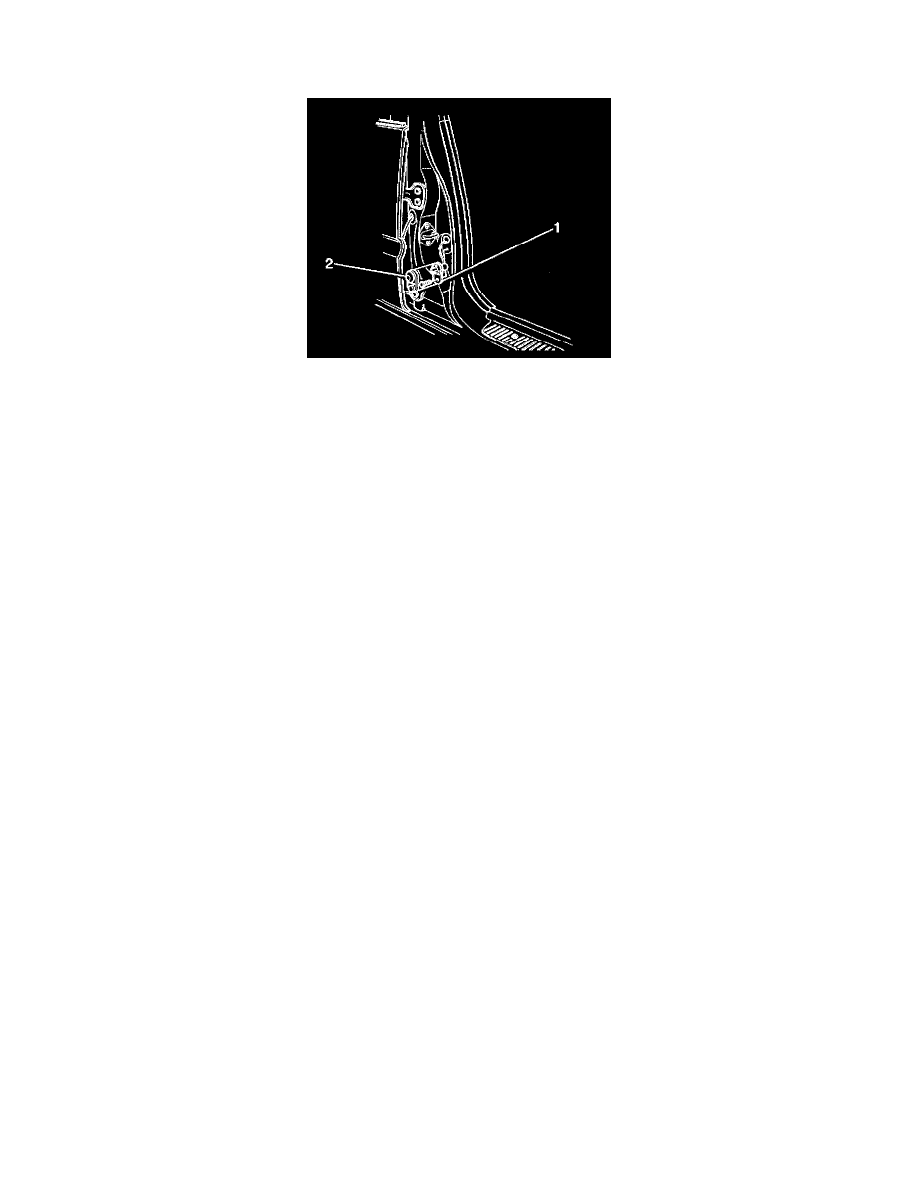
Door Jamb Switch Replacement - Front (2-Door)
REMOVAL PROCEDURE
CAUTION: Refer to Battery Disconnect Caution in Cautions and Notices.
1. Disconnect the negative battery cable.
2. Remove the rubber boot (2) From the switch (1).
3. Remove the screw that secures the door jamb switch (1) to the door jamb.
4. Perform the following steps in order to gain access to the electrical connector of the door jamb switch (1).
4.1 Remove the rear quarter trim panel.
4.2. Remove the rear speaker.
5. Disconnect the door jamb switch electrical connector.
6. Remove the door jamb switch (1) From the vehicle.
INSTALLATION PROCEDURE
1. Connect the door jamb switch electrical connector.
2. Install the door jamb switch (1) to the vehicle. Secure the switch with the retaining screw.
3. Perform the following steps:
3.1. Install the rear speaker.
3.2. Install the rear quarter trim panel.
4. Install the rubber boot (2) to the switch (1).
5. Connect the negative battery cable.