
Metro L3-061 1.0L VIN 6 TBI (1998)
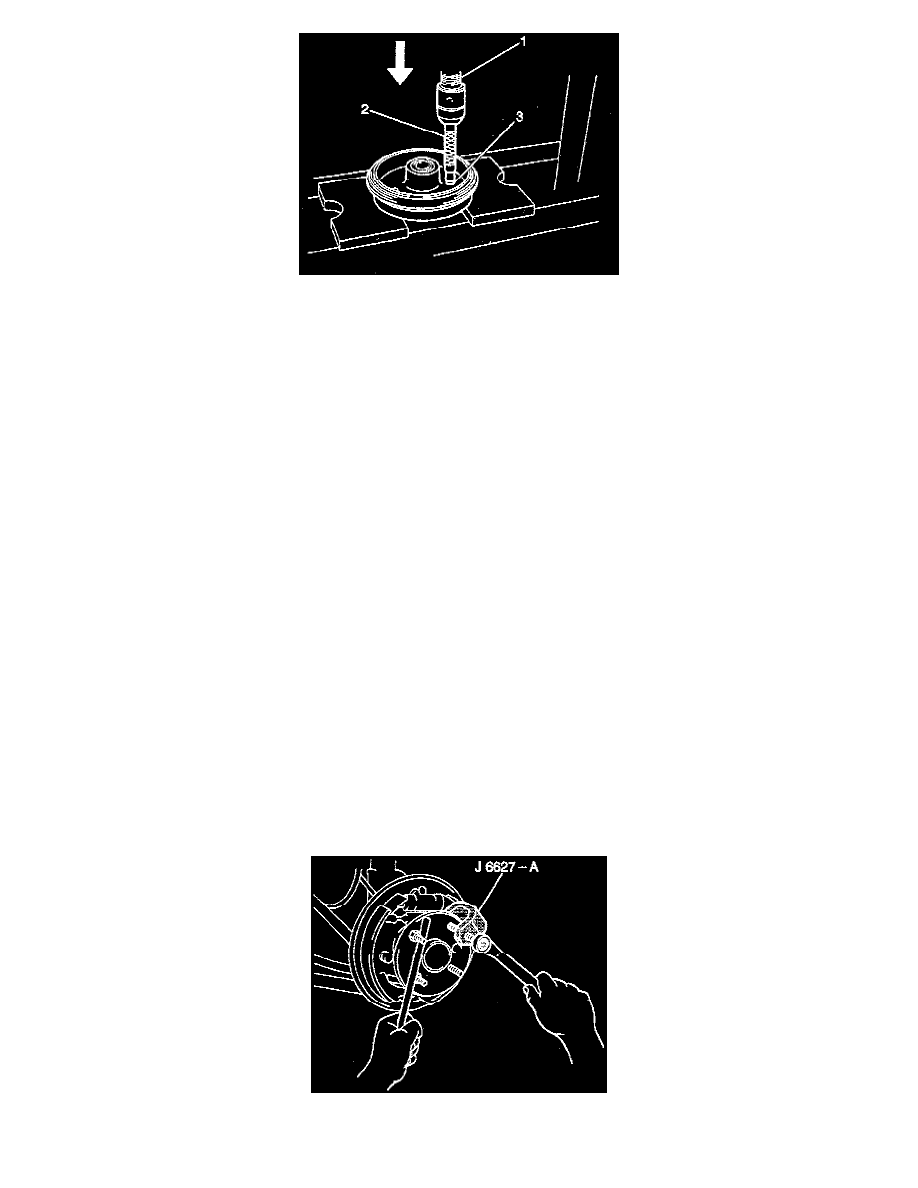
1. Install the wheel stud (3) to the brake drum/hub assembly using a rod (2) and a hydraulic press (1).
2. Install the brake drum/hub assembly to the knuckle spindle.
NOTICE: Always use the correct fastener in the proper location. When you replace a fastener, use ONLY the exact part number for that
application. The manufacturer will call out those fasteners that require a replacement after removal. The manufacturer will also call out the
fasteners that require thread lockers or thread sealant. UNLESS OTHERWISE SPECIFIED, do not use supplemental coatings (paints, greases, or
other corrosion inhibitors) on threaded fasteners or fastener joint interfaces. Generally, such coatings adversely affect the fastener torque and joint
clamping force, and may damage the fastener. When you install fasteners, use the correct tightening sequence and specifications. Following these
instructions can help you avoid damage to parts and systems.
3. Install the washer and the spindle nut to the knuckle spindle.
Tighten
Tighten the spindle nut to 100 Nm (74 ft. lbs.).
4. Stake the spindle nut.
5. Install the spindle nut dust cap.
6. Install the rear tire and wheel assembly. Refer to TIRES AND WHEELS.
7. Lower the vehicle.
Wheel Stud Replacement (Wheel Hub Equipped Vehicle)
REMOVAL PROCEDURE
^
Tool Required:
-
J 6627-A Stud Remover
CAUTION: If one stud is damaged, replace all the studs. A loose-running wheel may cause only one stud to break, but the other studs could
have internal fatigue. Replacing only the broken stud and remounting the wheel may cause further damage and personal injury. Replace the
wheel if the stud holes in the wheels have become enlarged or distorted.
1. Raise and support the vehicle.
2. Remove the rear tire and wheel assembly. Refer to TIRES AND WHEELS.
3. Remove the two recessed screws and the brake drum.
4. Install a wheel nut onto the wheel stud.
5. Remove the wheel stud using J 6627-A.
6. Remove the wheel nut from the wheel stud.