
Metro L3-061 1.0L VIN 6 TBI (1998)
NOTICE: When installing valve body to case, make sure accumulators and springs are in their correct positions and all valve body bolts are installed
according to length and position. All bolts should be hand-tightened only. Do not use air powered tools when installing the valve body.
1. Apply J 36850 to the forward clutch and the second brake accumulator seals.
2. Install the forward clutch and the second brake accumulators in their respective case bores.
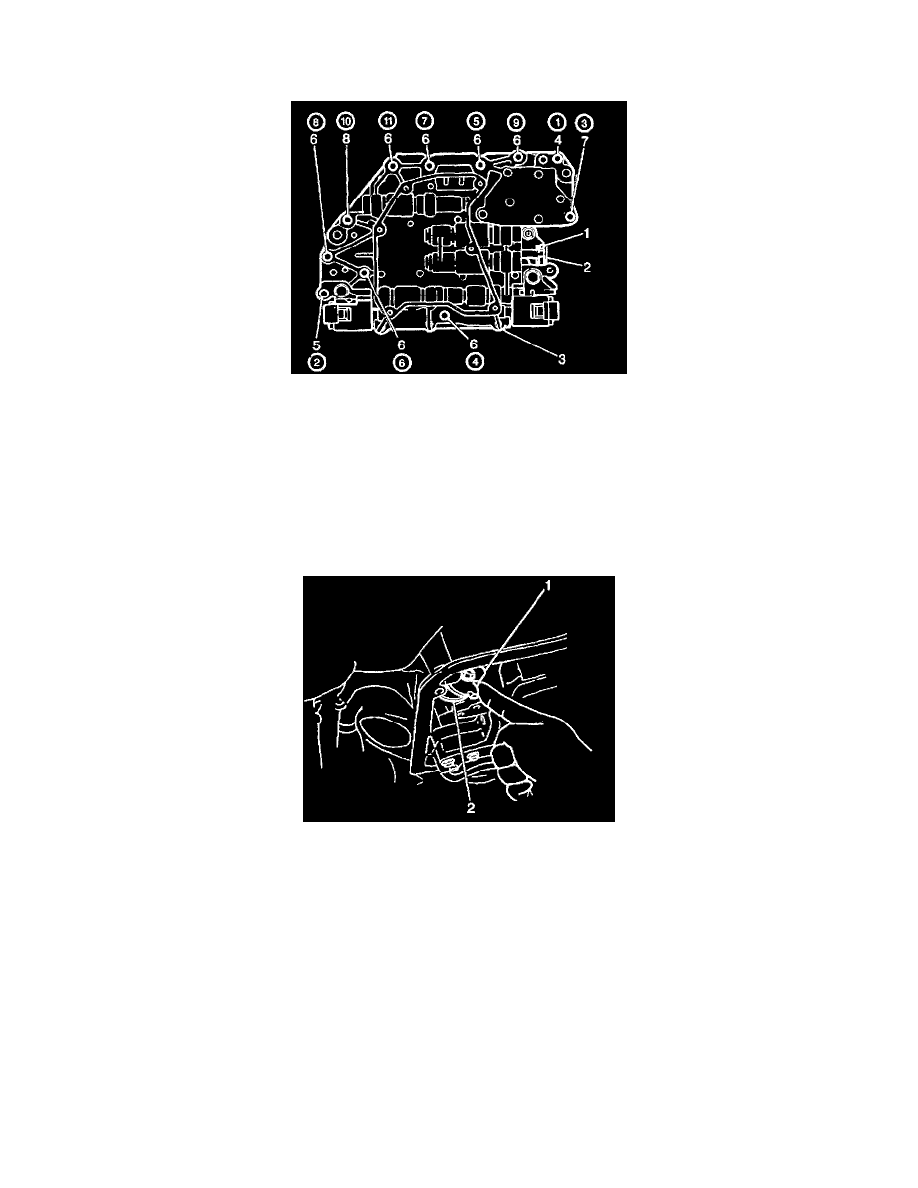
3. Install the valve body assembly to the transaxle case aligning the manual valve (2) with the shift lover pin (1). Secure the assembly with 2 valve
body reamer bolts (4,5) and 9 valve. body bolts (6,7,8).
^
Tighten the bolts in a diagonal pattern as shown in the figure to 12 Nm (106 inch lbs.).
NOTICE: Refer to Fastener Notice in Service Precautions.
4. Install the fluid filter screen to the lower valve body (1). Secure with 6 bolts.
^
Tighten the fluid filter screen bolts to 6 Nm (53 inch lbs.).
5. Install the TV cable to the throttle valve cam (1)
6. Install the forward clutch accumulator and the second brake fluid pipes into the lower valve body making sure the pipes are securely seated.