
Metro L3-061 1.0L VIN 6 TBI (1998)
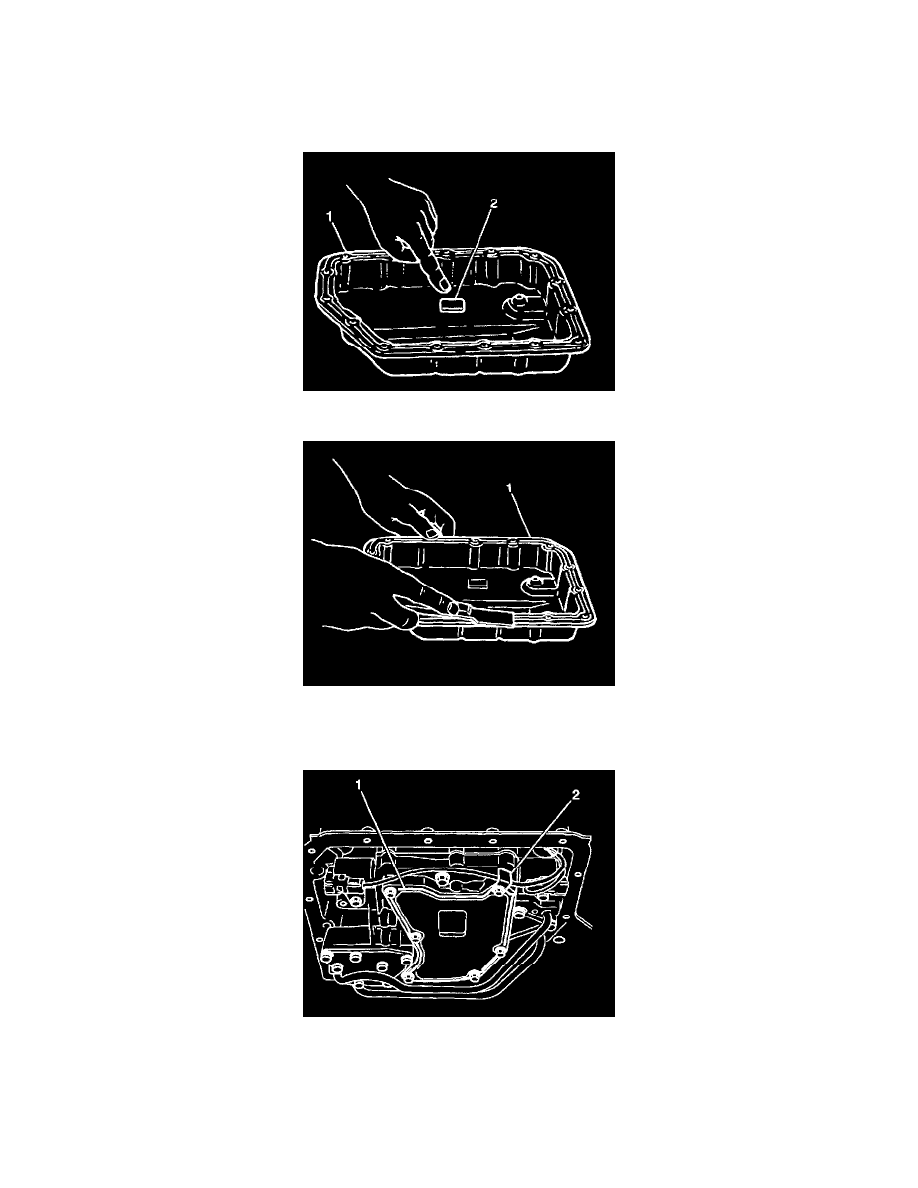
IMPORTANT: A small amount of clutch material in the bottom of the transaxle fluid pan is a normal condition and is consistent with normal
transaxle wear. The bottom of the fluid pan is equipped with a magnet that will collect minute metal filings. However, if large amounts of clutch
material, metal shavings or other foreign matter are present, disassembly and inspection of the transaxle is indicated.
8. Clean the fluid filter screen with solvent and dry thoroughly. If the screen mesh is damaged, replace the filter screen.
9. Clean the transaxle fluid pan magnet (2) and the bottom of the transaxle fluid pan (1).
10. Clean the gasket material from the fluid pan-to-case mating surfaces (1).
INSTALLATION PROCEDURE
1. Install the fluid filter screen (1) to the valve body making sure the solenoid wire clamp (2) is in its correct position. Secure the screen with 6 bolts.
^
Tighten the fluid filter screen bolts to 6 Nm (53 inch lbs.).
NOTICE: Refer to Fastener Notice in Service Precautions.
2. Install the new fluid pan gasket on the transaxle fluid pan.