Metro L4-079 1.3L VIN 2 MFI (2001)

Important: Do not remove all traces of the adhesive. Remove all mounds or loose pieces of urethane adhesive.
14. If the extended method is being used remove all of the existing bead of urethane adhesive except approximately 2 mm (3/64 in) from the
pinchweld flange.
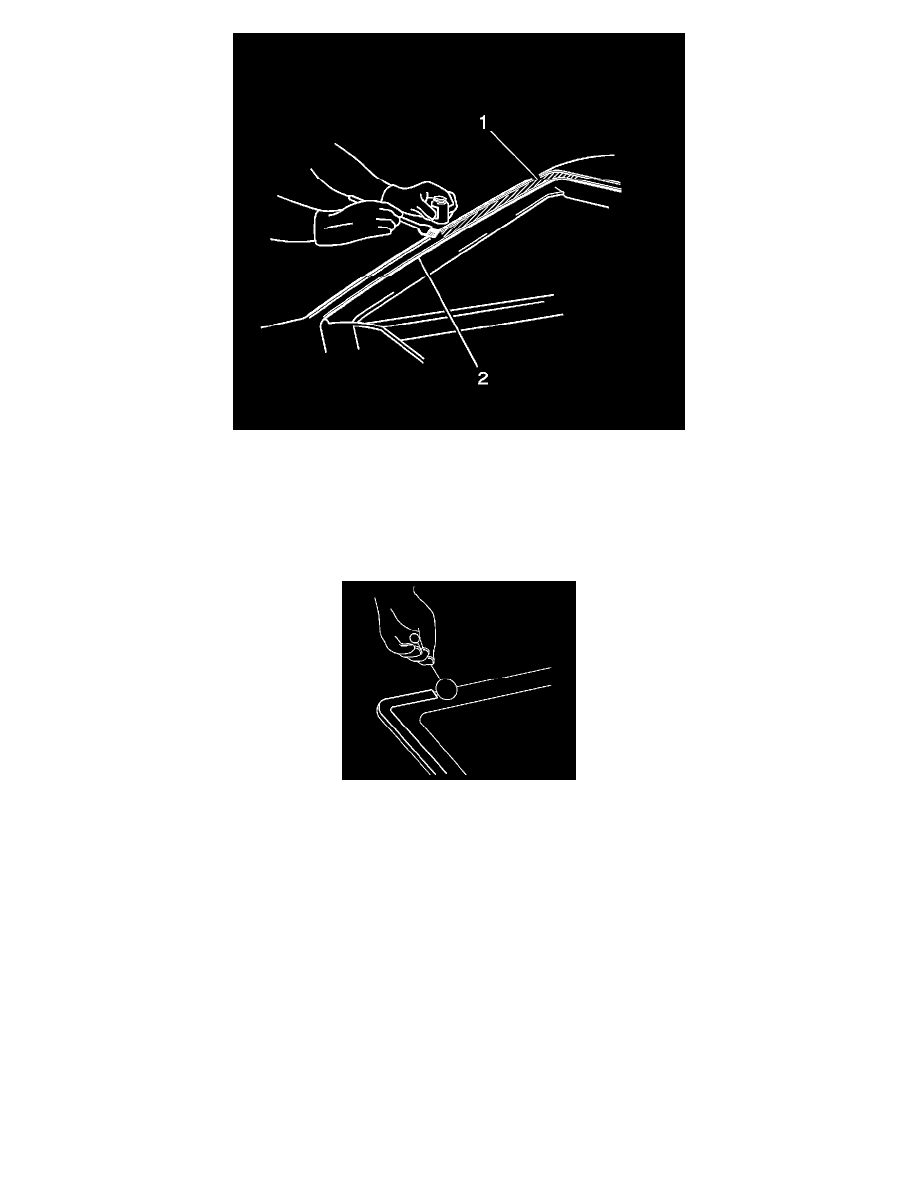
15. Shake the #3 black pinchweld primer well.
16. Using a new dauber, apply the primer coating (1) to the primed surface of the flange in the bond area.
17. Allow the primer coating to dry for approximately 10 minutes.
Important: Use care when applying the #1 clear windshield preparation in order to prevent the windshield preparation from running
into the vision area of the windshield. This primer coating dries almost immediately and may cause discoloration in the vision area of the
windshield.
18. Using a new dauber, apply the #3 clear windshield preparation to the area that is approximately 10 mm to 16 mm (3/8 in to 5/8 in) around the
entire perimeter of the glass inner surface.
19. Apply a second coat of the glass prep number (clear #1) to the same area of the glass.
20. Wipe the primed area immediately with a lint free cloth.
21. Shake the #2 black pinchweld primer well.
