
Monte Carlo V6-204 3.4L DOHC VIN X SFI (1996)
Intake Manifold: Service and Repair
Lower
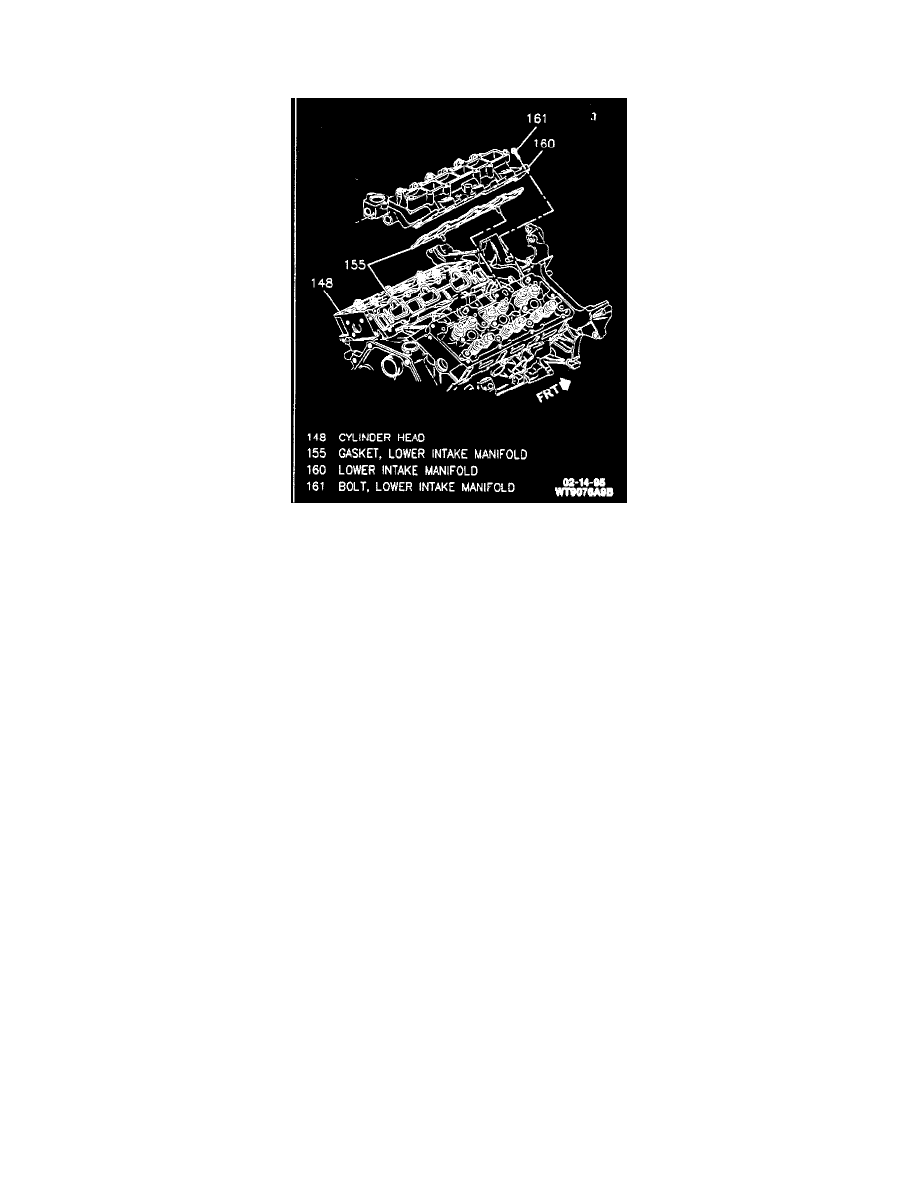
Lower Intake Manifold
REMOVE OR DISCONNECT
1. Upper intake manifold.
2. Fuel rail.
3. Radiator hose from thermostat housing.
4. Electrical connection at temperature sensor.
5. Heater pipe nut at throttle body.
6. Mounting bolts.
7. Lower intake manifold.
8. Gaskets.
CLEAN
^
Gasket material from mating surfaces.
INSTALL OR CONNECT
1. Gaskets.
2. Lower intake manifold.
^
Install 2 - M8 x 1.25 x 50 mm bolts with washers to the vertical holes in the intake manifold. Tighten bolts to 7 Nm (62 lb. in.).
^
Installing the bolts in the vertical holes of the manifold will align the intake bolt grommet bores with the threaded holes in the cylinder heads.
This will minimize the possibility of crossthreading and/or damage to the grommets which could result in leaking intake manifold gaskets.
3. Lower intake manifold mounting bolts. Insert rubber isolators fully into manifold flange before tightening any fasteners.
^
Draw lower manifold in place by tightening bolts gradually, starting with the middle bolts and working in a circular pattern. DO NOT tighten
one side or one end fully. Tighten bolts to 13 Nm (116 lb. in.).
^
Remove the two bolts in the vertical holes of the intake manifold.
4. Heater hose pipe nut at throttle body.
5. Electrical connection at temperature sensor.
6. Radiator hose to thermostat housing.
7. Fuel rail.
8. Upper intake manifold.