Monte Carlo V6-204 3.4L DOHC VIN X SFI (1996)

Notice: Use the correct fastener in the correct location. Replacement fasteners must be the correct part number for that application. Fasteners requiring
replacement or fasteners requiring the use of thread locking compound or sealant are identified in the service procedure. Do not use paints, lubricants,
or corrosion inhibitors on fasteners or fastener joint surfaces unless specified. These coatings affect fastener torque and joint clamping force and may
damage the fastener. Use the correct tightening sequence and specifications when installing fasteners in order to avoid damage to parts and systems.
4. If any tensioner oil has been lost, refill the tensioner actuator with a SAE 5W30 Mobil 1 synthetic engine oil, or equivalent, through the end hole.
5. Fill the tensioner actuator to the bottom of the plug hole only when the tensioner actuator is fully retracted and the pin is installed.
6. Install the rubber end plug at the rear of the tensioner actuator. Push the rubber end plug until the plug is flush and snapped into place.
7. Check to make sure that the rubber end plug has sealed against the tensioner actuator case.
Important: Check to make sure that the tapered fulcrum of the tensioner actuator is properly seated in the bracket bushing. Rotate the tensioner pulley
into the timing belt a maximum of 15 Nm (11 lb ft) in order to allow the engagement of the actuator shaft into the pulley arm socket.
8. Install the timing belt tensioner actuator bushing into the side plate.
9. Inspect the tensioner bushings and the appropriate holes for dirt or any foreign material. Do not lubricate the tensioner bushings or the holes.
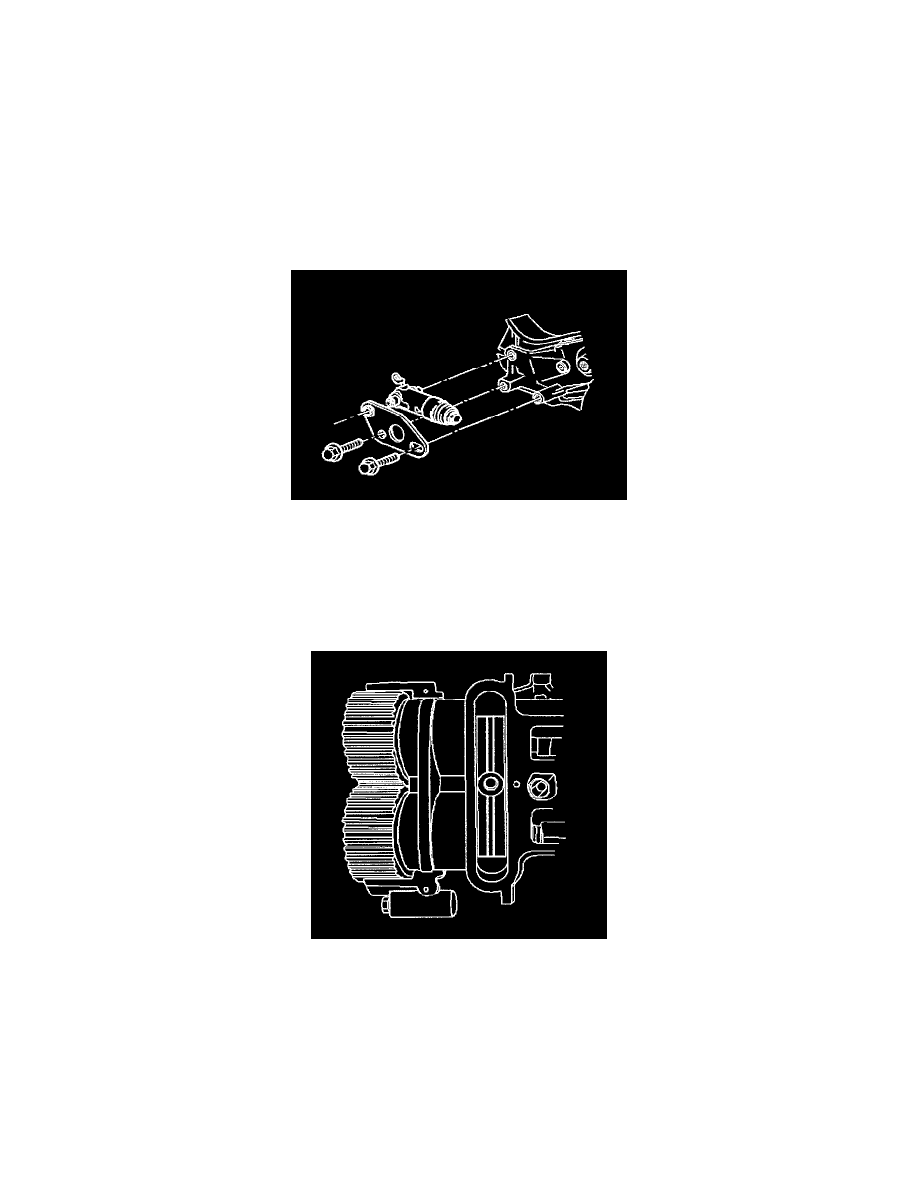
10. Install the tensioner actuator.
11. Install the tensioner actuator side plate. Tighten the tensioner actuator side plate bolts to 25 Nm (18 lb ft).
12. Pull the lock pin. Discard the pin.
13. Retighten the tensioner pulley 15 Nm (11 lb ft) counterclockwise in order to seat the pulley into the timing belt.
14. Install both of the right hand (rear bank) camshaft sprockets. Tighten the camshaft sprocket bolts to 130 Nm (96 lb ft).
15. Remove the J 38613-A from the right-hand (rear bank) side of the camshaft carrier.
16. Rotate the crankshaft 360° clockwise while looking at the front of the engine. Align the crankshaft reference marks.
17. Check to make sure that both of the right-hand (rear bank) camshaft flats are down.
18. Install both of the left-hand (front bank) camshaft sprockets. Tighten the left hand camshaft sprockets to 130 Nm (96 lb ft).
19. Remove the J 38613-A from the left-hand (front bank).
20. Rotate the crankshaft 720° clockwise while looking at the front of the engine. Do this in order to seat the timing belt and verify the correct timing.
21. Check to ensure that both of the camshaft flat spots are up on one bank and down on the opposing bank.
22. Install the left side camshaft carrier cover.
23. Install the right side camshaft carrier cover.
24. Connect the breather hose to the rear camshaft cover.
25. Connect the crankshaft vent to the breather manifold.
