
Monte Carlo V6-204 3.4L DOHC VIN X SFI (1996)
Upper Intake Manifold: Service and Repair
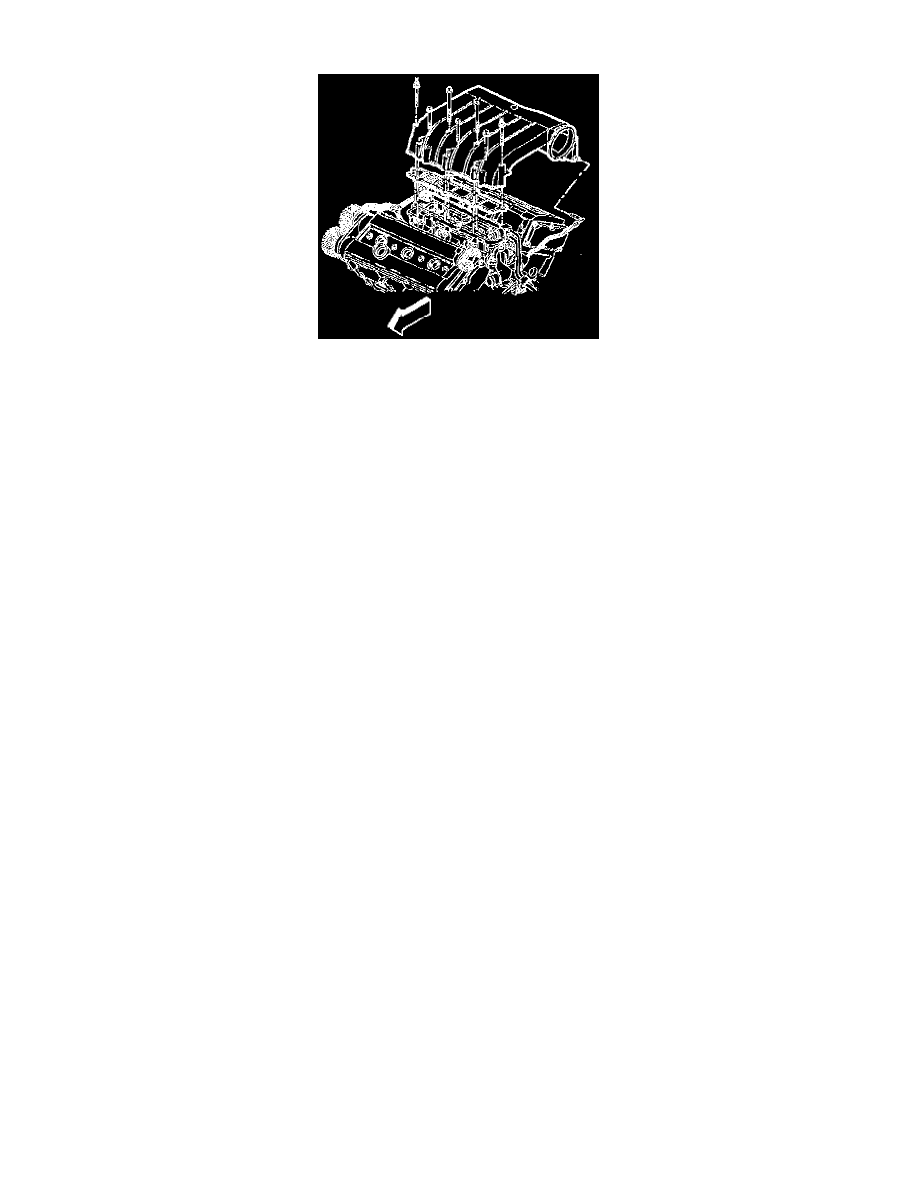
Upper Intake Manifold Service
REMOVAL PROCEDURE
1. Drain coolant; Refer to Cooling System.
2. Remove the fuel rail cover.
3. Remove the throttle body.
4. Remove the throttle body adapter.
5. Remove the canister purge solenoid bracket - bolts.
6. Remove the canister purge solenoid and bracket.
7. Remove the spark plug wires from coils.
8. Remove the control module mounting bolts.
9. Remove the control module and coils.
10. Remove the control module mounting bracket bolts.
11. Remove the control module mounting bracket.
12. Remove the vacuum hose at manifold.
13. Remove the upper intake manifold mounting bolts.
14. Remove the upper intake manifold and gasket.
INSTALLATION PROCEDURE
CAUTION:
^
Do Not use solvent of any type when cleaning the gasket surfaces on the intake manifold and the throttle body assembly, as damage to the gasket
surfaces and throttle body assembly may result.
^
Use care in cleaning the gasket surfaces on the intake manifold and the throttle body assembly, as sharp tools may damage the gasket surfaces.
1. Clean the gasket sealing surfaces.
2. Install the upper intake manifold and gasket.
3. Install the upper intake manifold mounting bolts.
4. Tighten
Bolts to 26 Nm (19 lb ft)
5. Install the vacuum hose at manifold.
6. Install the control module mounting bracket.
7. Install the control module mounting bracket bolts.
8. Tighten
Bolts to 25 Nm (18 lb ft)
9. Install the control module and coils.
10. Install the control module mounting bolts.
11. Tighten
Bolts to 25 Nm (18 lb ft).
12. Install the spark plug wires.