
Monte Carlo V6-3.4L VIN E (2000)
Lower Side Moulding / Trim: Service and Repair
Body Side Molding Replacement
Adhesive Body Side Moldings End Loose
Important: The body side moldings are attached to the body panels with adhesive tape. To insure a good replacement of new or old
moldings emblems and name plates, the panel surface should be warm 21-32°C (70-90°F), clean, and free of any wax or oily film. Methods
are listed to attach loose molding ends, completely removed moldings and replacement moldings emblem and name plates.
1. Wash the affected area with soap and water and wipe dry. Wipe the panel and the adhesive side of the molding with a clean rag using Varnish
Makers and Painters (VM&P) Naphtha.
2. If needed apply a length of masking tape as a molding guide. A straightedge may also be used.
3. Apply the adhesive to the back of the molding and press in place. If the adhesive GM P/N 1052621 or equivalent is used apply the constant
pressure to the molding for 30 seconds or until a firm bond has been made.
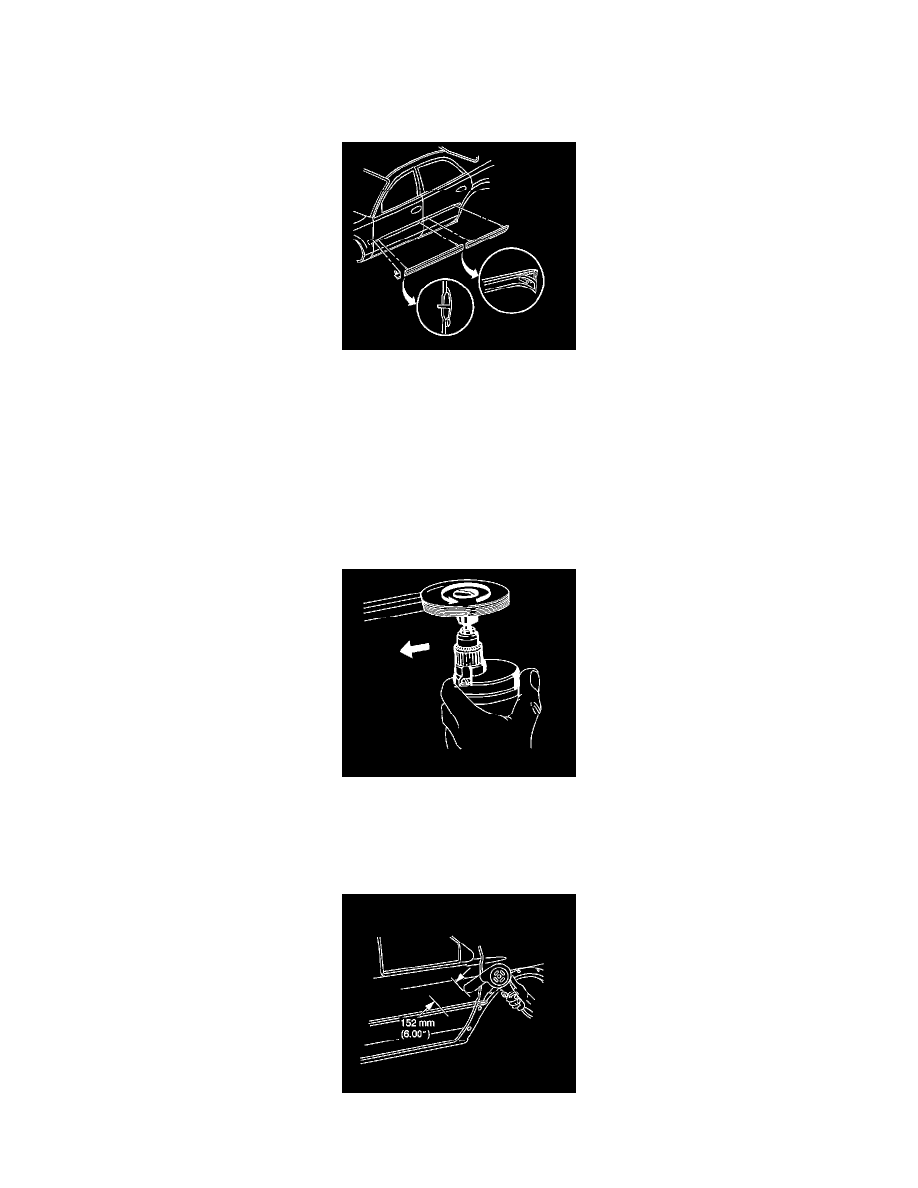
Adhesive Body Side Molding Completely Removed
1. Remove all adhesive from the body panel and the back of the molding using 3M(TM) scotch brite molding adhesive remover disk, 3M(TM) P/N
07501 or equivalent.
2. Wash the affected panel area with soap and water and wipe dry.
3. Remove all traces of adhesive from the body panel and the back of the molding using Varnish Makers and Painters (VM&P) Naphtha.
4. Mark the proper position of the molding with a length of masking tape. Use adjacent moldings as a guide.
5. Warm the body panel with the heat lamp or the heat gun to a minimum of 21°C (70°F).