
Monte Carlo V6-3.4L VIN E (2000)
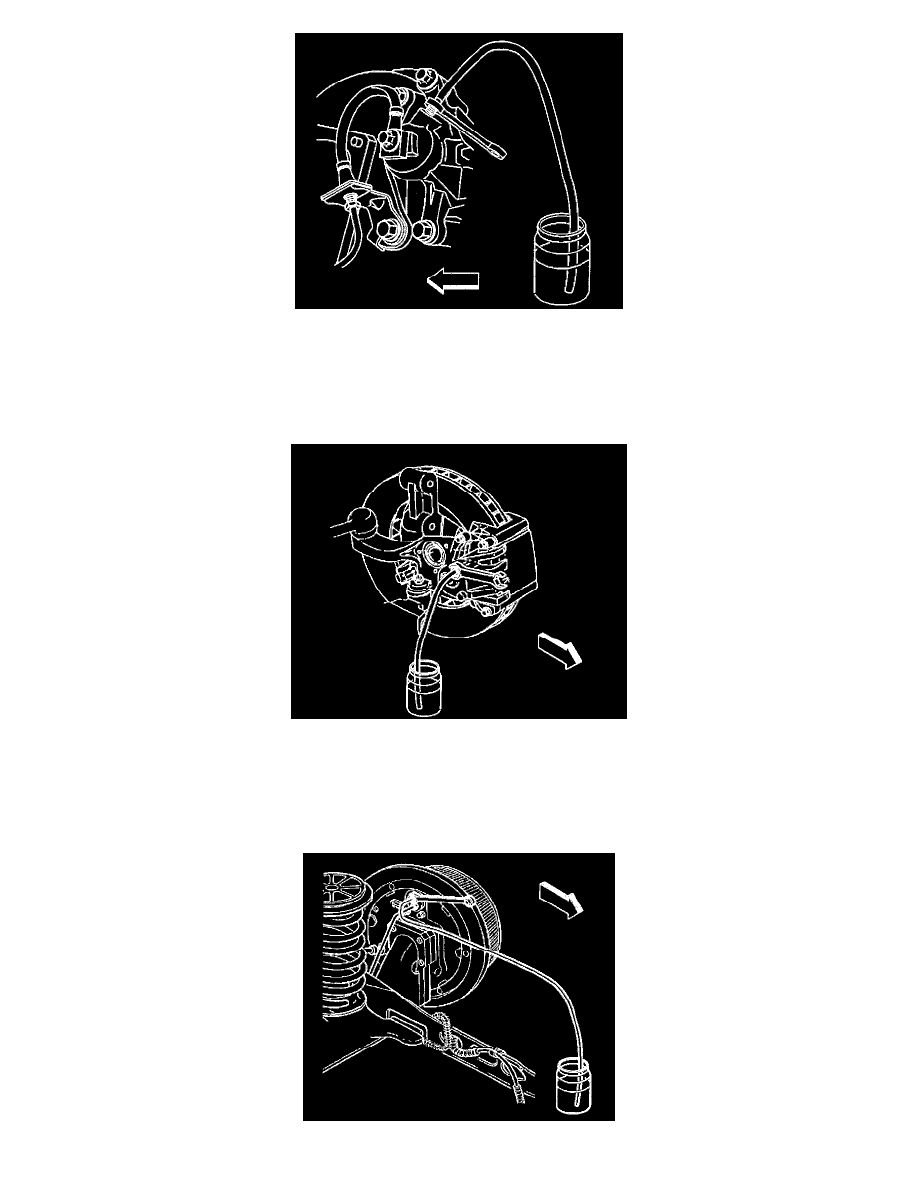
13. Submerge the opposite end of the clear plastic bleeder hose in a clean container partially filled with clean brake fluid.
14. Slowly open the bleeder valve in order to allow the brake fluid to flow.
15. Close the bleeder valve when air bubbles are no longer detected in the brake fluid.
^
For vehicles with rear drum brakes, tighten the wheel cylinder bleeder valve to 7 Nm (62 inch lbs.).
^
For vehicles with rear disc brakes, tighten the wheel cylinder bleeder valve to 11 Nm (97 inch lbs.)
16. Remove the clear plastic bleeder hose from the bleeder valve.
17. Install the clear plastic bleeder hose to the LEFT FRONT brake caliper bleeder valve.
18. Submerge the opposite end of the clear plastic bleeder hose in a clean container partially filled with clean brake fluid.
19. Slowly open the bleeder valve in order to allow the brake fluid to flow.
20. Close the bleeder valve when air bubbles are no longer detected in the brake fluid.
^
Tighten the brake caliper bleeder valve to 13 Nm (115 inch lbs.).
21. Remove the clear plastic bleeder hose from the bleeder valve.