Monte Carlo V6-3.4L VIN E (2000)

Installation Procedure
Notice: Refer to Engine Emission Notice in Service Precautions.
-
Tools Required
-
J 5239 Connecting Rod Bolt Guide Set
-
J 36660-A Torque Angle Meter
1. Install upper connecting rod bearing into connecting rod.
2. Coat the inside surfaces of the upper connecting rod bearing with new engine oil.
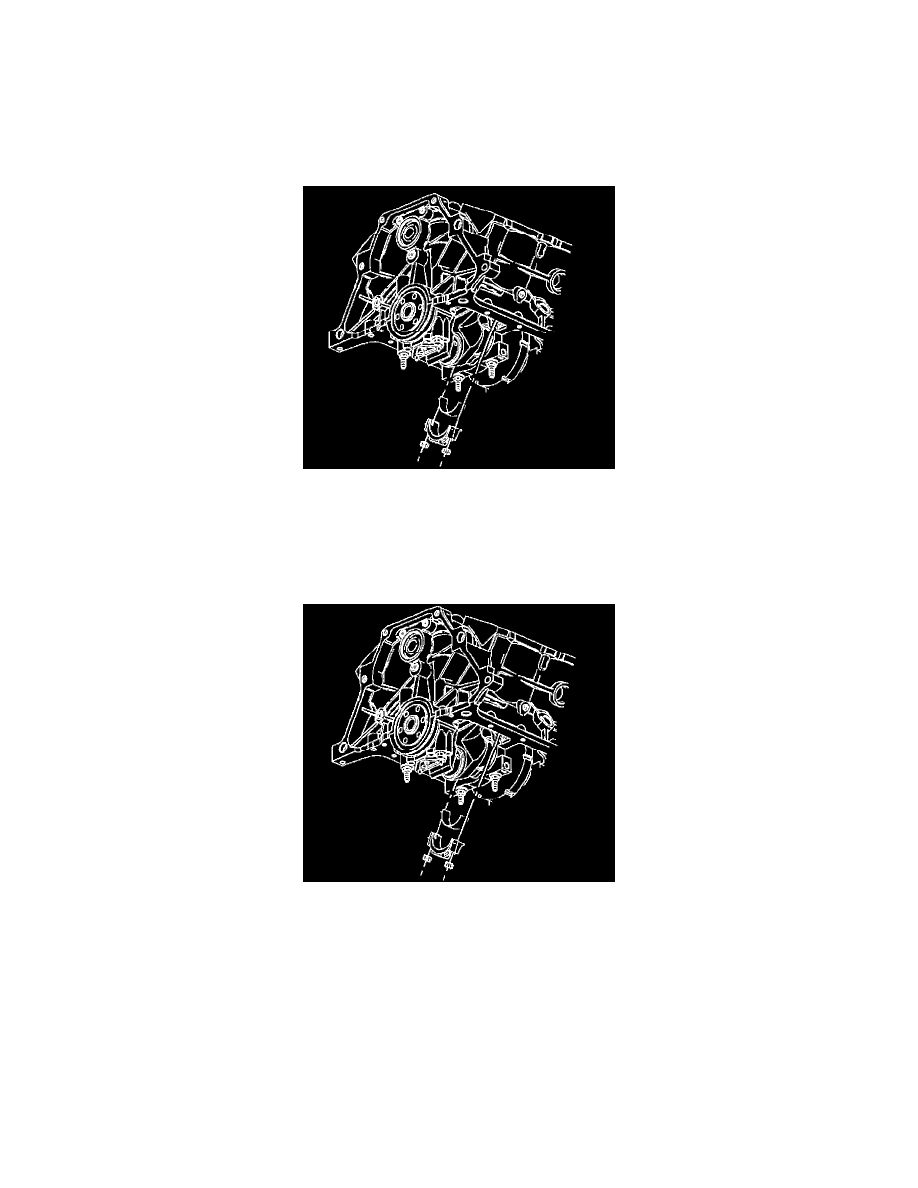
3. Using the J 5239 pull the piston and rod assembly down to the crankshaft.
4. Remove the J 5239.
5. Install the lower connecting rod bearing into the connecting rod cap.
6. Coat the inside surfaces of the lower connecting rod bearing with new engine oil.
7. Install the connecting rod cap with lower connecting rod bearing.
Notice: Refer to Fastener Notice in Service Precautions.
8. Install the connecting rod nuts. Refer to Piston, Connecting Rod, and Bearing Installation.
