
Monte Carlo V6-3.4L VIN E (2000)
Back Window Glass Moulding / Trim: Service and Repair
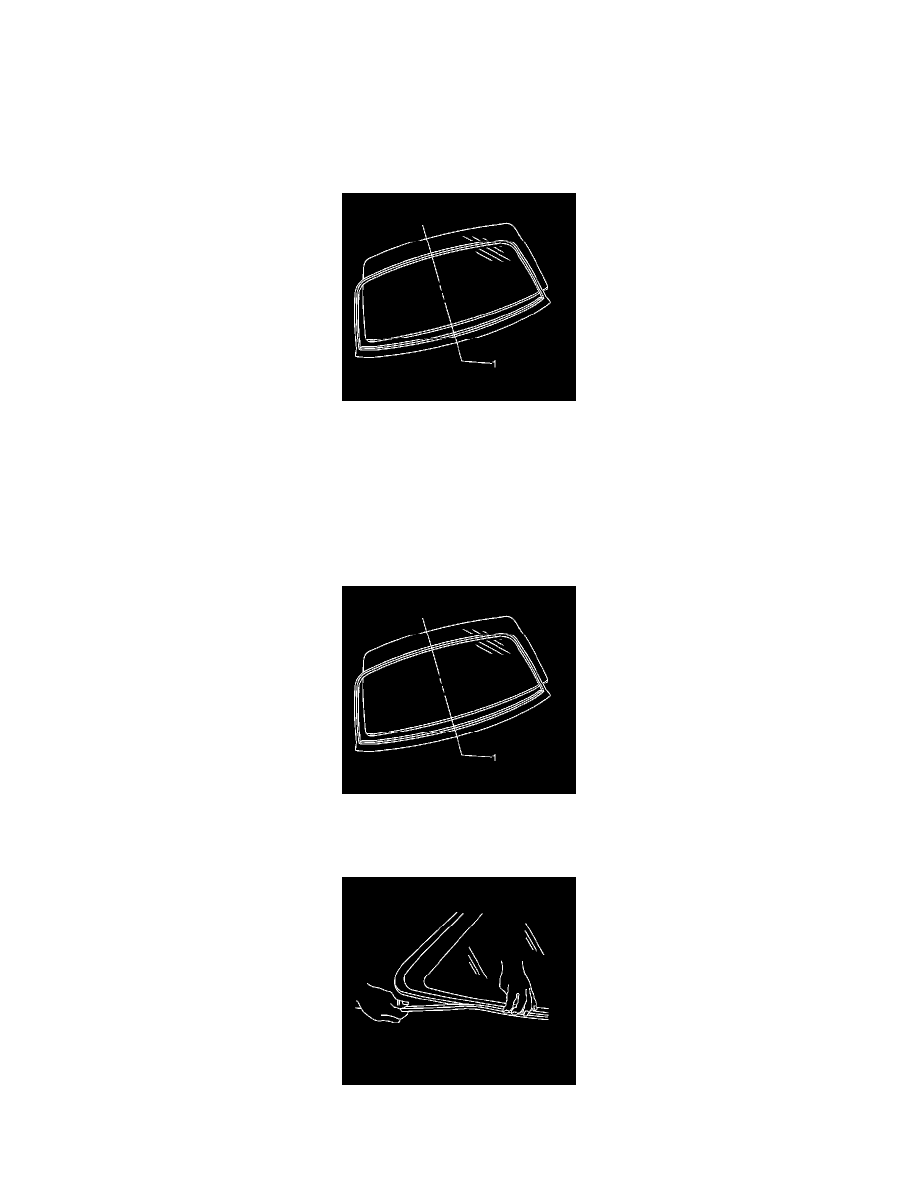
Rear Window Reveal Molding Replacement
Removal Procedure
Important: You must remove the rear window in order to replace the rear window reveal molding. The original rear window reveal
molding must be replaced with a new service part after removal.
1. Use a flat-bladed tool in order to pry the end of the rear window reveal molding out approximately 75 mm (3 in) from the body.
2. Remove the rear window reveal molding, pulling the rear window reveal molding slowly away from the body.
3. Remove the rear window. Refer to Rear Window Replacement (See: Service and Repair).
Installation Procedure
Important: The new rear window reveal moldings are primed and will adhere to the urethane adhesive.
Use a heat lamp, or heat gun if needed, in order to make the rear window reveal molding more pliable.
1. Wipe the rear window area with a clean, dampened cloth using GM Window Cleaner GM P/N 1050427 or isopropyl alcohol in order to clean the
surface of the rear window for the installation of the new rear window reveal molding.
Allow to air dry.
2. Install the rear window reveal molding to the rear window, starting from the center , hand press the rear window reveal molding into place.
3. Apply tape if needed, in order to keep the rear window reveal molding on the rear window.