
Monte Carlo V6-3.8L SC VIN 1 (2004)
2. Install the front door lock in the position through the access hole in the front door inner panel.
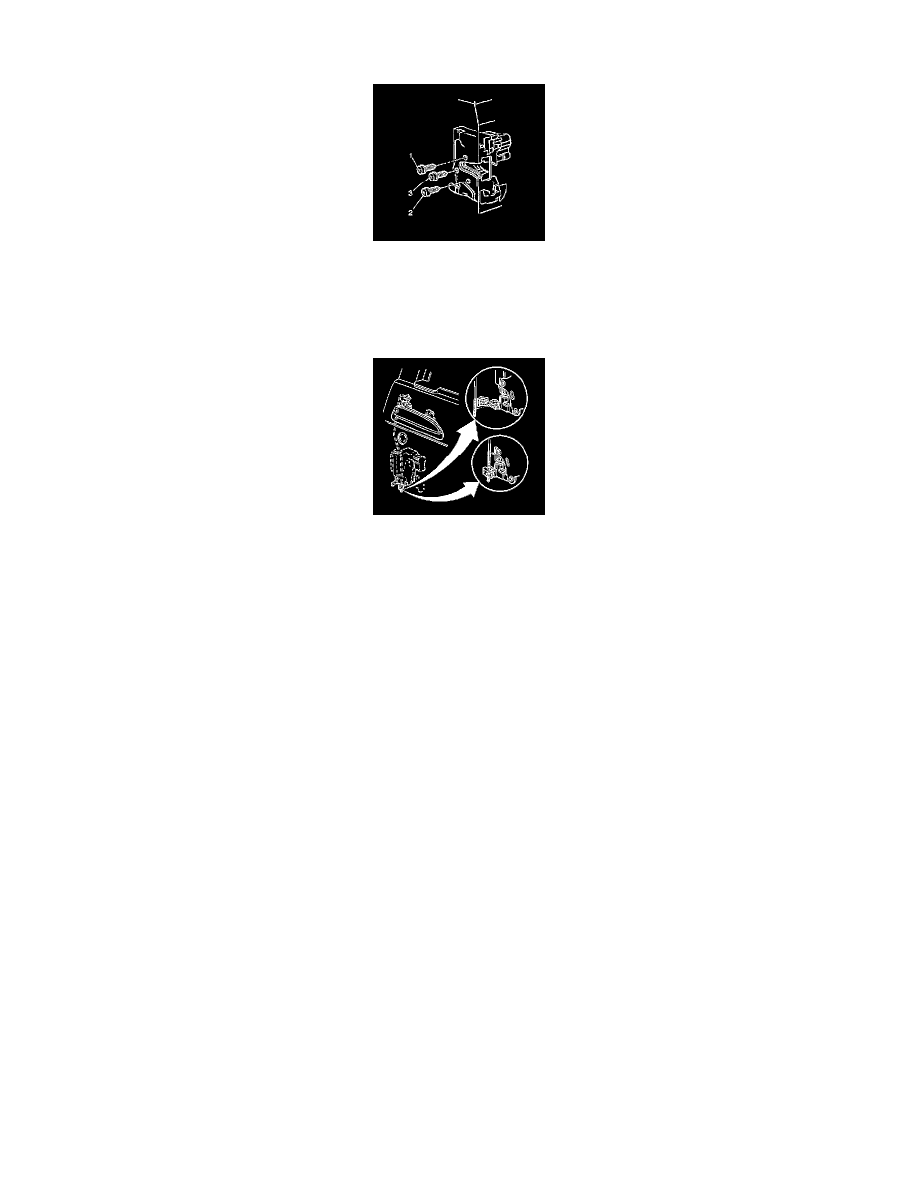
3. Connect the electrical connectors.
Notice: Refer to Fastener Notice in Service Precautions.
4. Install the front door lock screws in the proper fastener tightening sequence: top (1), bottom (2), middle (3).
Tighten the door lock screws to 10 N.m (89 lb in).
5. Install a NEW front door outside handle rod-to-lock clip onto the front door lock lever.
1. Position the front door outside door handle rod in the clip to eliminate any free play in the outside door handle.
2. Install the clip cover closed over the threaded outside door handle rod.
6. Install the clip to the front door inside handle rods.
7. Install the handle rods to the handle.
8. Install the window channel in the door.
9. Install the window channel retainer screw.
Tighten the door lock screws to 2 N.m (18 lb in).
10. Install the inner energy absorber.
11. Install the front door water deflector.
12. Install the front door trim panel.
13. Inspect the lock system for the proper operation.