
Monte Carlo V6-3.8L SC VIN 1 (2004)
Trunk / Liftgate Striker: Service and Repair
Lock Striker Replacement - Rear Compartment Lid
Removal Procedure
1. Open the rear compartment.
2. Remove the rear compartment sill plate.
3. Pull back the rear compartment trim panel. Refer to Compartment Trim Panel Replacement - Rear.
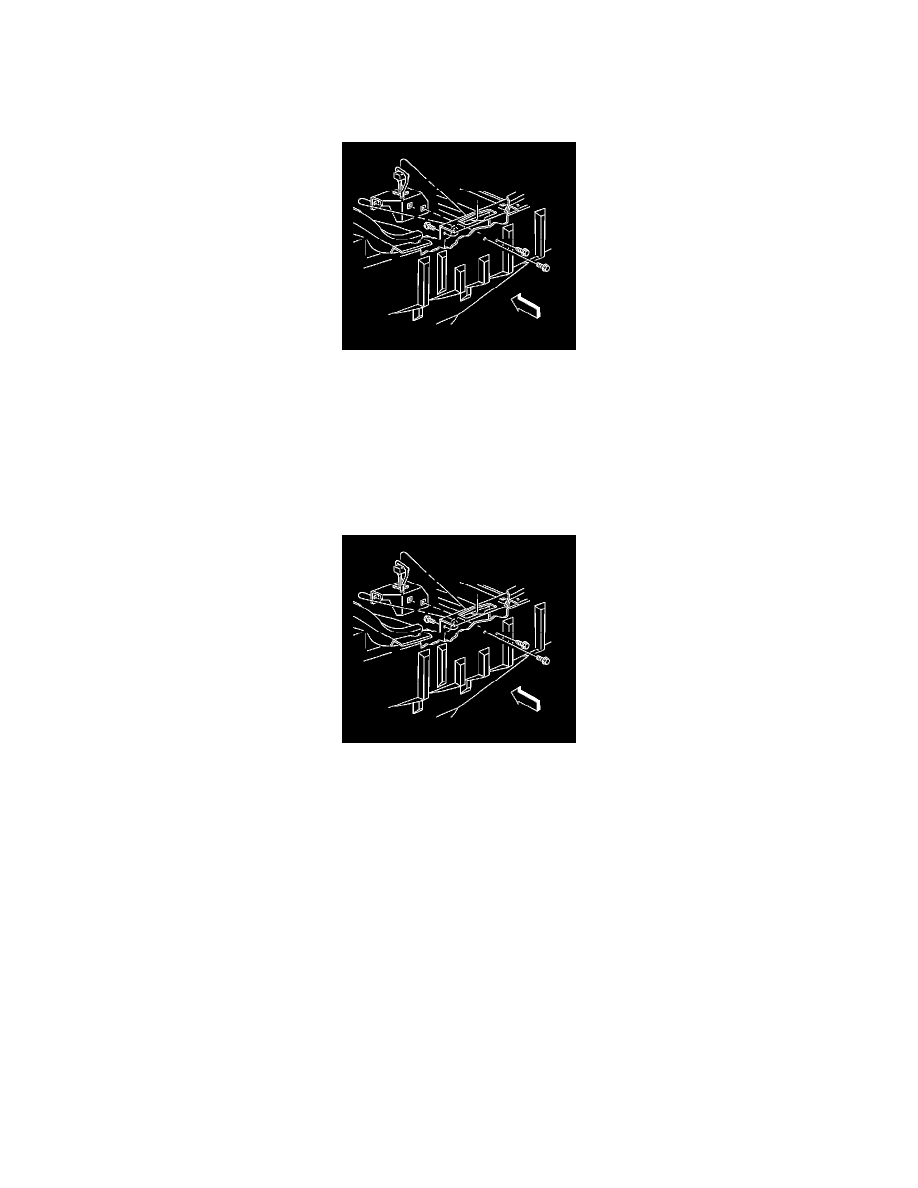
4. Remove the rear compartment lid lock striker bolt from inside the rear compartment.
5. Remove the rear licence plate in order to access the access hole.
6. Remove the rear compartment lid lock striker bolts through the access hole.
7. Remove the rear compartment lid lock striker.
Installation Procedure
1. Align the rear compartment lid lock striker to the rear compartment body panel.
2. Install the rear compartment lid lock striker bolts to the outside and the inside of the vehicle.
Install the outside striker bolts through the access hole.
Hand tighten the outside and the inside bolts, allowing for the adjustment of the lock striker for the rear compartment lid.
Notice: Refer to Fastener Notice in Service Precautions.
Important: Because the sealer may squeeze out on the rear compartment lid lock striker bolts, verify the fastener tightening
specifications at least twice.
3. Close the rear compartment lid in order to set the adjustment.
Tighten the rear compartment lid lock striker outside bolts to 16 N.m (11 lb ft).
4. Open the rear compartment.
Tighten the rear compartment lid lock striker inside bolt to 16 N.m (11 lb ft).
5. Install the rear compartment trim.
6. Install the rear compartment sill plate.
7. Close the rear compartment.
8. Install the rear licence plate.