
Monte Carlo V6-3.8L SC VIN 1 (2004)
Ball Joint: Service and Repair
Lower Ball Joint Replacement
^
Tools Required
-
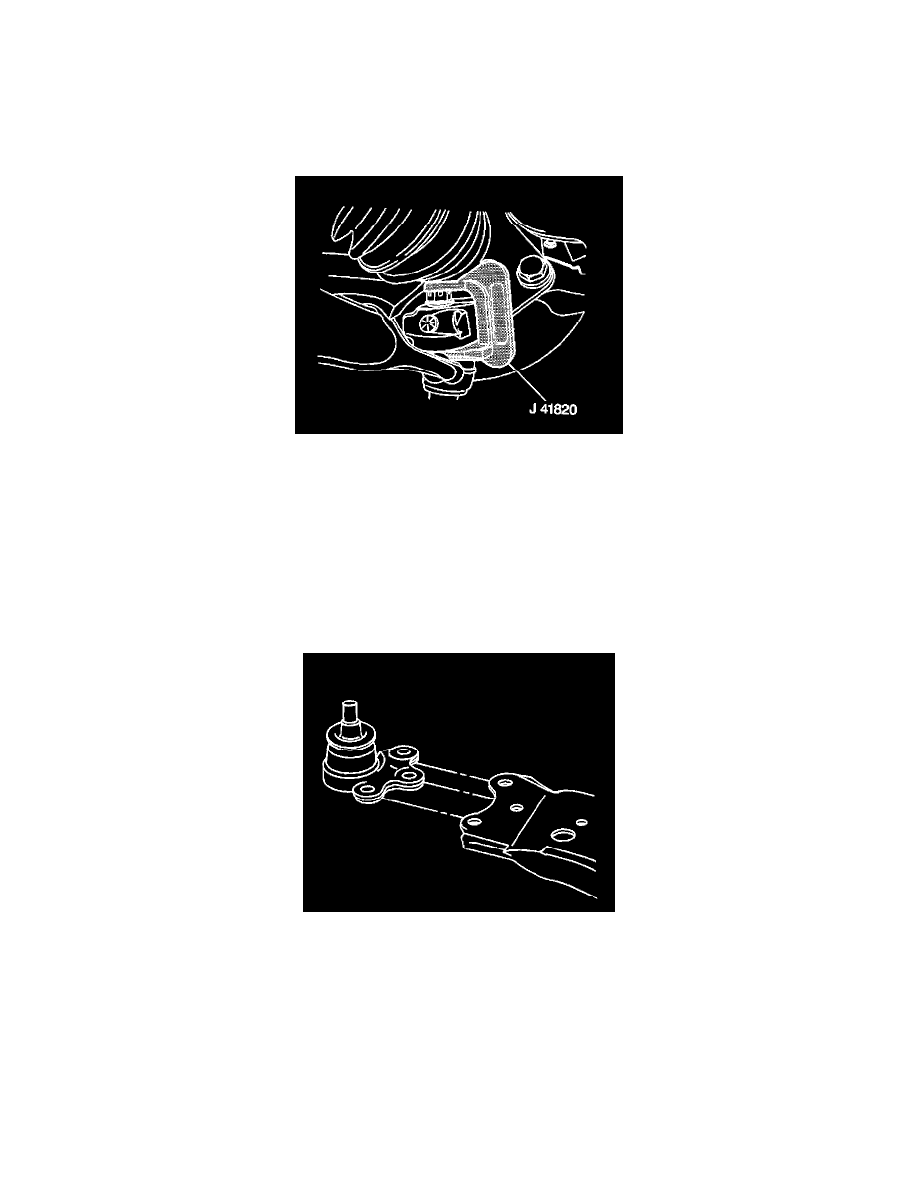
J 41820 Ball Joint/Stud Separator
Removal Procedure
1. Raise and support the vehicle. Refer to Vehicle Lifting.
2. Remove the tire and wheel.
3. Drill a pilot hole through the rivets.
4. Drill the remainder of the rivets.
5. Use a hammer and a chisel in order to remove the remainder of the rivet heads.
6. Remove the cotter pin from the ball stud.
7. Loosen the ball stud nut.
8. Install the J 41820 over the ball stud and lower control arm.
9. Rotate the ball stud nut counterclockwise in order to separate the ball stud from the steering knuckle.
10. Remove the J41820.
11. Remove the ball stud nut.
12. Remove the ball stud from the lower control arm.
Installation Procedure