
Monte Carlo V6-3.8L SC VIN 1 (2004)
7. Install the oil cooler hose/pipes to the retaining clip.
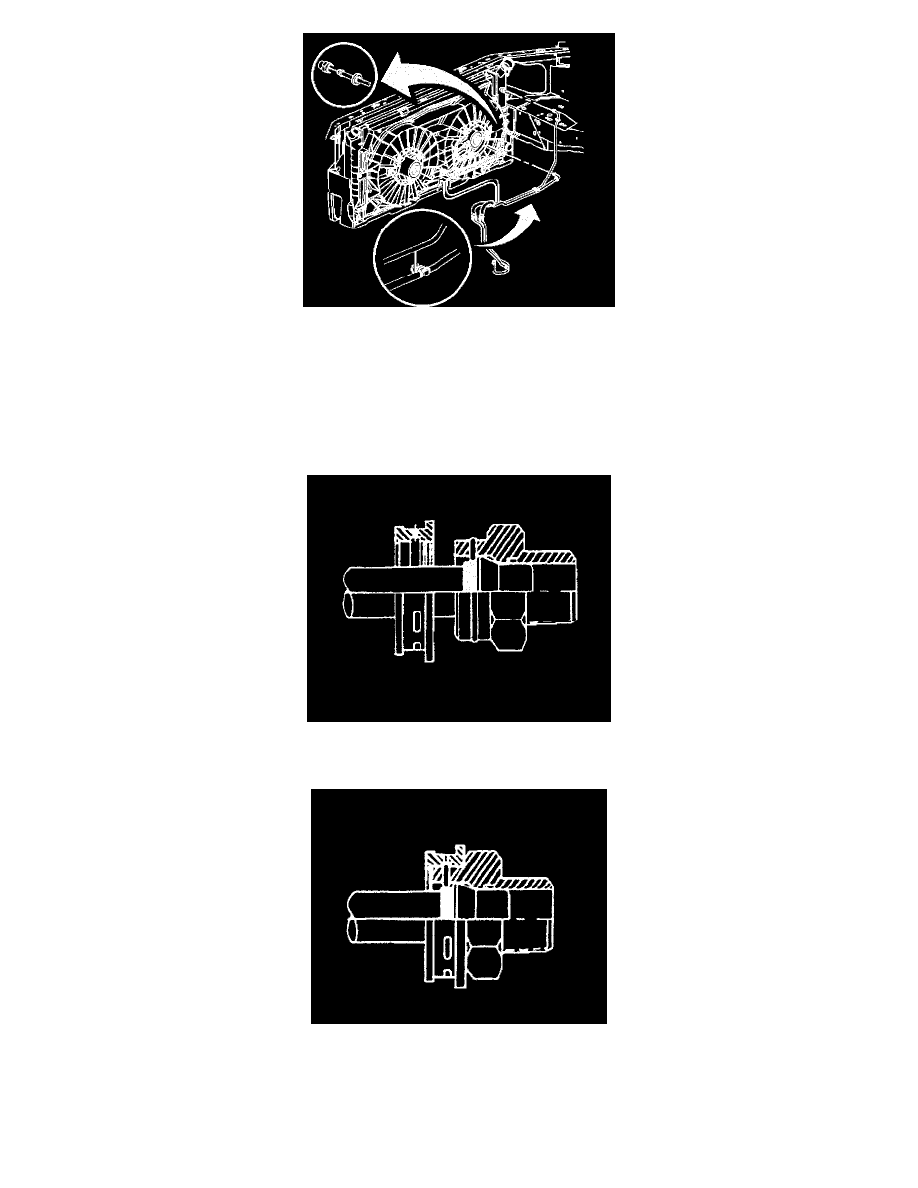
Notice: Ensure that the cooler line being installed has a plastic cap on each end that connects to a quick connect fitting. If no plastic cap exists, or the
plastic cap is damaged, obtain a new plastic cap and position on to the cooler line prior to the cooler line installation.
Important: Do not use the plastic cap to install the oil cooler pipe into the fitting.
8. Install the oil cooler pipe into the quick connect fitting at the radiator.
9. Insert the oil cooler pipe end into the quick connect fitting until a click is either heard or felt.
10. Pull back sharply on the oil cooler pipe in order to ensure that the pipe is fastened into the quick connect fitting.
11. Install the plastic cap onto the fitting. Do not manually depress the retaining ring when installing the cap onto the fitting.
12. Ensure that the cap is fully seated against the fitting.