
Monte Carlo V6-3.8L SC VIN 1 (2004)
Transmission Cooler: Service and Repair
Auxiliary Automatic Transmission Oil Cooler Replacement
Auxiliary Automatic Transmission (AT) Oil Cooler Replacement
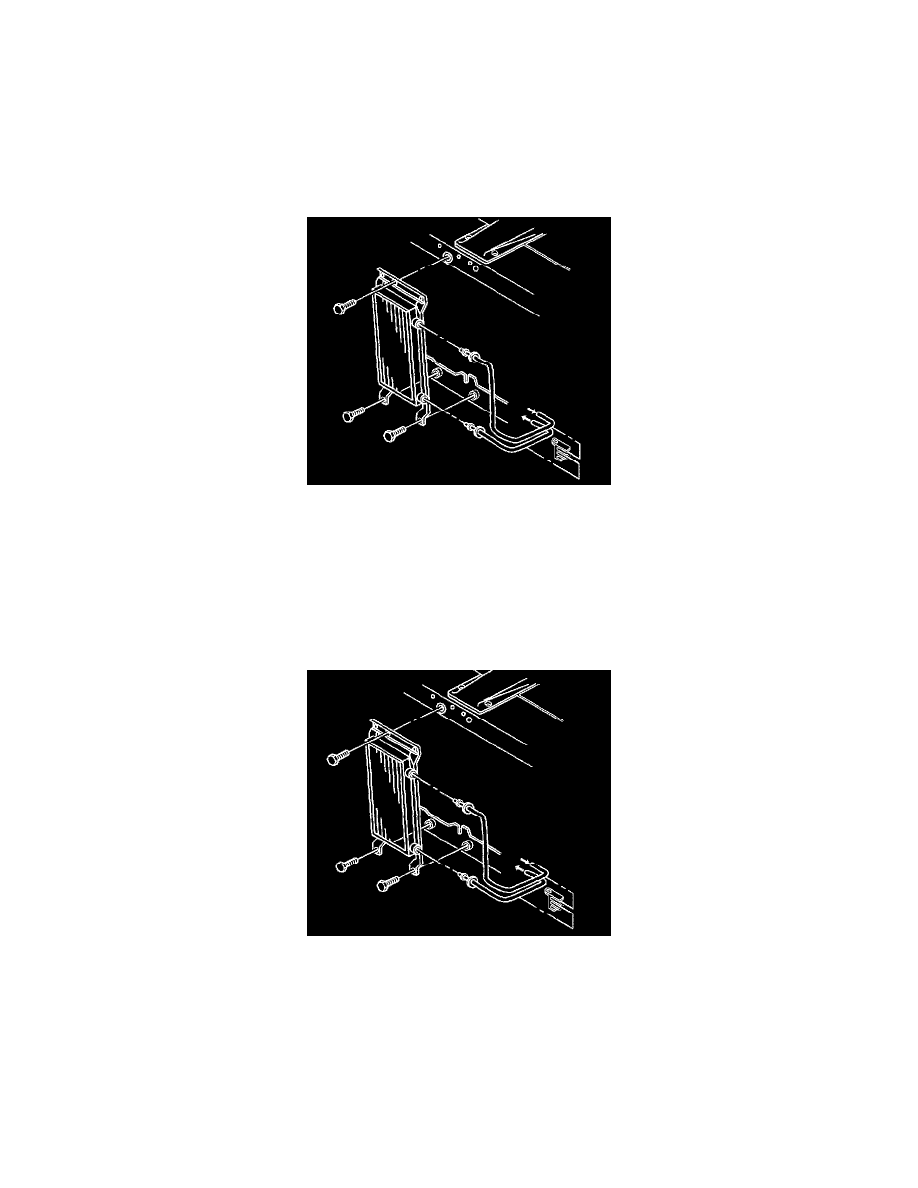
Removal Procedure
Notice: Allow sufficient clearance around the transaxle oil cooler pipes and around the hoses to prevent damage or wear which may cause timid loss
1. Remove the upper radiator air baffle.
2. Remove the auxiliary transaxle oil cooler bolt from the upper radiator support.
3. Raise and support the vehicle.
4. Remove the auxiliary transaxle oil cooler bolts from the lower radiator support.
5. Remove the inlet and outlet auxiliary transmission oil cooler lines from the support clips.
6. Lower the auxiliary transaxle oil cooler below the front bumper.
7. Remove the inlet and outlet auxiliary transaxle oil cooler hoses from the auxiliary transaxle oil cooler.
8. Remove the auxiliary transaxle oil cooler
Installation Procedure
1. Install the inlet and outlet auxiliary transaxle oil cooler hoses to the auxiliary transaxle oil cooler.
2. Install the auxiliary transaxle oil Cooler, to the vehicle.
3. Install the inlet and outlet auxiliary transmission oil cooler lines to the support clips
Notice: Refer to Fastener Notice in Service Precautions.
4. Install the auxiliary transaxle oil cooler bolts to the lower radiator support.
Tighten the bolts to 10 Nm (97 inch lbs.)
5. Lower the vehicle.
6. Install the auxiliary transaxle oil cooler bolt to the upper radiator support.
Tighten the bolt to 25 Nm (18 ft. lbs.).