
Monte Carlo V6-3.8L SC VIN 1 (2004)
Transmission Mount: Service and Repair
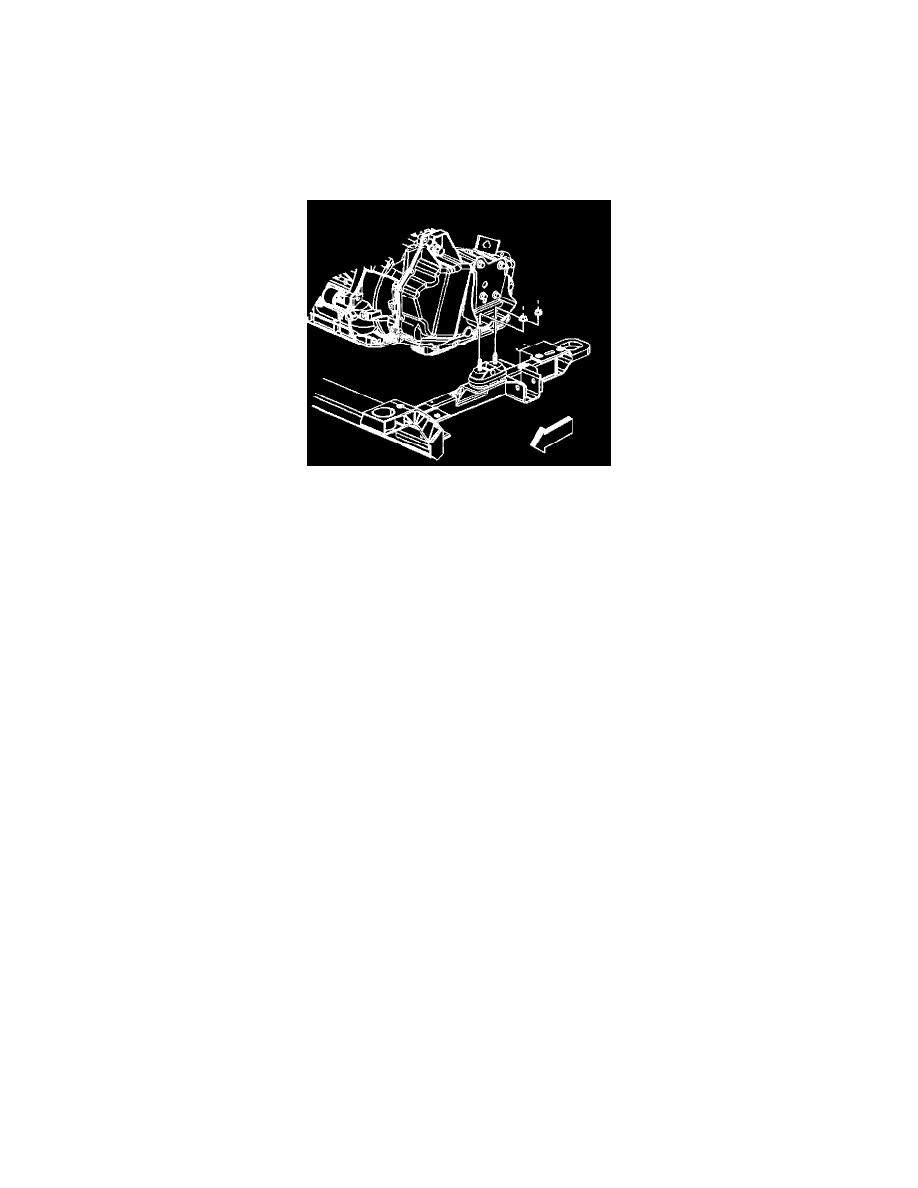
Transmission Mount Inspection
Transmission Mount Inspection
Notice: In order to avoid oil pan damage and possible engine failure, insert a block of wood that spans the width of the oil pan bottom between the oil
pan and the jack support.
1. Raise and support the vehicle.
Important: Before replacing any transmission/transaxle mount due to suspected fluid loss, verify that the source of the fluid is the
transmission/transaxle mount, not the engine transmission/transaxle or accessories.
2. Raise the transmission/transaxle in order to remove the weight from the transmission/transaxle mount and create slight tension in the rubber.
3. Observe the transmission/transaxle mount while raising the transmission/transaxle. Replace the transmission/transaxle mount if the
transmission/transaxle mount exhibits any of the following conditions:
^
The hard rubber surface is covered with heat check cracks.
^
The rubber is separated from the metal plate of the transmission/transaxle mount
^
The rubber is split through the center of the transmission/transaxle mount.
^
If the transaxle needs replaced.
4. If there is movement between the metal plate of the transmission/transaxle mount and its attaching points, lower the transmission/transaxle on the
transmission/transaxle mount. Tighten the bolts or nuts attaching the transmission/transaxle mount to the frame or transmission/transaxle mount
bracket.
5. Lower the vehicle.