
Monte Carlo V6-3.8L VIN K (1998)
IMPORTANT: Do not use force when removing the connecting rod and piston. Avoid breaking the piston rings and damaging the piston.
11. Remove the piston, connecting rod and upper connecting rod bearing. Push out the piston, connecting rod and upper connecting rod bearing with a
suitable tool.
12. Inspect the piston, connecting rod and connecting rod bearing. Refer to Piston, Connecting Rod and Bearings Clean/Inspect.
INSTALLATION PROCEDURE
^
Tools Required
-
J8037 Piston Ring Compressor
-
J36660 Torque Angle Meter
-
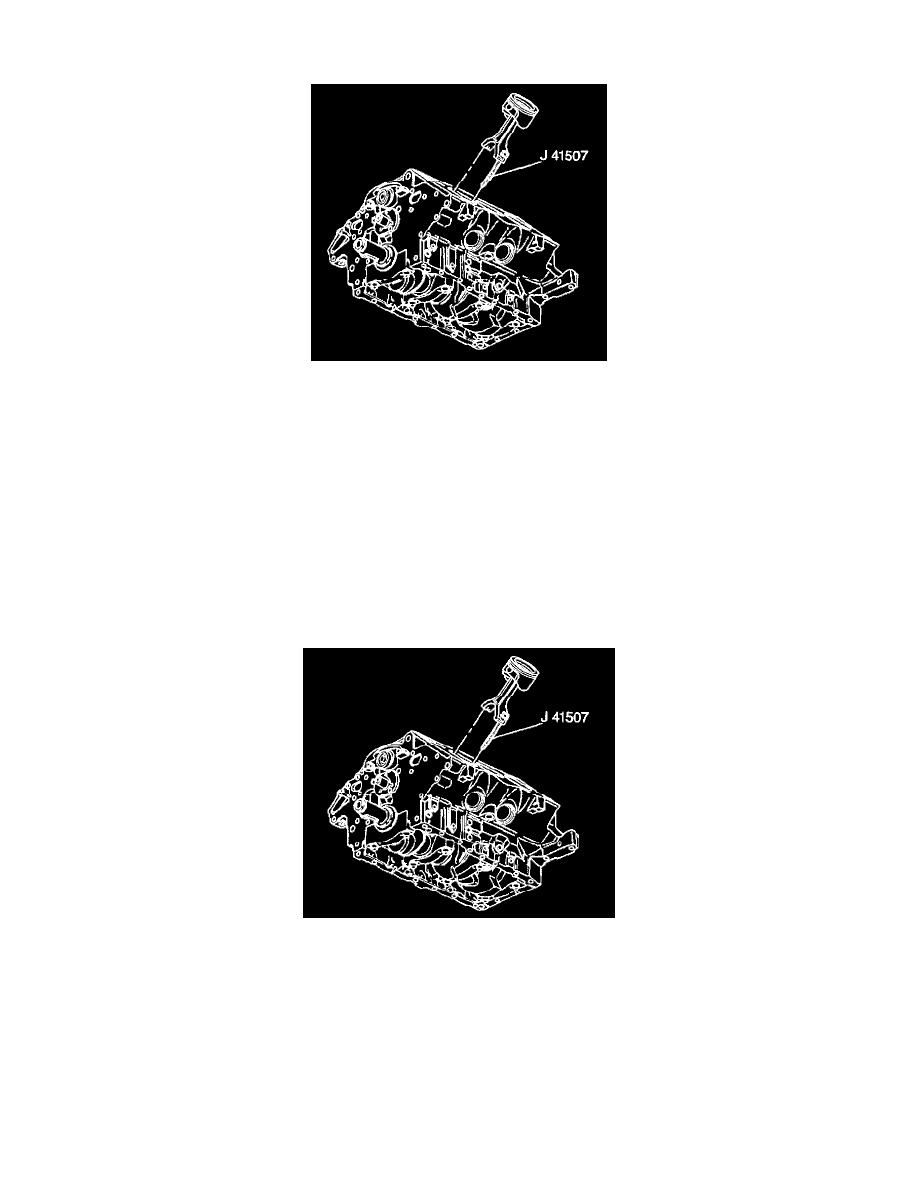
J41507 Connecting Rod Assembly Guide
1. Install the piston rings to the piston. Stagger the ring gaps to provide an effective compression seal. Refer to Piston and Connecting Rod Assemble.
2. Turn the crankshaft to Bottom Dead Center (BDC).
3. Lubricate the cylinder with oil.
4. Install the upper connecting rod bearing.
5. Install the J41507 on the connecting rod.