
Monte Carlo V6-3.8L VIN K (1998)
Harmonic Balancer - Crankshaft Pulley: Service and Repair
REMOVAL PROCEDURE
^
Tools Required
-
J37096 Flywheel Holding Tool
-
J38197 Crankshaft Balancer Puller
-
J36660 Torque Angle Meter
1. Disconnect the battery ground (negative) cable. Refer to Battery Negative Cable Disconnect/Connect in Starting and Charging.
2. Remove the drive belt. Refer to Drive Belt Replacement.
3. Raise and suitably support the vehicle. Refer to Vehicle Lifting.
4. Remove the right front tire and wheel. Refer to Wheel Removal in Tires and Wheels.
5. Remove the right engine splash shield.
6. Remove the torque converter cover. Refer to Torque Converter Cover Replacement in Automatic Transmission/Transaxle.
7. Install the J37096.
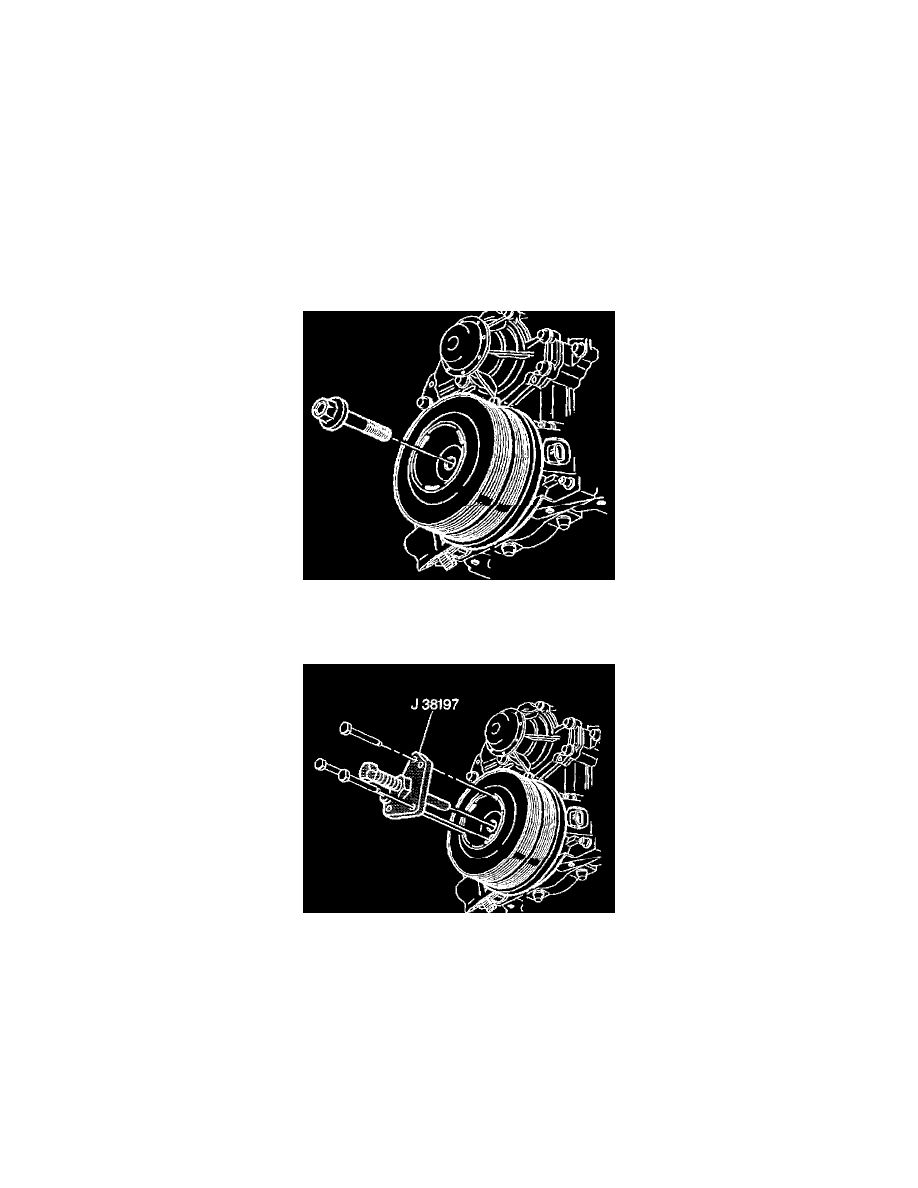
8. Remove the crankshaft balancer retaining bolt.
NOTICE: Service the balancer as a unit. Do not separate the pulley from the balancer hub.
9. Install the J38197.
10. Remove the crankshaft balancer.
11. Remove the J38197
INSTALLATION PROCEDURE
1. Coat the engine front cover seal contact area on the crankshaft balancer, and the seal surface with engine oil.