
Monte Carlo V6-3.8L VIN K (1998)
7. Remove the right (rear) valve rocker arm cover.
8. Remove the right (rear) valve rocker arm cover gasket.
9. Clean the sealing surface on the cylinder head and the valve rocker arm cover with a degreaser.
10. Clean the valve rocker arm cover bolts of all thread locking adhesive.
INSTALLATION PROCEDURE
1. Install the new valve rocker arm cover gasket. Ensure that the valve rocker arm cover gasket is seated properly in the valve rocker arm cover
groove.
2. Install the right (rear) valve rocker arm cover.
3. Apply thread lock compound GM P/N 1234593 or equivalent to the valve rocker arm cover bolt threads.
4. Install the right (rear) valve rocker arm cover bolts.
^
Tighten the right (rear) valve rocker arm cover bolts to 10 Nm (89 inch lbs.).
NOTICE: Refer to Fastener Notice in Service Precautions.
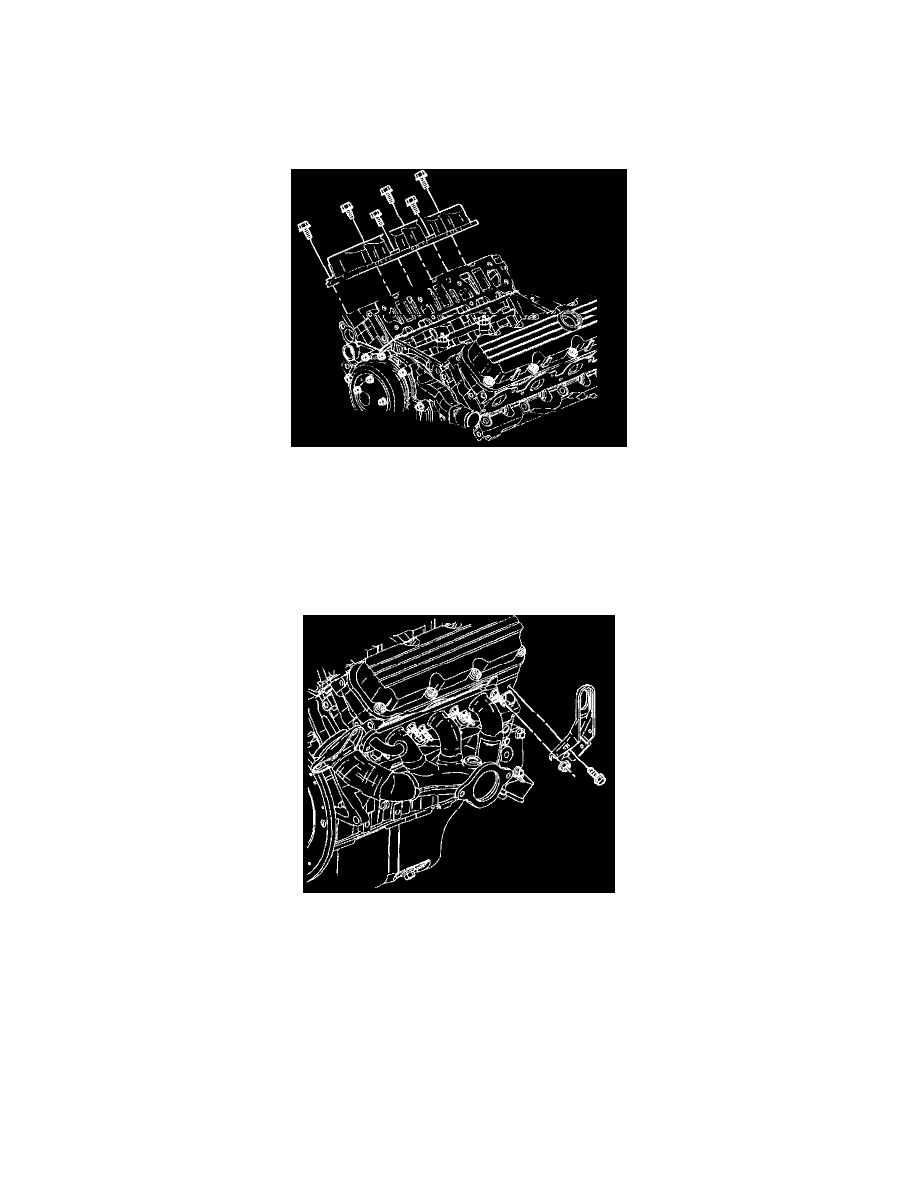
5. Install the right (rear) engine lift bracket to the exhaust manifold studs.
6. Install the right (rear) engine lift bracket bolt and nut.
^
Tighten the right (rear) engine lift bracket bolt and nut to 30 Nm (22 ft. lbs.).