
Monte Carlo V6-3.8L VIN K (1998)
Oil Pan: Service and Repair
REMOVAL PROCEDURE
^
Tools Required
-
J28467-A Engine Support Fixture
-
J28467-90 Engine Support Fixture Adapters
-
J36462 Engine Support Fixture Leg
1. Disconnect the battery ground (negative) cable. Refer to Battery Negative Cable Disconnect/Connect in Starting and Charging.
2. Remove the engine mount struts from the engine. Refer to Engine Mount Strut Replacement (Left) and Engine Mount Strut Replacement (Right).
3. Install the J28467-A, J28467-90 and J36462.
4. Raise and suitably support the vehicle. Refer to Vehicle Lifting.
5. Disconnect the three-way catalytic converter pipe from the right (rear) exhaust manifold. Refer to Catalytic Converter Replacement (3800 L36
(VIN K)) in Emission Control Systems.
6. Remove the right front tire and wheel. Refer to Wheel Removal in Tires and Wheels.
7. Remove the right engine splash shield.
8. Drain the engine oil. Refer to Engine Oil and Oil Filter Replacement.
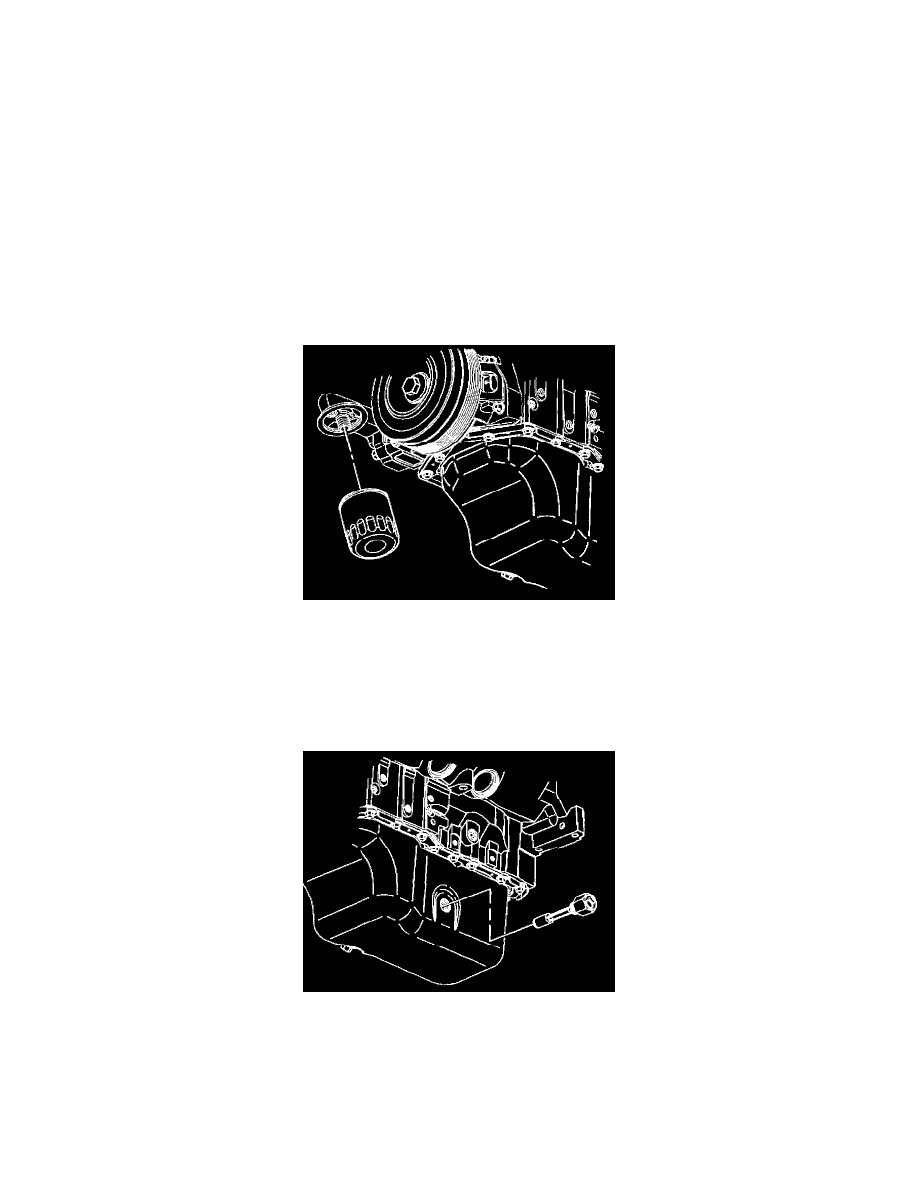
9. Remove the oil filter. Refer to Engine Oil and Oil Filter Replacement.
10. Remove the engine mount bracket bolts from the engine. Refer to Engine Mount Bracket Replacement.
11. Remove the torque converter cover. Refer to Torque Converter Cover Replacement in Automatic Transmission/Transaxle.
12. Disconnect the oil level sensor wiring harness connector.
NOTICE: Remove the oil level sensor, located in the oil pan, before the oil pan is removed. The sensor may be damaged if the oil pan is removed
first.
13. Remove the oil level sensor.
14. If necessary, use the engine support fixture in order to raise the engine.