
Monte Carlo V6-3.8L VIN K (1998)
Intake Manifold: Service and Repair
Intake Manifold Replacement (Upper)
REMOVAL PROCEDURES
NOTICE: The two bolts which fasten the lower intake manifold to the cylinder head are accessible only after the upper intake is removed. The bolts
are located in the right front and left rear corners of the lower intake manifold. Remove the upper intake manifold to service the lower intake,
1. Disconnect the battery ground (negative) cable. Refer to Battery Negative Cable Disconnect/Connect in Starting and Charging.
2. Remove the throttle body air inlet duct. Refer to Powertrain Management.
3. Drain the coolant from the cooling system. Refer to Draining and Filling Cooling System in Cooling System.
4. Remove the fuel injector sight shield. Refer to Engine Cover Replacement See: Service and Repair
5. Remove the right (rear) spark plug wires. Refer to Spark Plug Wire Harness Replacement (3800 L36 (VIN K) in Ignition System.
6. Disconnect the evaporative emissions canister purge solenoid valve wiring harness connector. Refer to Powertrain Management.
7. Relieve the fuel pressure. refer to Powertrain Management.
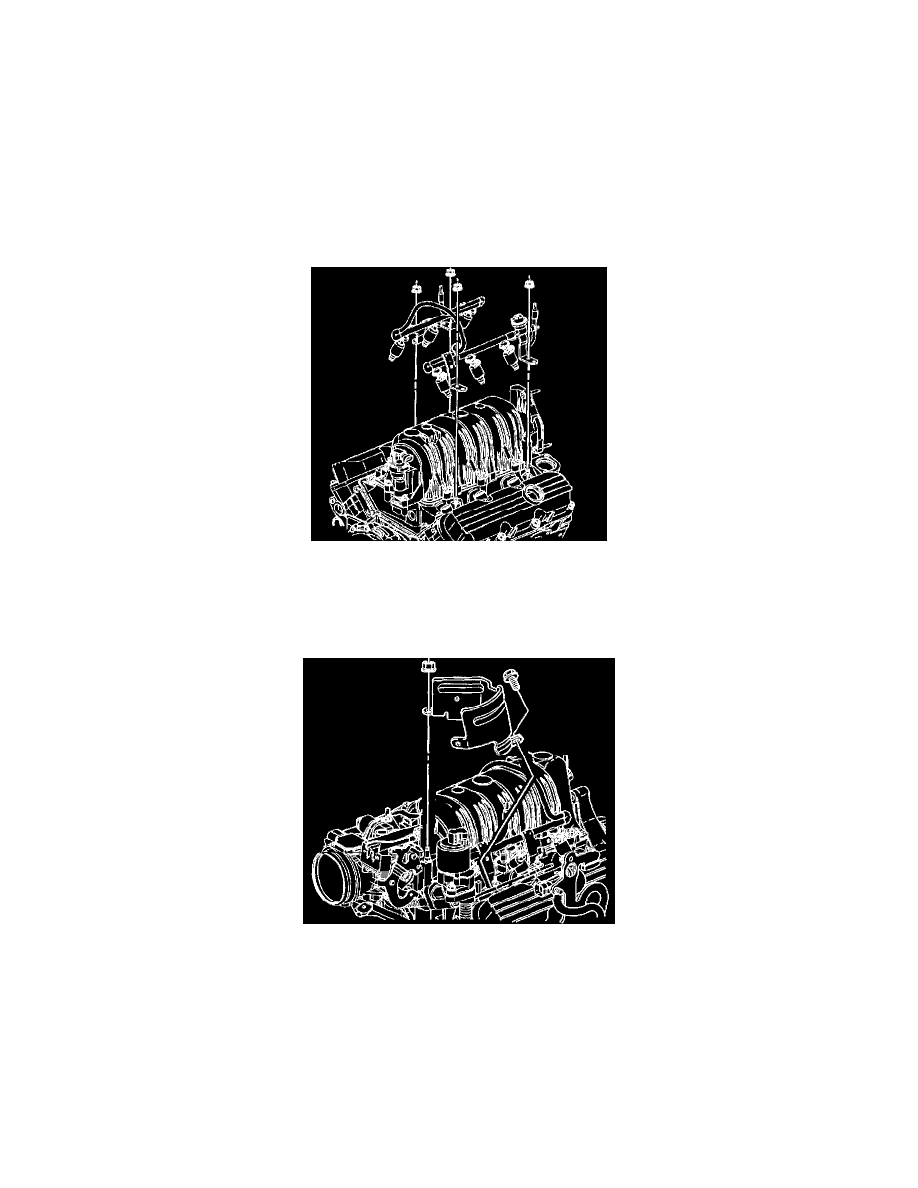
8. Remove the fuel rail.
9. Remove the brake booster hose from the vacuum source manifold in the upper intake manifold. Refer to Vacuum Brake Booster Hose
Replacement (Vacuum Hose Replacement) in Hydraulic Brakes.
10. Remove the EGR shield to the upper intake manifold. Refer to Powertrain Management.