
Monte Carlo V6-3.8L VIN K (1998)
Exhaust Manifold: Service and Repair
Exhaust Manifold Replacement (Left Front)
REMOVAL PROCEDURE
1. Remove the fuel injector sight shield. Refer to Engine Cover Replacement See: Engine/Service and Repair.
2. Disconnect the battery ground (negative) cable. Refer to Battery Negative Cable Disconnect/Connect in Starting and Charging.
3. Remove the engine mount struts. Refer to Engine Mount Strut Replacement (Left) and Engine Mount Strut Replacement (Right).
4. Remove the exhaust crossover pipe from the left (front) exhaust manifold. Refer to Exhaust Crossover Replacement.
5. Disconnect the left (front) spark plug wires. Refer to Spark Plug Wire Harness Replacement (3800 L36 (VIN K)) in Ignition System.
6. Remove the oil level indicator tube bracket. Refer to Oil Level Indicator and Tube Replacement.
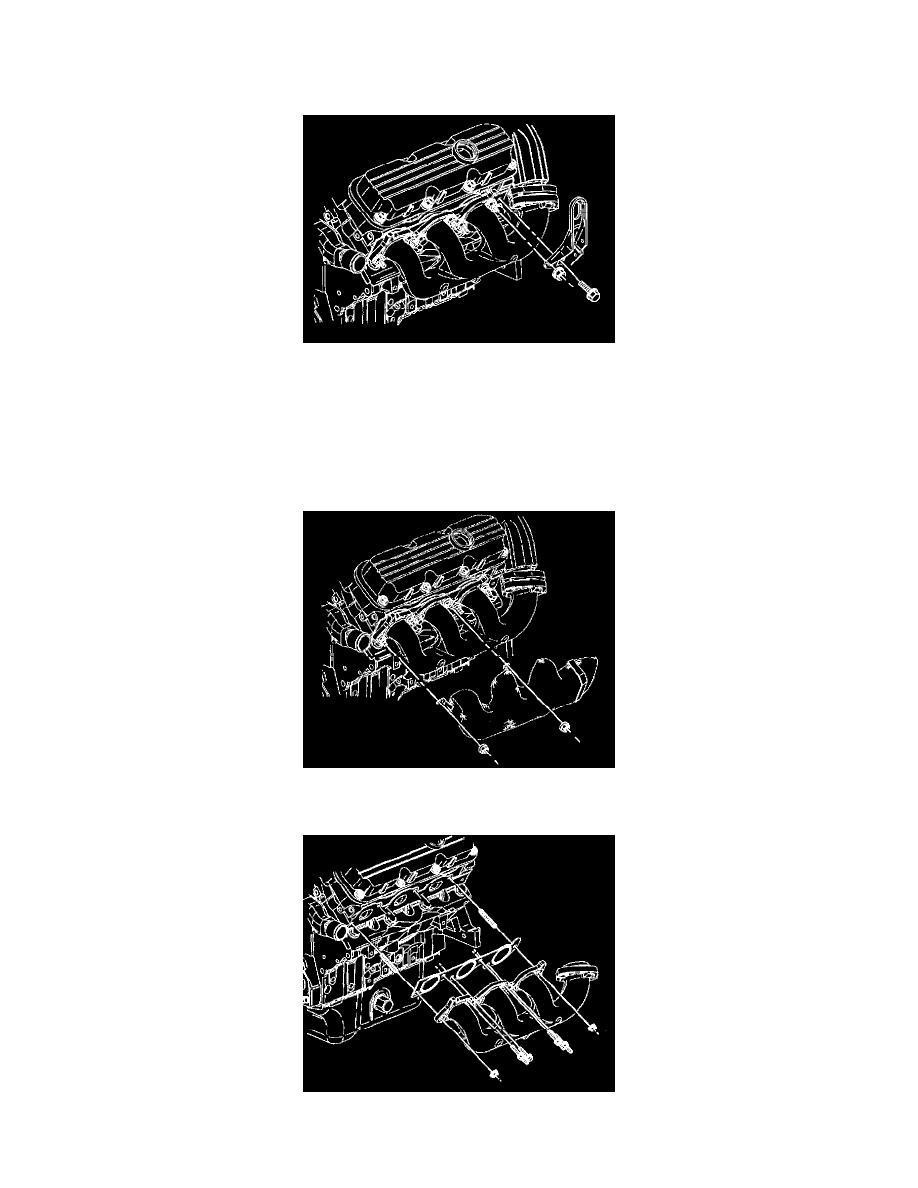
7. Remove the left (front) engine lift bracket bolt and nut from the left (front) exhaust manifold.
8. Remove the left (front) engine lift bracket from the left (front) exhaust manifold.
9. Remove the left (front) exhaust manifold heat shield nuts.
10. Remove the left (front) exhaust manifold heat shield.
11. Remove the left (front) exhaust manifold retaining bolts and nuts.
12. Remove the left (front) exhaust manifold.