
Monte Carlo V6-3.8L VIN K (1998)
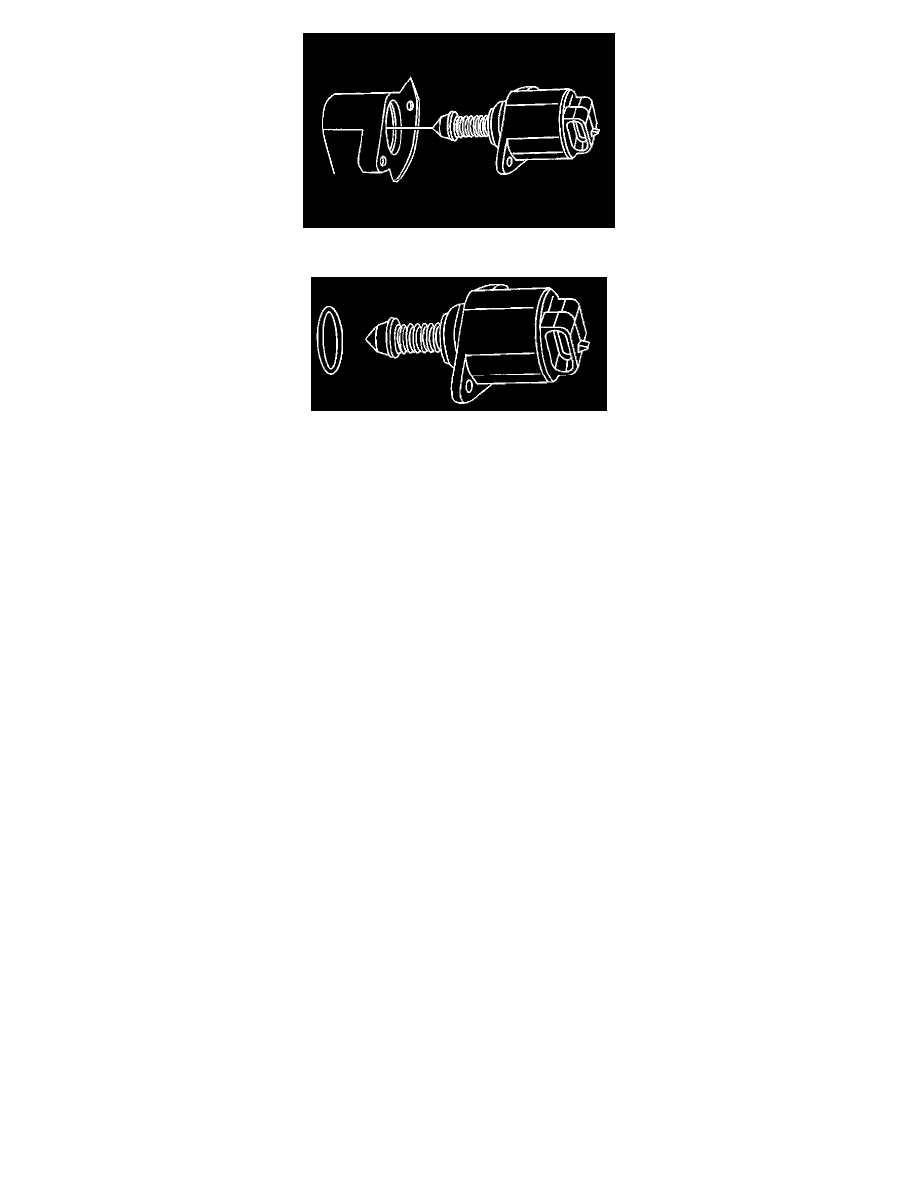
4. Remove the idle air control valve.
5. Remove the idle air control valve O-ring.
INSTALLATION PROCEDURE
CAUTION: The IAC valve may be damaged if installed with the cone (pintle) extended more than 28 mm (1-1/8 in). Measure the distance that the
valve is extended before installing a new valve. The distance from the idle air control valve motor housing to the end of the idle air control valve
pintle should be less than 28 mm (1-1/8 in). Manually compressing the pintle until the extension is less than 28 mm (1-1/8 in).
1. Install the new idle air control O-ring.
2. Install the idle air control valve in the intake manifold.
3. Install the idle air control valve attaching screws.
Tighten
^
Idle air control valve attaching screws to 3.0 Nm (27 lb. in).
4. Install the electrical connector to the idle air control valve.
5. The PCM will reset the idle air control valve whenever the ignition switch is turned ON, then OFF. Turn the ignition switch ON, then OFF.
6. Start the engine and allow the engine to reach operating temperature.
7. Install the injector sight shield. Refer to Engine Cover Replacement See: Engine, Cooling and Exhaust/Engine/Service and Repair.