
Monte Carlo V6-3.8L VIN K (1998)
Alignment: Service and Repair
Front Wheel Alignment
Front Camber Adjustment
Removal Procedure
Tools Required:
-
J 36892 Strut Alignment Template
Important: Do not over-extend the drive axle. Do not lift the drive axle by the suspension.
1. Remove the three strut cover plate nuts.
2. Remove the strut cover plate.
3. Lift the front of the vehicle to just the point that the strut studs clear the strut tower.
4. Cover the top of the strut to catch metal filings.
Important: Paint the exposed metal.
5. Use the J 36892 to mark three holes.
6. File the three holes as follows:
-
File inboard or outboard of the existing hole depending upon the camber requirement.
-
Do not file more than 5 mm (0.2 in) in either direction.
Installation Procedure
Important: Check the toe after changing the camber.
1. Lower the front of the vehicle.
2. Guide the strut studs into the slotted holes.
3. Install the strut cover plate.
4. install the three front strut cover plate nuts.
NOTICE: Use the correct fastener in the correct location. Replacement fasteners must be correct part number for that application. Fasteners
requiring replacement of fasteners requiring thread locking compound or sealant are identified in the service procedure. Do not use paints,
lubricants, or corrosion inhibitors on fasteners or fastener joint surfaces unless specified. These coatings affect fastener torque and joint clamping
force and may damage the fastener. Use the correct tightening sequence and specifications when installing fasteners in order to avoid damage to
parts and system.
5. Set the camber.
Tighten
-
Tighten the front strut cover plate nuts to 33 N.m (24 ft. lbs.).
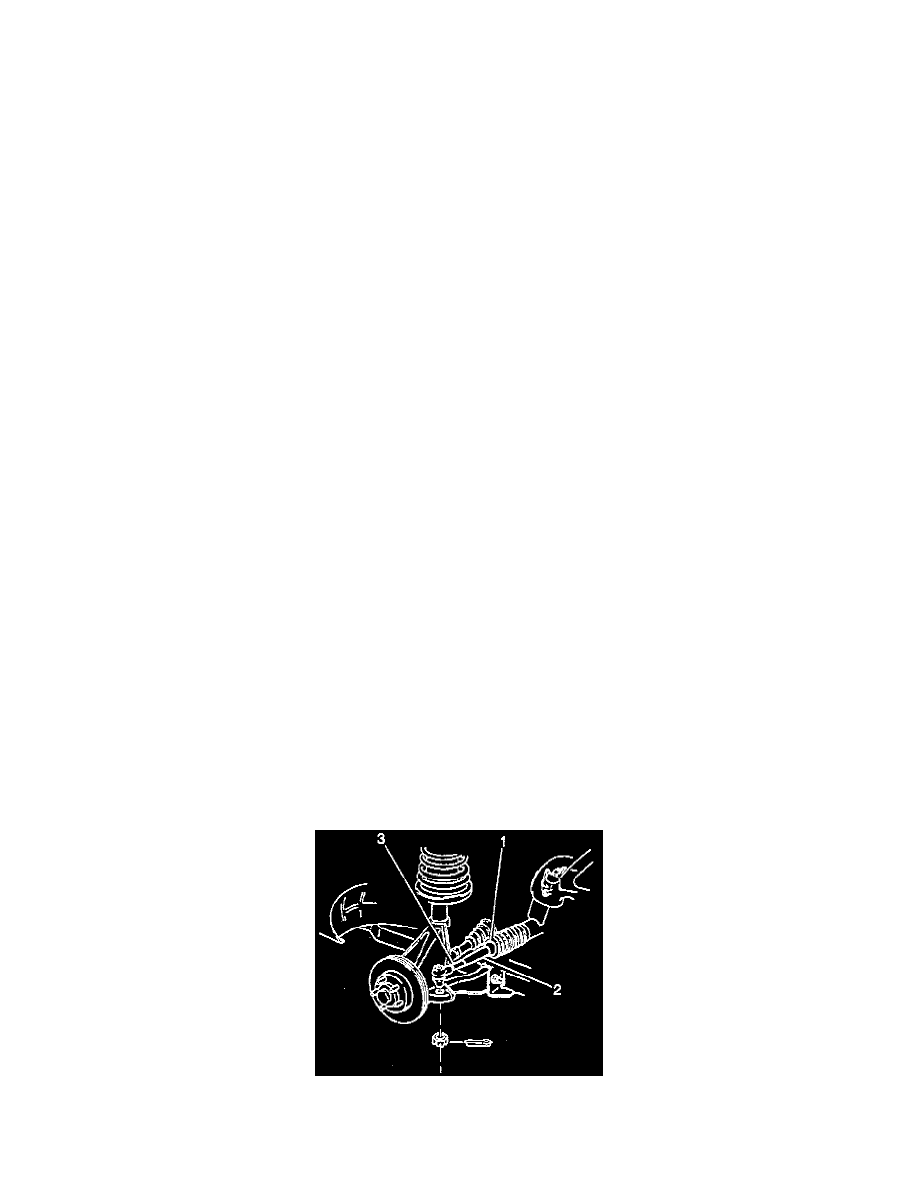
Front Toe Adjustment
1. Do not allow the power steering gear seals to twist.
2. Remove the small seal clamp (1).
3. Set the steering wheel in the straight ahead position.