
Monte Carlo V6-3.8L VIN K (1998)
^
Start with the forward lower bolt and work clockwise to tighten the transaxle bracket bolts to 95 Nm (70 ft. lbs.).
NOTICE: Refer to Fastener Notice in Service Precautions.
4. Remove the support from the transaxle.
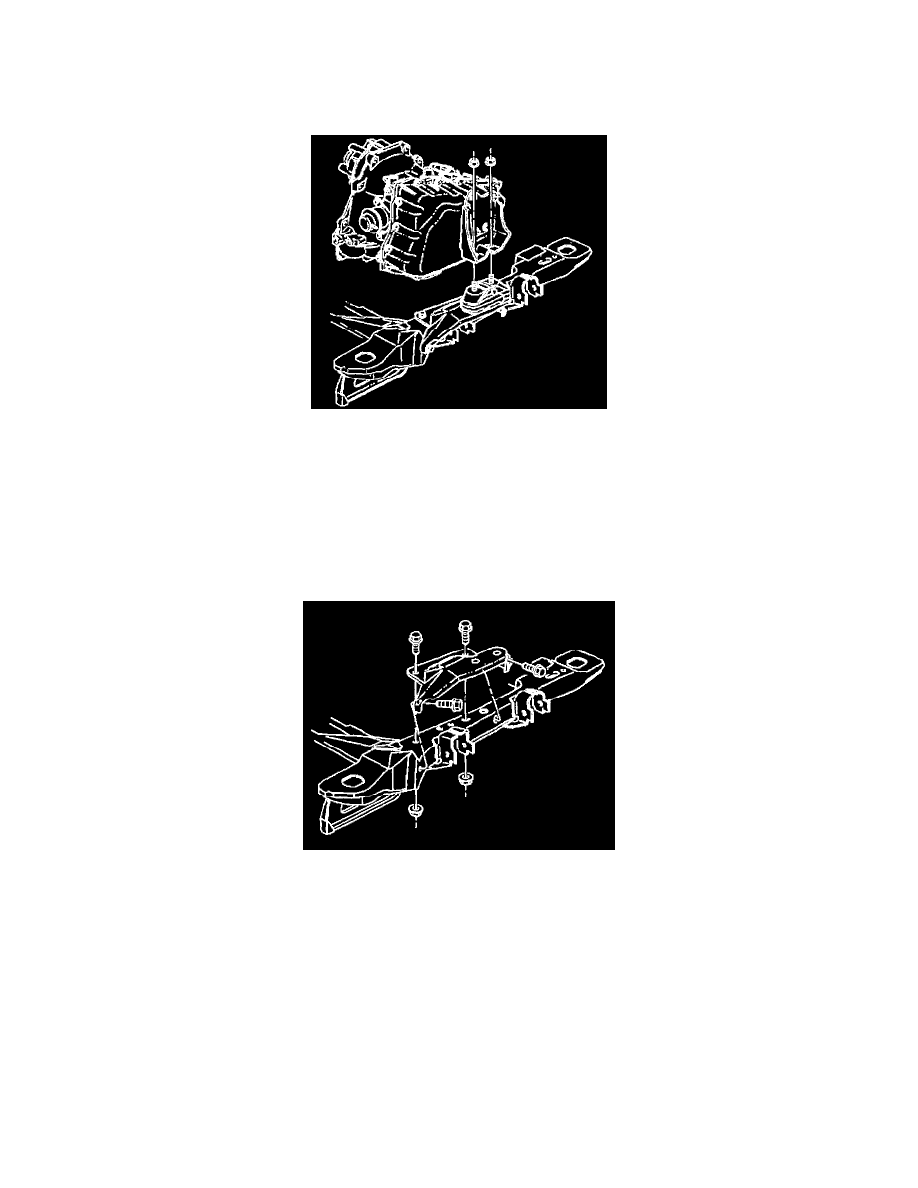
5. Install the transaxle bracket to the transaxle mount upper nuts.
^
Tighten the transaxle mount upper nuts to 47 Nm (35 ft. lbs.).
6. Install the left engine splash shield.
7. Install the left front tire and wheel. Refer to Wheel Installation in Wheels and Tires.
8. Lower the vehicle.
A/T Mount Frame Bracket Replacement
REMOVAL PROCEDURE
1. Raise and support the vehicle. Refer to Vehicle Lift Points.
2. Remove the left front tire and wheel. Refer to Wheel Removal in Wheels and Tires.
3. Remove the left engine splash shield.
4. Use floor stands to support the transaxle.
5. Remove the transaxle mount frame bracket to the transaxle mount lower nuts. Refer to AT Mount Replacement.
6. Remove the transaxle mount frame bracket nuts.
7. Remove the transaxle mount frame bracket bolts.
8. Remove the transaxle mount frame bracket.
INSTALLATION PROCEDURE