
Nova/Chevy II L4-1600cc 4ALC Nummi (1988)
Brake Master Cylinder: Service and Repair
Master Cylinder Removal and Installation
CAUTION:Brake fluid will damage electrical connections and painted surfaces. Use shop cloths, drip pans and fender covers to prevent brake fluid
from contacting these areas.
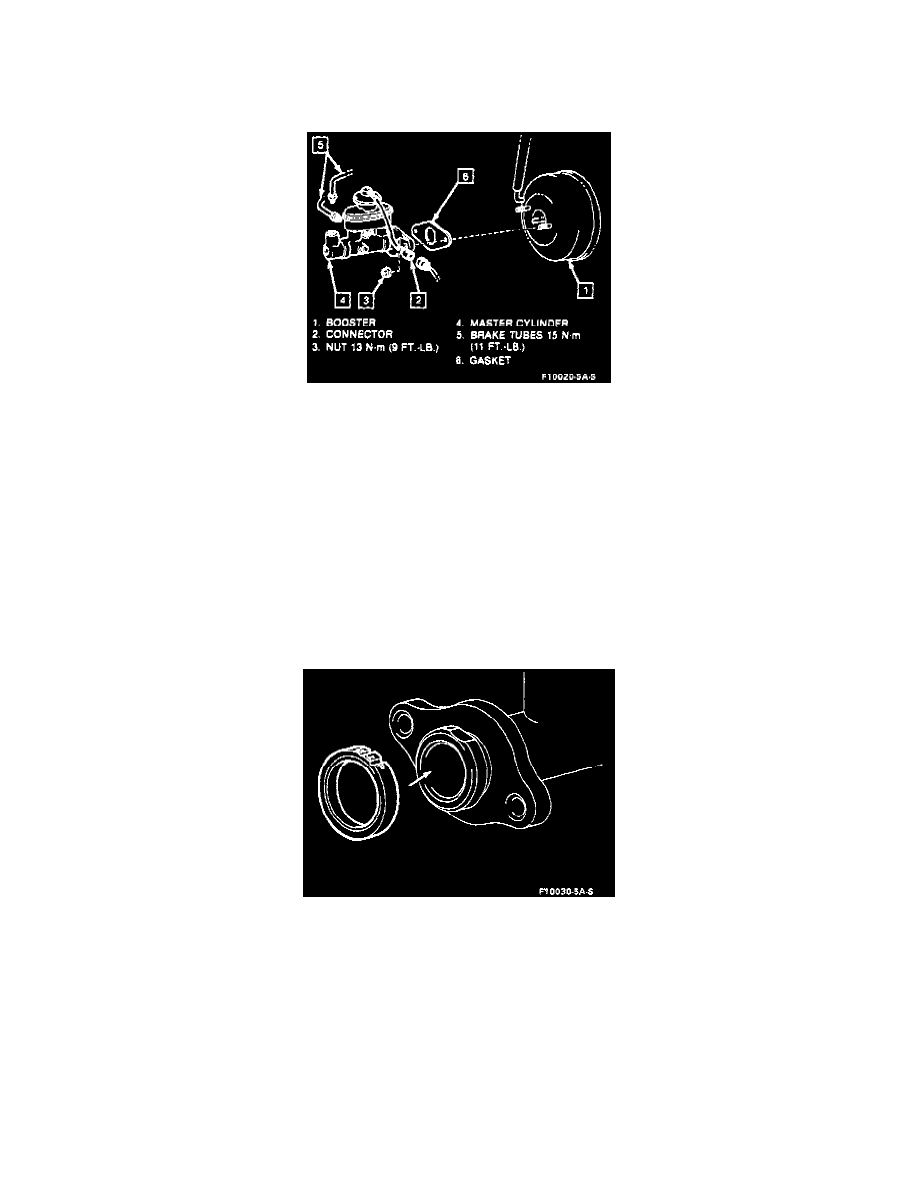
Figure 5A-2 Removing/Installing Master Cylinder Assembly
Removal:
1. Clean area around reservoir and brake pipes at master cylinder.
2. Disconnect level warning switch connector.
3. Remove the brake fluid from the master cylinder with a syringe.
4. Disconnect the two brake pipes.
NOTE: After disconnecting, cap or tape the opening of the brake pipes to prevent entry of foreign matter.
5. Remove the two nuts.
6. Remove the master cylinder and gasket from the booster.
Installation:
1. Clean out groove on lower installation surface of master cylinder.
Figure 5A-3 Checking Master Cylinder Boot Position
2. Confirm that "UP" mark on master cylinder boot is in correct position.
3. Adjust the length of the booster push rod before installing the master cylinder.