
Nova/Chevy II L4-1600cc 4ALC Nummi (1988)
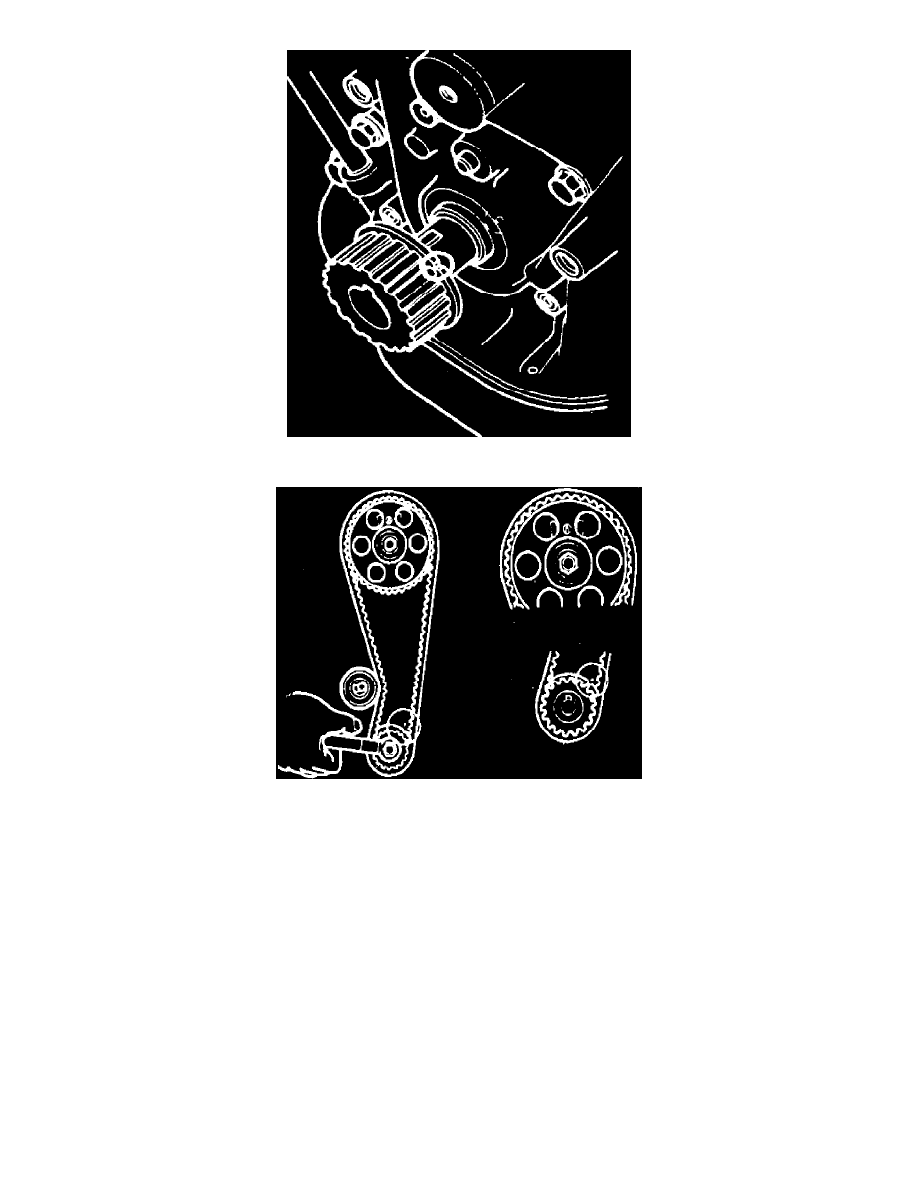
Fig. 15 Crankshaft timing pulley alignment. Exc. 16 valve engine
Fig. 16 Timing mark alignment. Exc. 16 valve engine
24.
Lower engine and remove timing belt. If reusing the timing belt, draw a direction arrow on the belt (in direction of engine rotation) and
place alignment marks on the pulleys and belt as shown in Fig. 13.
25.
Remove idler pulley bolt, pulley and return spring.
26.
Remove camshaft timing pulley.
27.
During installation of belt and timing pulley, proceed as follows:
a. Align camshaft knock pin and camshaft timing pulley. Torque bolt to 34 ft. lbs.
b. Align bearing cap mark and the center of the small hole on the camshaft timing pulley as shown in Fig. 14.
c. Align TDC marks on the oil pump body and crankshaft timing pulley as shown in Fig. 15.
d. Remove any oil or water on the crankshaft timing pulley and keep it clean.
e. Install timing belt idler pulley and tension spring. Pry timing belt idler pulley toward the left as far as it will go and temporarily tighten it.
f.
Install timing belt. If reusing the original timing belt, align the points marked during removal and install the belt with the arrow pointing in the
direction of engine rotation.
g. Raise engine slightly, then loosen timing belt idler pulley mounting bolt. Temporarily install the crank pulley bolt and turn the crankshaft two
revolutions clockwise from TDC to TDC.
h. Check valve timing. Ensure each pulley aligns with the marks as shown in Fig. 16.
i.
Reverse remaining removal procedure to complete installation procedure.