
Prizm L4-108 1.8L DOHC VIN 8 MFI (1998)
1. Remove the rear seat cushion.
2. Remove the right rear seat back cushion.
3. Unclip and remove the right rear side door sill trim plate.
4. Pull the right rear side door opening frame garnish molding from the pinch weld flange just past the top of the quarter upper trim panel.
5. Remove the right quarter upper trim panel.
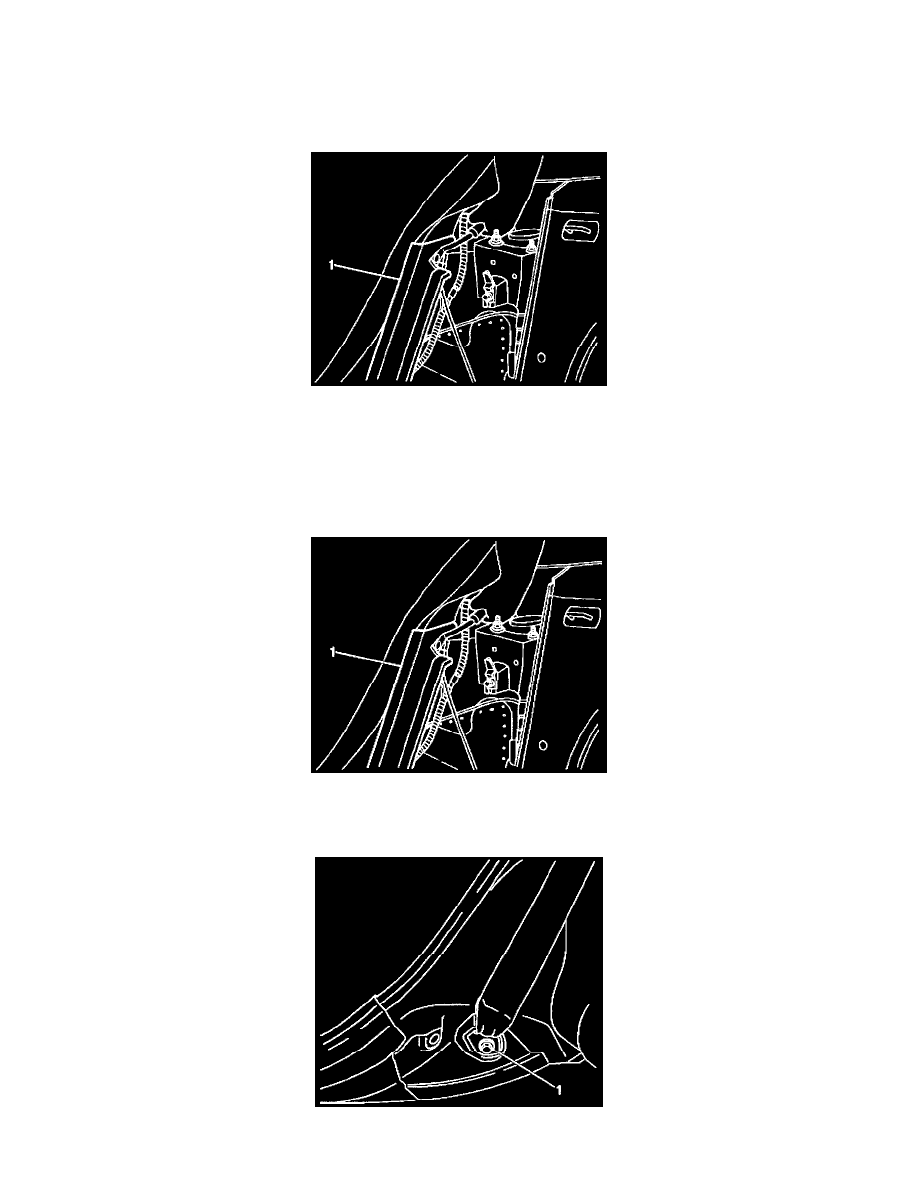
6. Remove the right rear seat belt lower anchor bolt (1).
Trim Panel Replacement: Rear Seat Back (Right - AN2) - Removal Procedure
7. Remove the following components from the vehicle:
^
The plastic retainers
^
The right rear seat back trim panel (1)
INSTALLATION PROCEDURE
Trim Panel Replacement: Rear Seat Back (Right - AN2) - Installation Procedure
1. Install the right rear seat back trim panel (1) to the vehicle. Secure the trim panel with the plastic retainers.
Trim Panel Replacement: Rear Seat Back (Right - AN2) - Installation Procedure